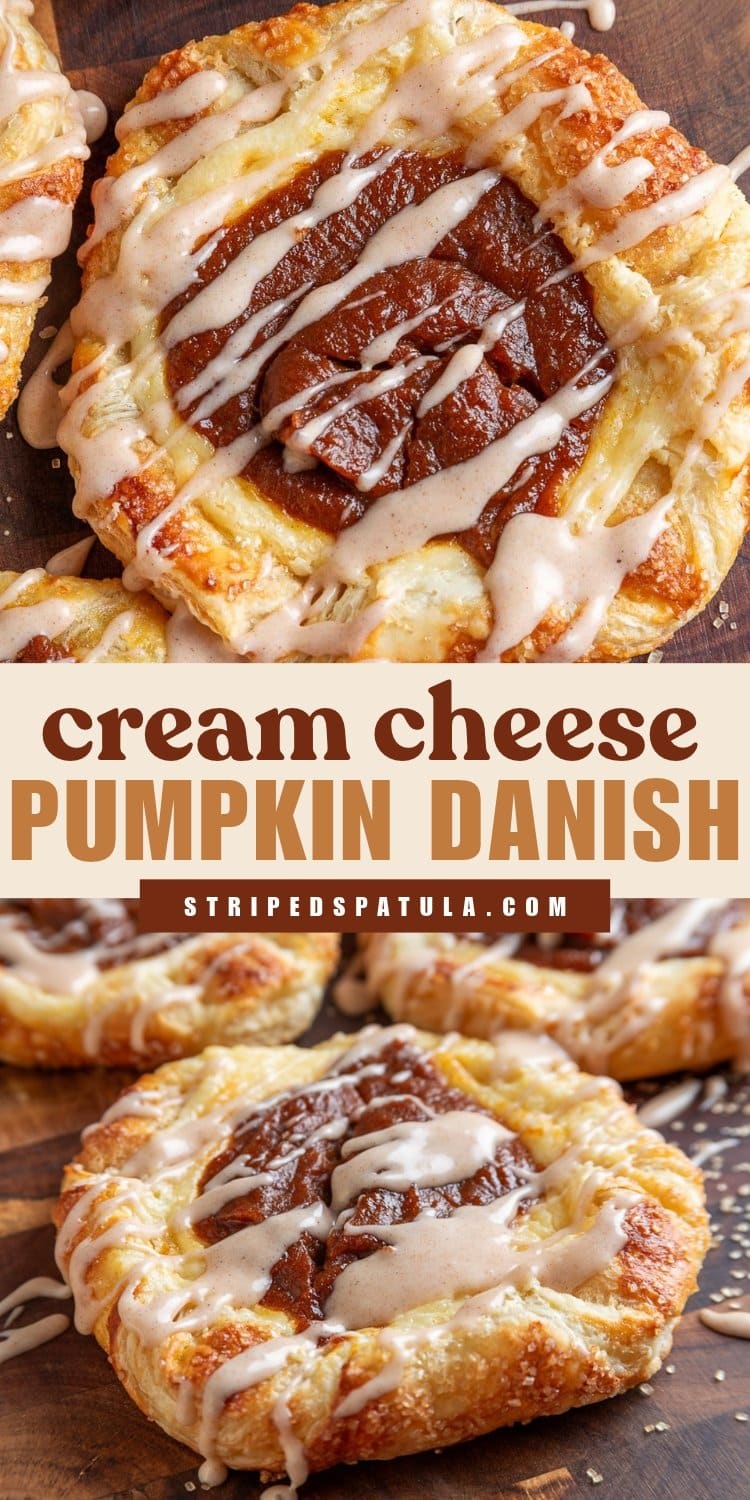
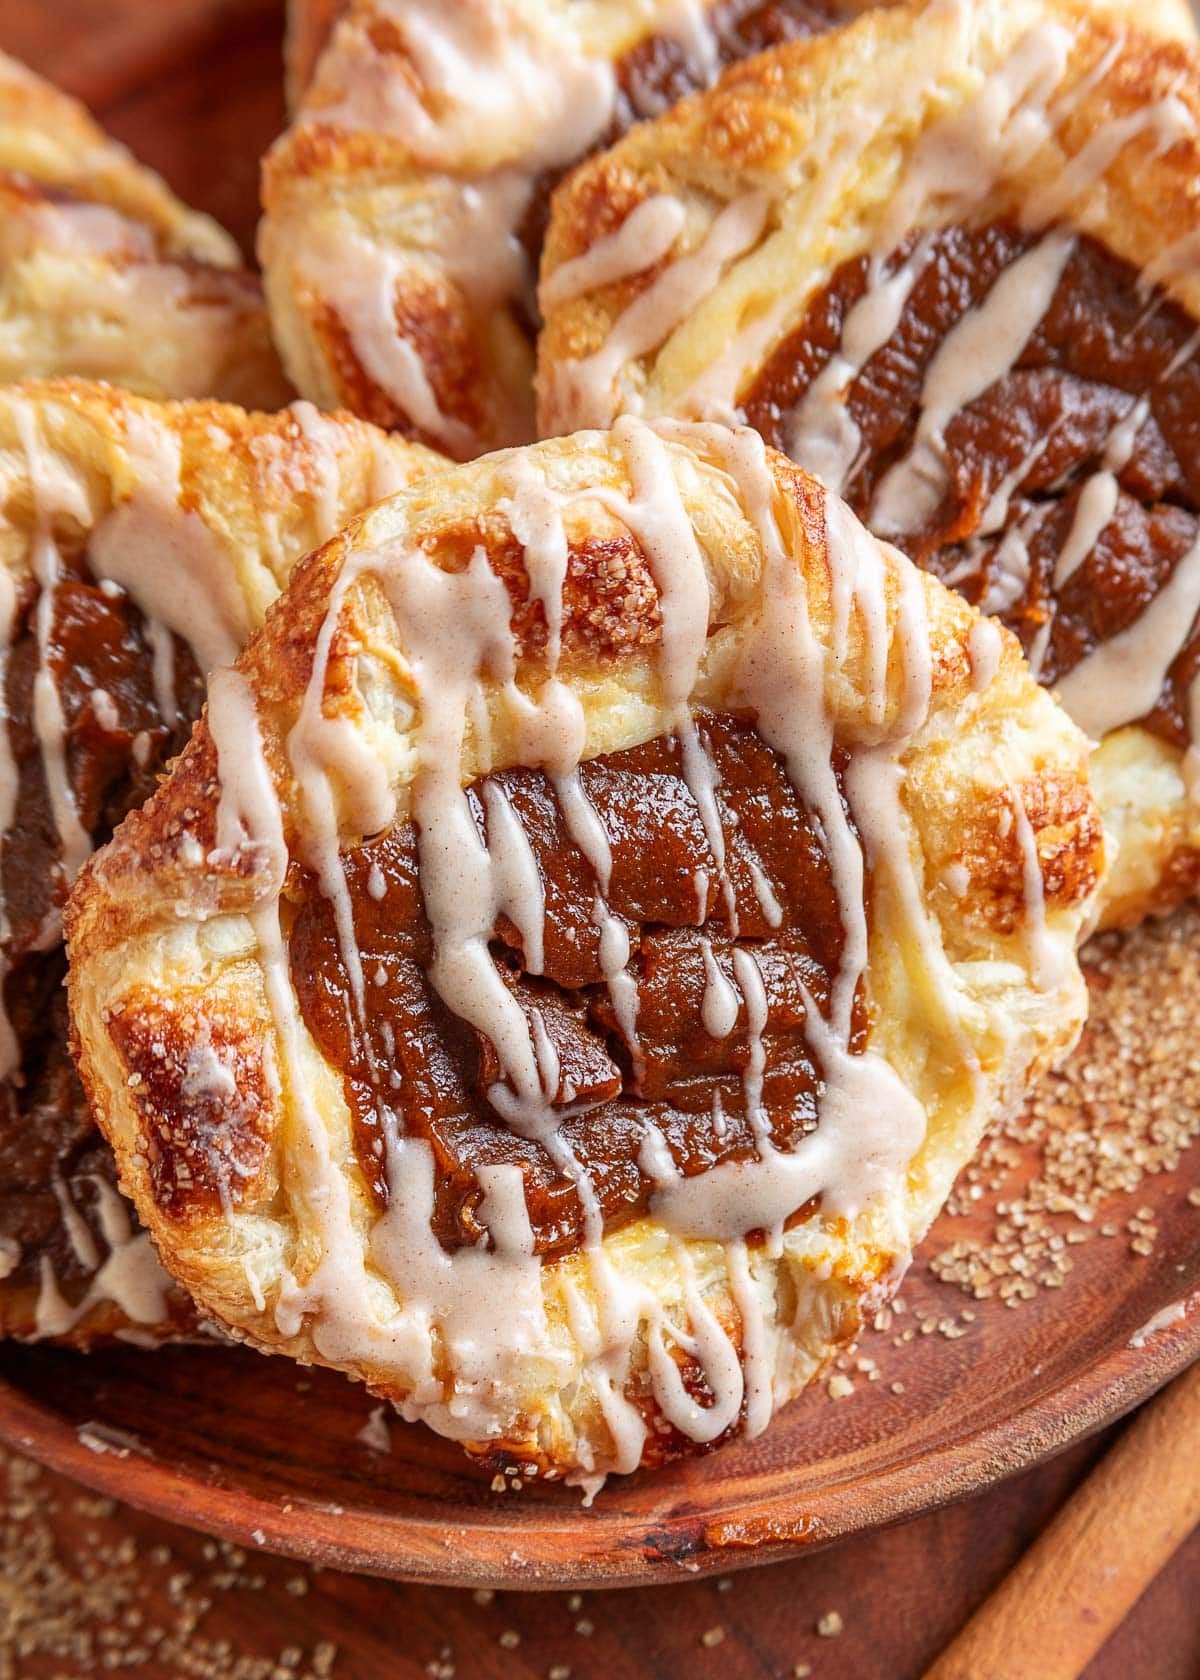
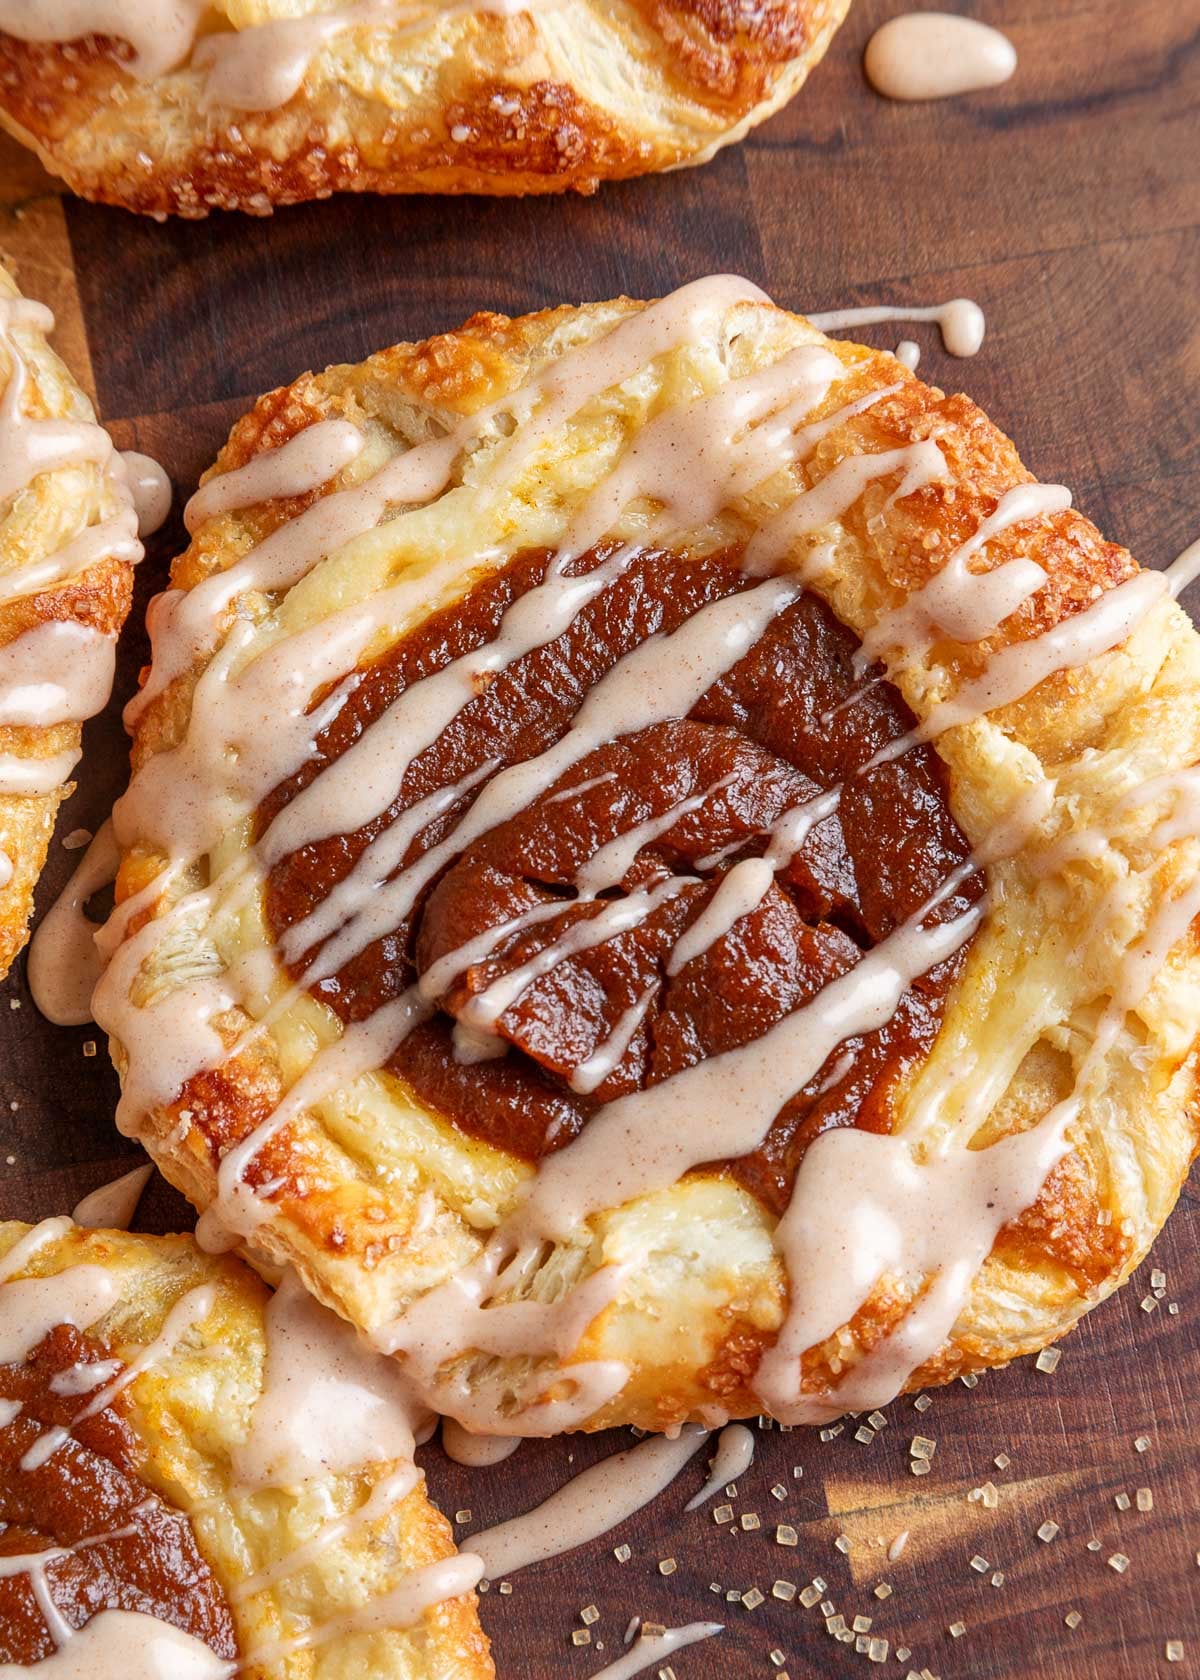
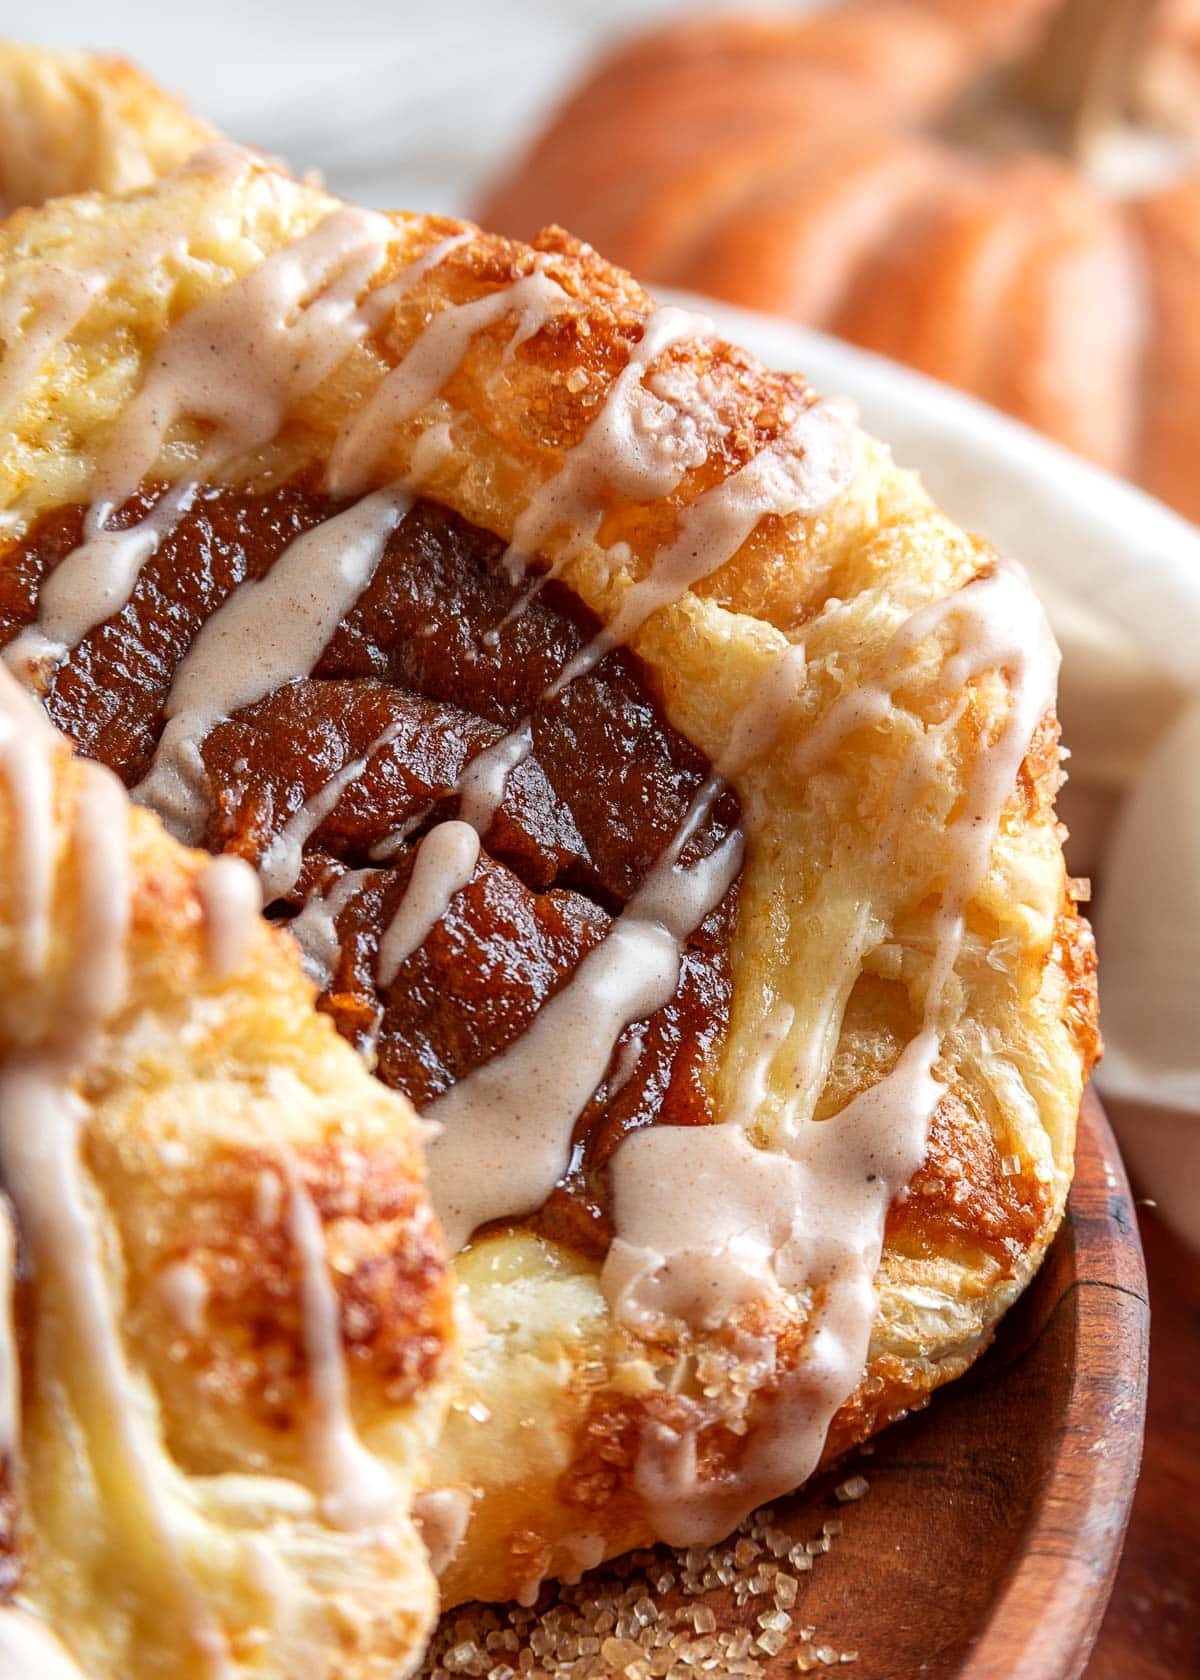
This Pumpkin Cream Cheese Danish recipe starts with store-bought puff pastry, so you get bakery-style pastries at home without making dough from scratch. Each one bakes up flaky and golden, with a tangy cream cheese layer, spiced pumpkin on top, and a drizzle of cinnamon glaze.
Before You Start Cooking
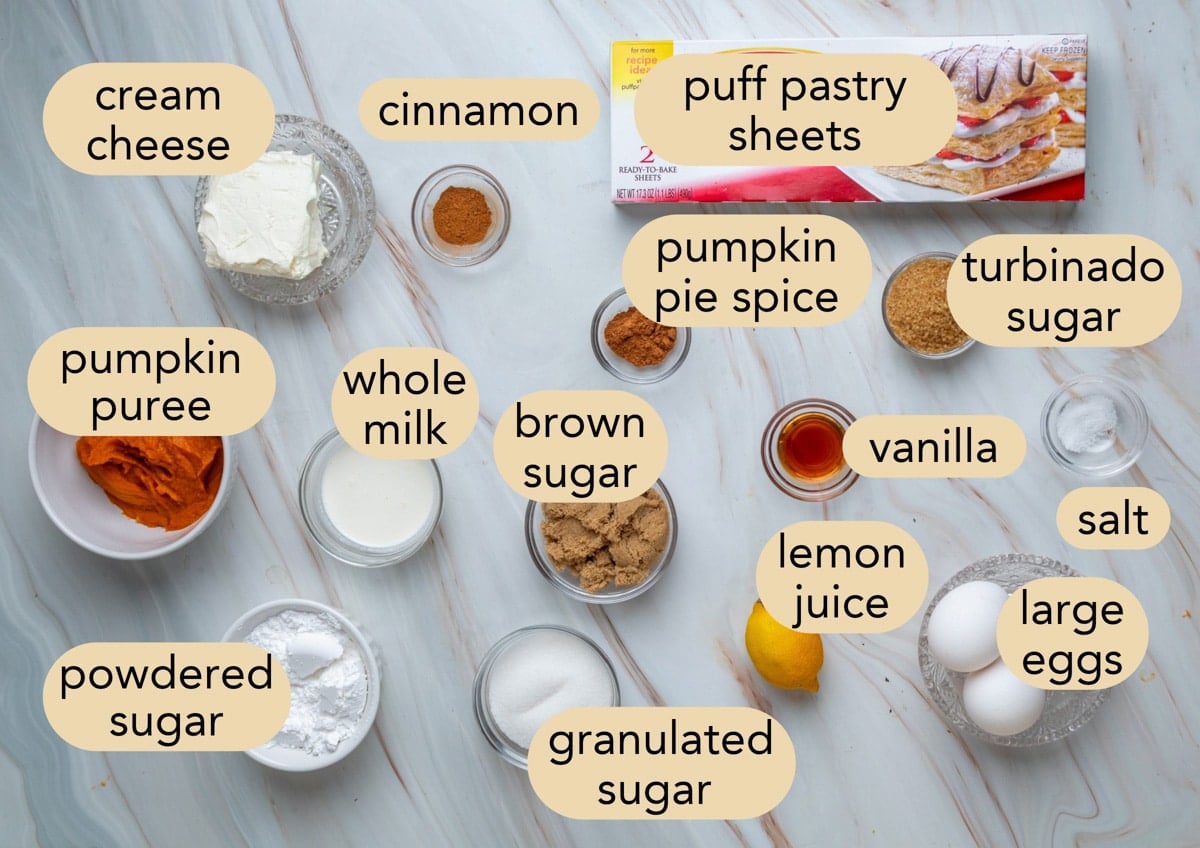
- Pumpkin: I use Libby’s 100% pure pumpkin purée, which is usually nice and thick. If your purée looks loose or watery, drain it in a fine-mesh strainer lined with a paper towel for a few minutes first. Extra moisture can make the filling run and leave the pastry underneath soggy.
- Cream cheese: Use brick-style cream cheese (I use Philadelphia) and let it soften to room temperature before you make the filling. Cream cheese that’s too cold will leave little unmixed lumps in the filling.
- Puff pastry: I use a box of Pepperidge Farm puff pastry for this recipe. Thaw the pastry completely, but keep it cold. It should be pliable, but still cool to the touch. Keep the second sheet in the refrigerator while you work with the first. Cold pastry puffs best, and you’ll bake these one tray at a time.
How to Make Pumpkin Cream Cheese Danish
Step 1: Make the Two Fillings
Start with the pumpkin filling. In a medium bowl, stir or whisk together the pumpkin purée, light brown sugar, pumpkin pie spice, cinnamon, and a pinch of kosher or sea salt.
Next, beat a large egg in a small bowl. You’ll only need half of it here, about 1½ tablespoons. Whisk it into the pumpkin mixture until smooth, and save the rest for the egg wash. One egg covers both jobs.
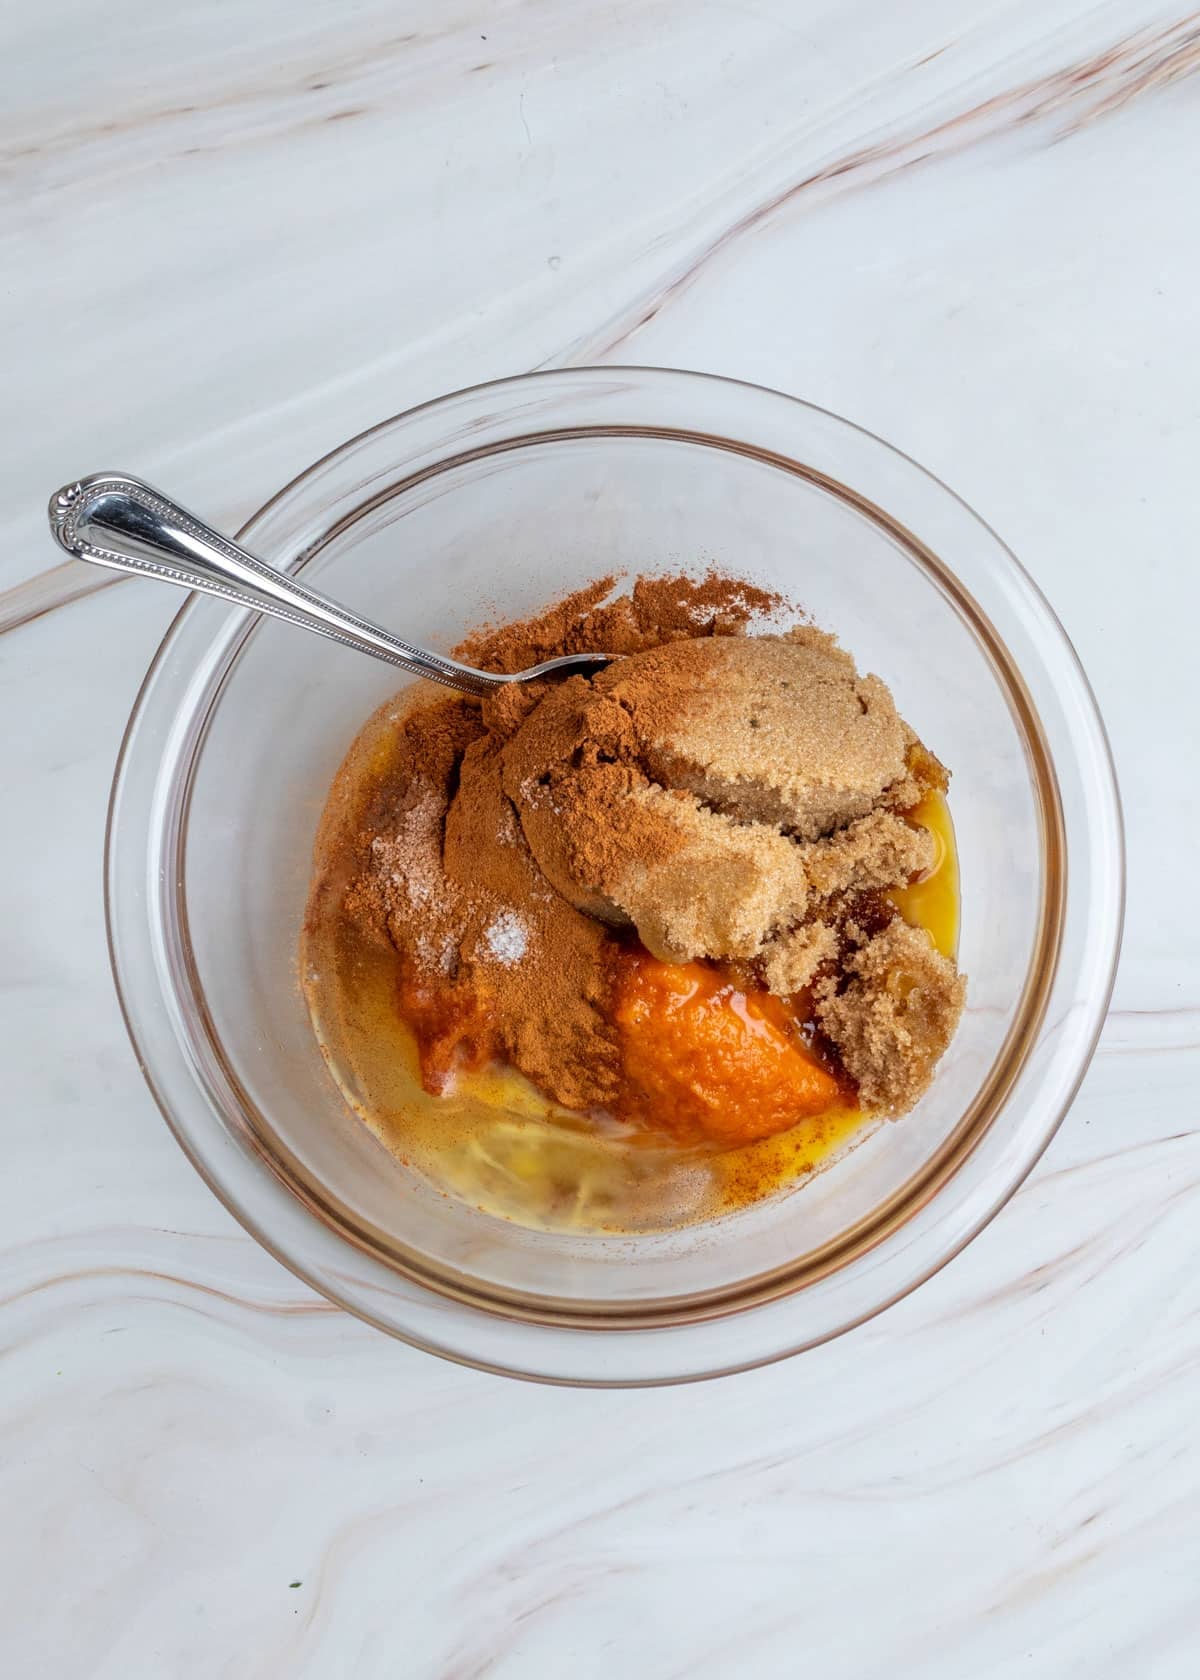
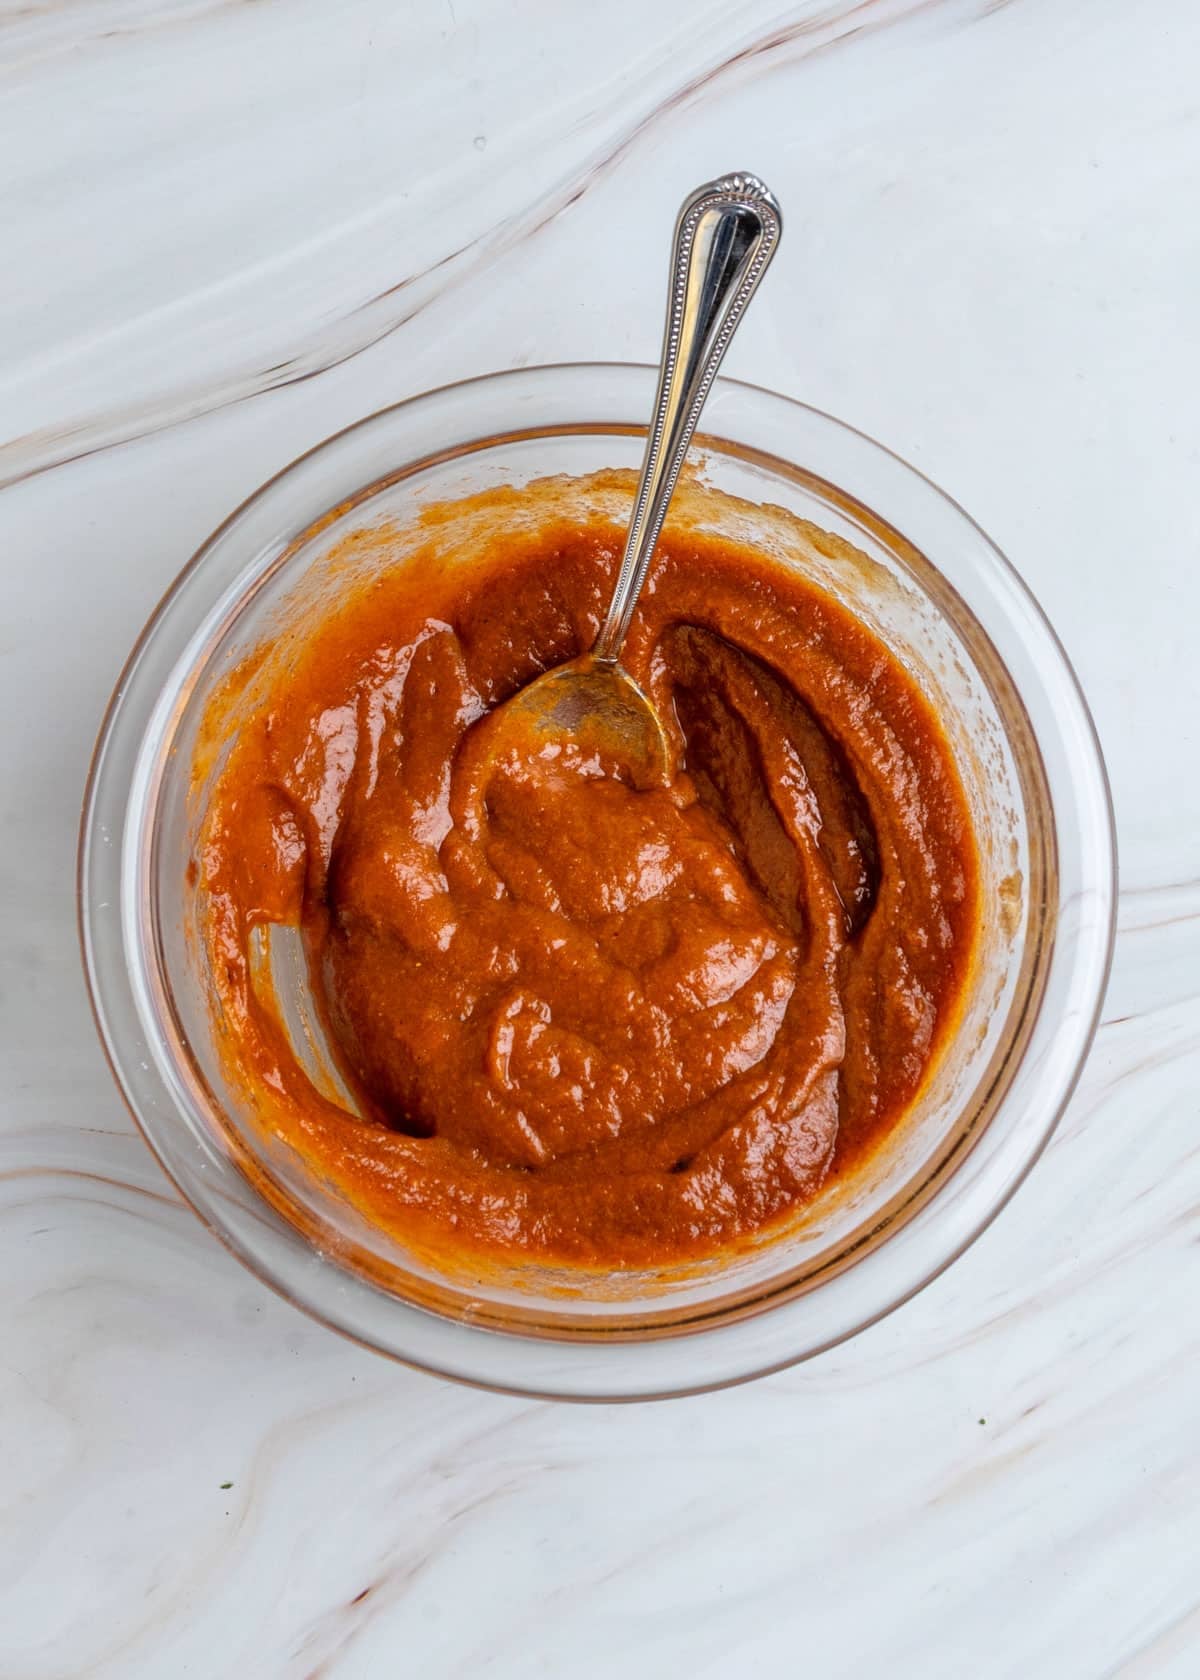
Tip: This recipe uses only part of a can of pumpkin purée. Some of my favorite ways to use up the rest are Pumpkin Spice Hot Chocolate, Pumpkin Spice Coffee Syrup, and Pumpkin Granola.
For the cream cheese filling, put the softened cream cheese, granulated sugar, egg yolk, lemon juice, and vanilla in a separate bowl.
The lemon juice won’t make the filling taste citrusy. It just adds a little tang to balance the rich cream cheese and the sweet, spiced pumpkin.
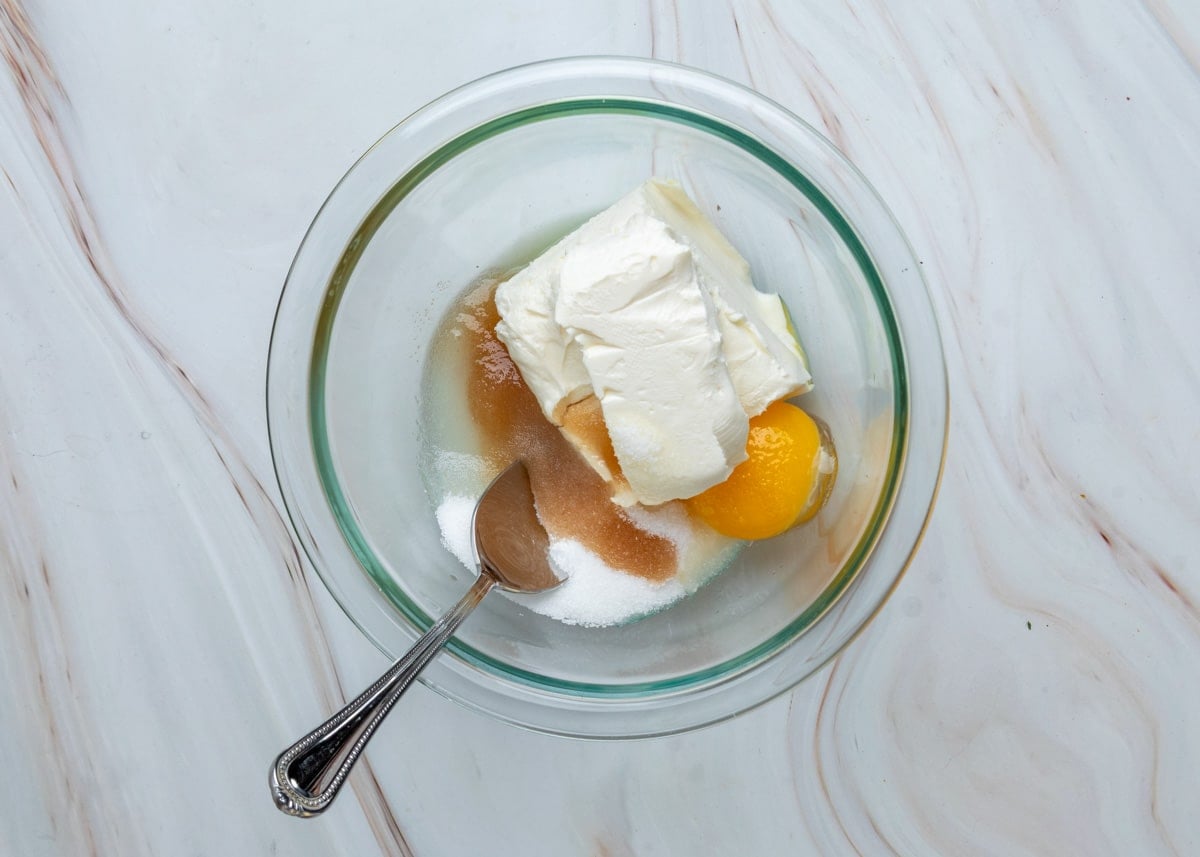
You can mix the cream cheese filling by hand with a spoon, but I like to beat it with a hand mixer. It’s faster, and the filling comes out completely smooth and creamy.
Step 2: Roll and Cut the Puff Pastry
Unfold one thawed sheet onto parchment paper or a lightly floured surface and gently roll it into a 10½-inch square.
I tested several sizes while developing this recipe, up to 12 inches, and found that 10½ inches to be the sweet spot. The pastry is sturdy enough for the fillings and still bakes into crisp, flaky layers around the edges.
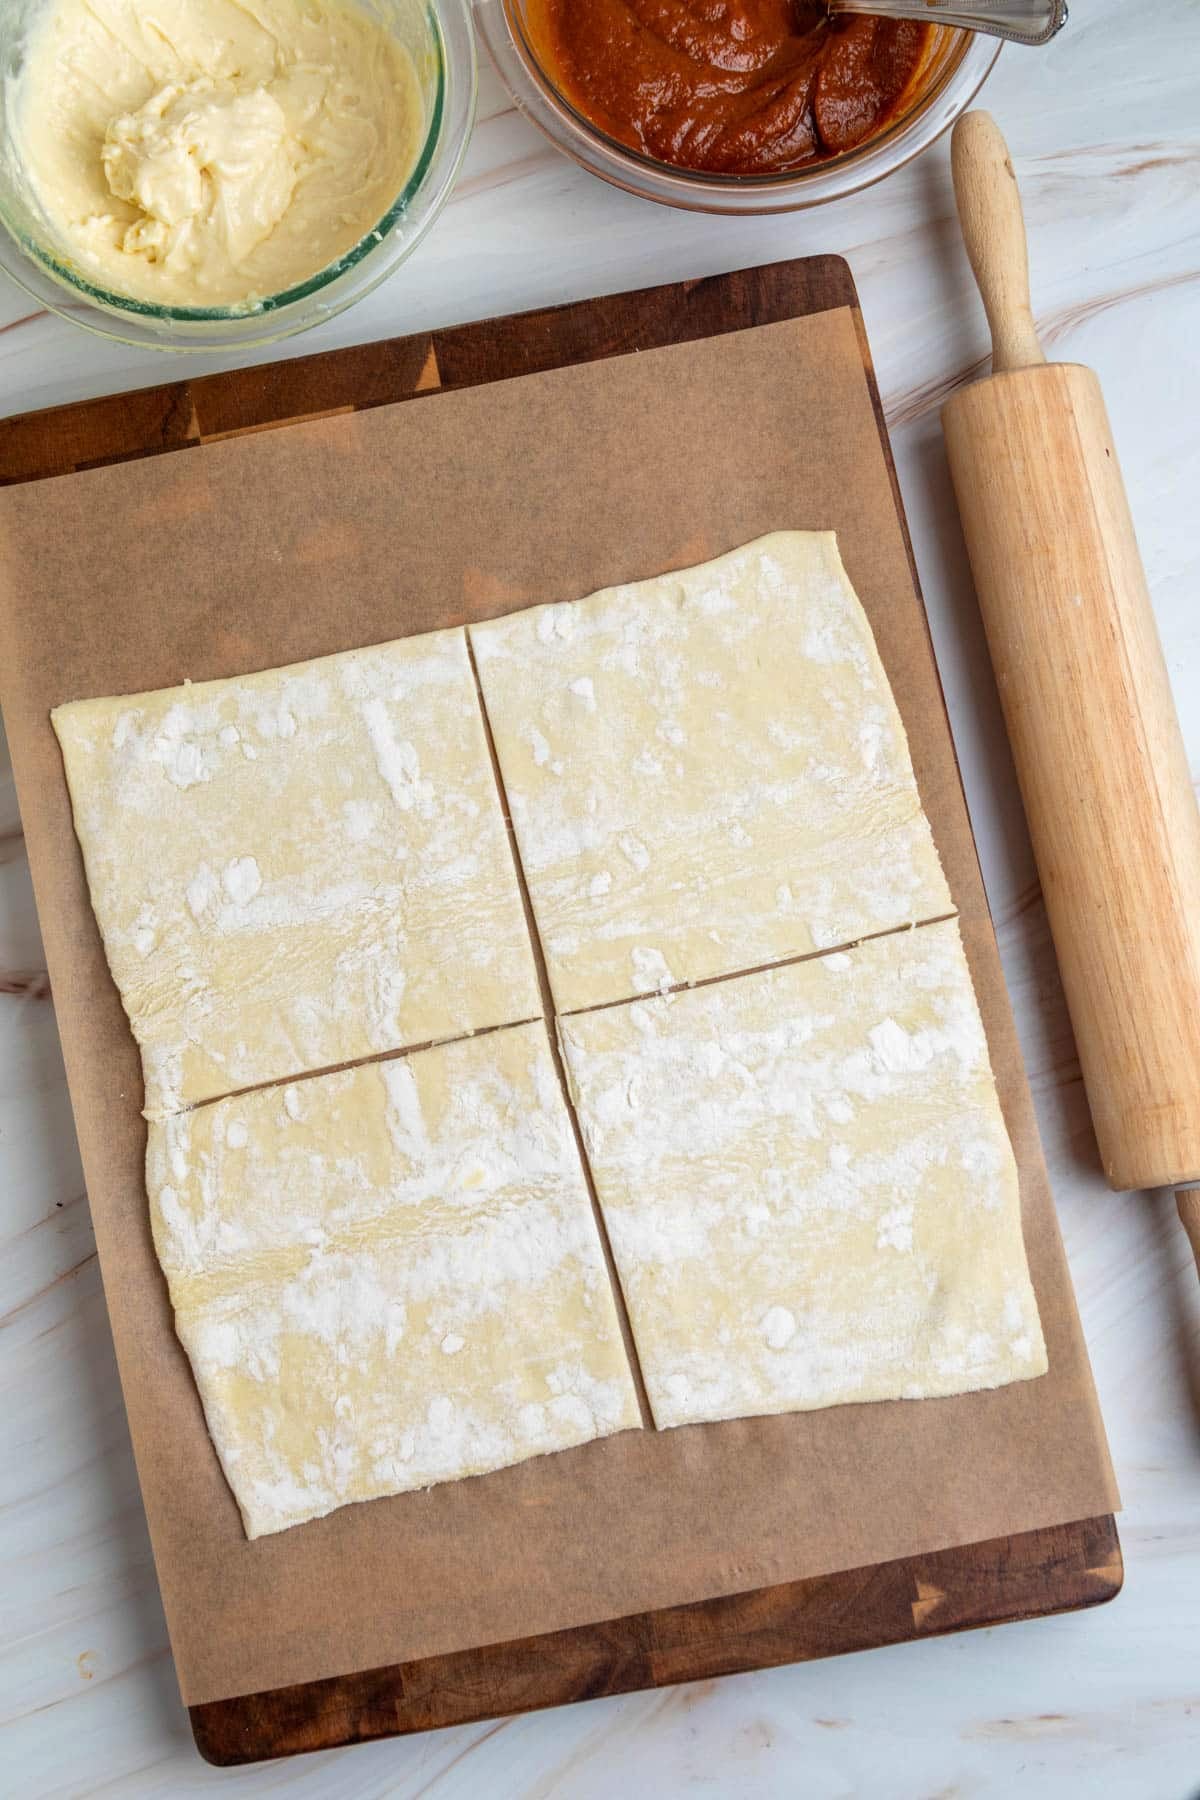
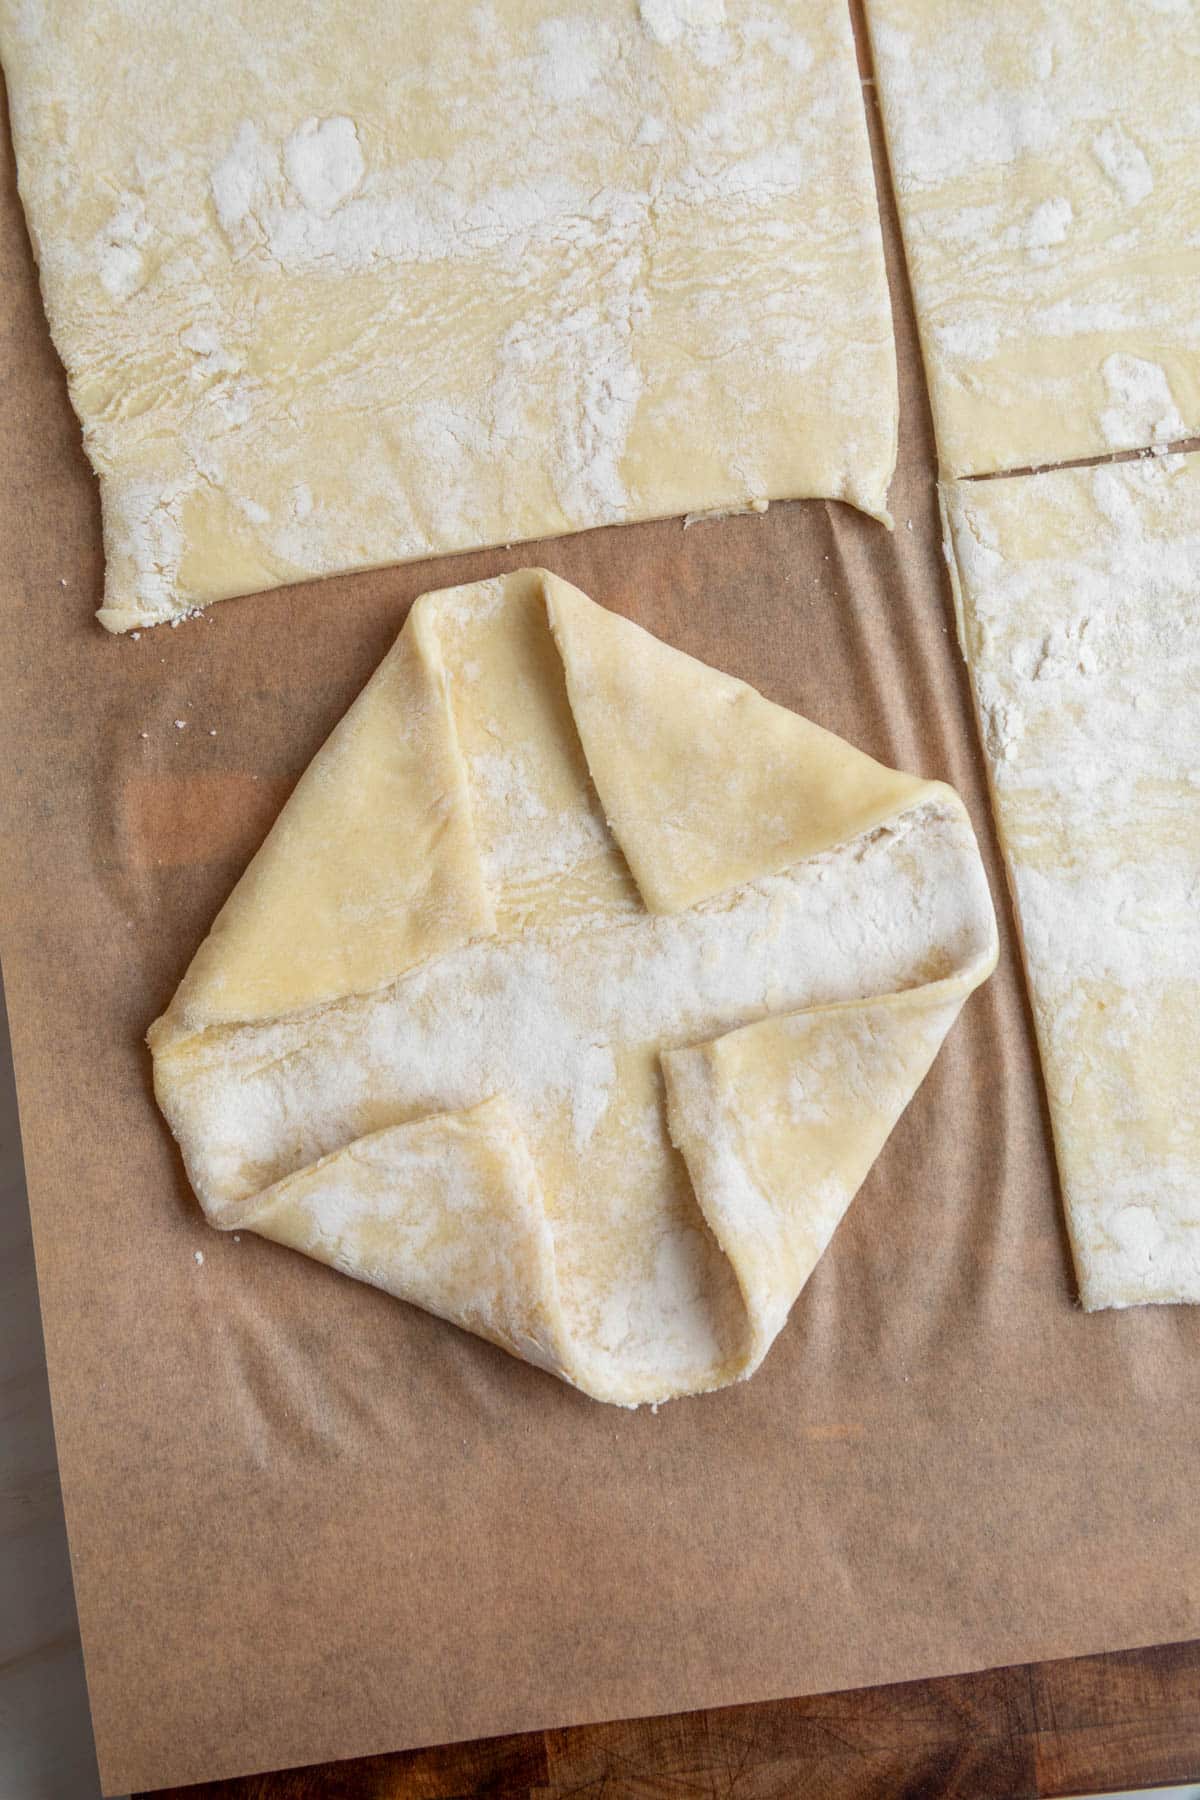
Cut the square into four equal pieces, each a little over 5 inches. Place them a few inches apart on a parchment-lined baking sheet. It’s easier to assemble them on the baking sheet than to move the danishes once they’re filled.
Fold each corner of a square in toward the center, about ¾- to 1 inch and gently press the points down so they stay in place. Those folded corners puff up higher than the center as they bake, forming a frame that helps hold the filling in place.
Step 3: Fill the Danishes
Add a dollop of cream cheese filling to the middle of the pastry. Spread it out a little with the back of a spoon, leaving about ¾ inch of pastry uncovered around the edges.
Then, top it with a dollop of pumpkin filling and spread it lightly over the cream cheese. Leave a border of cream cheese filling visible around the pumpkin layer.
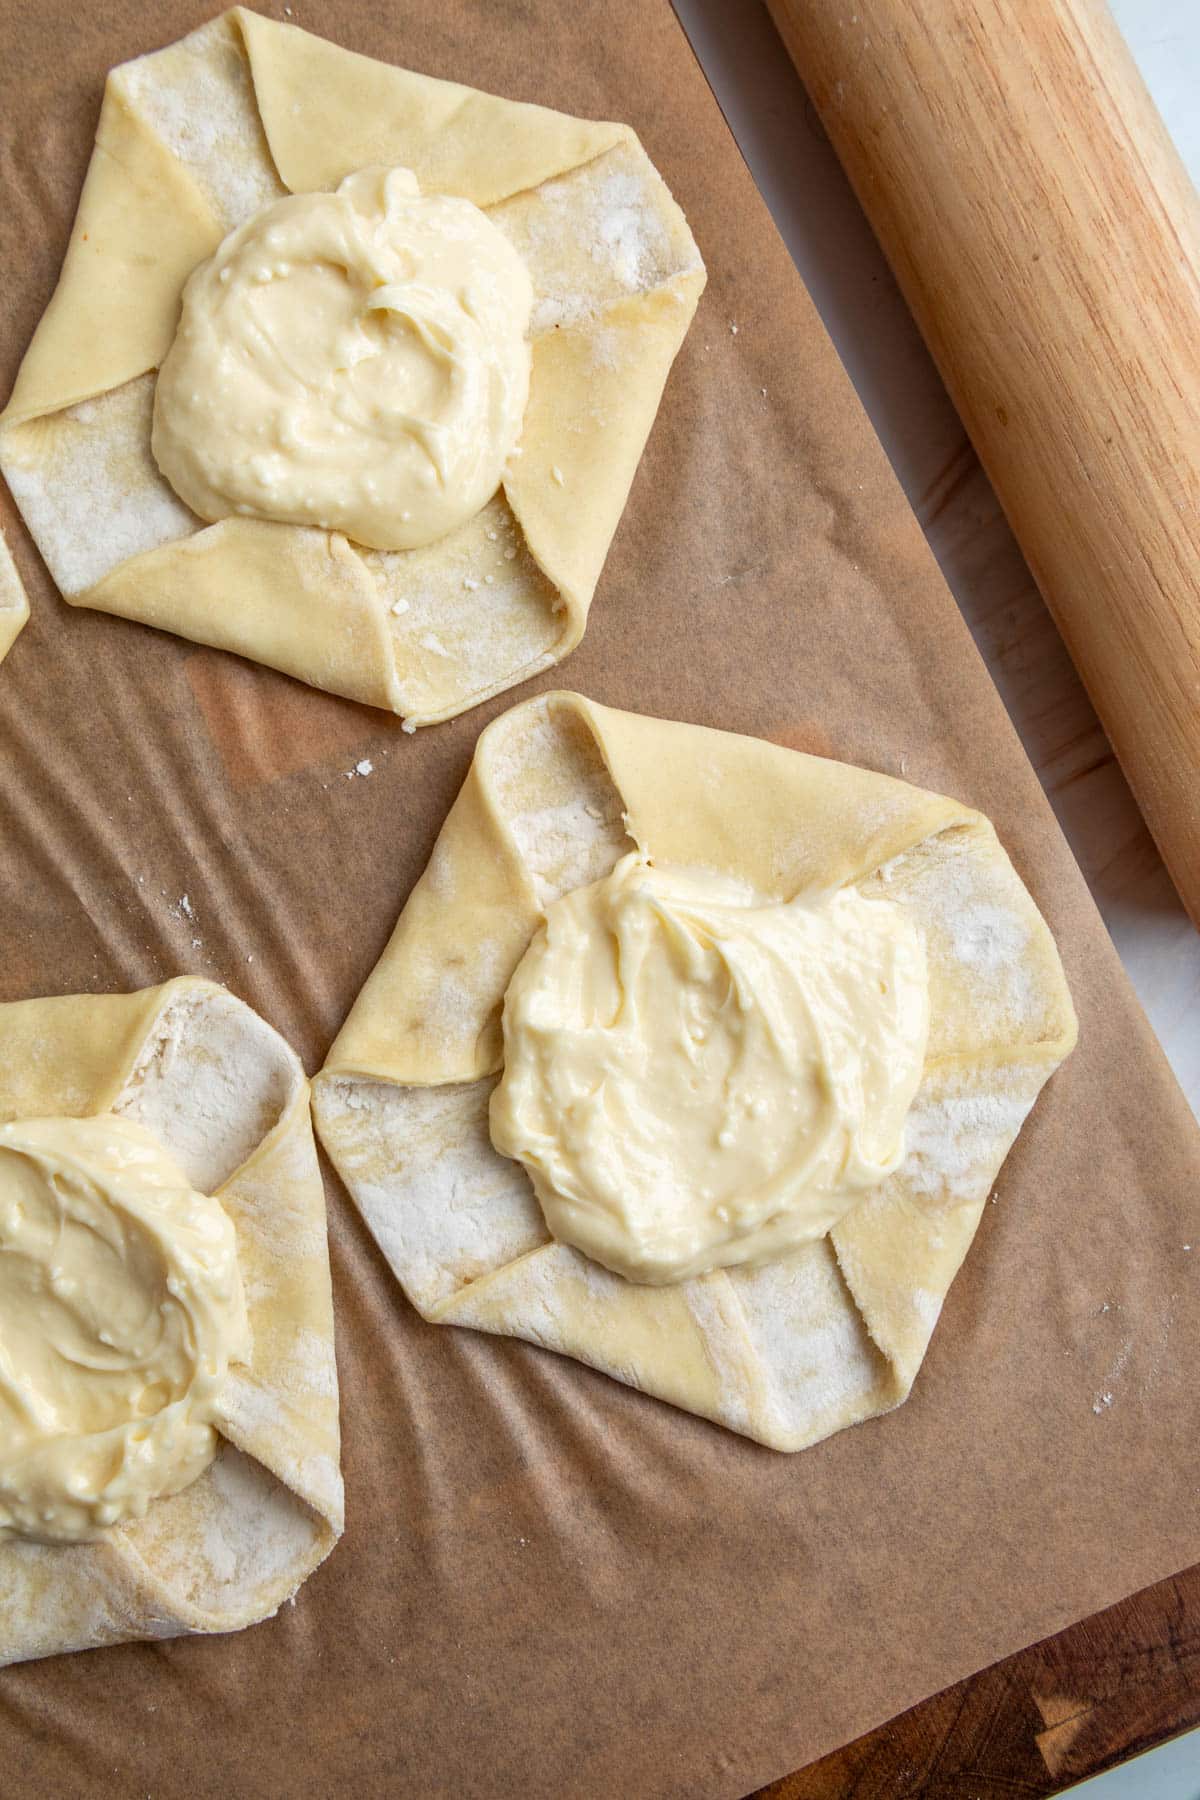
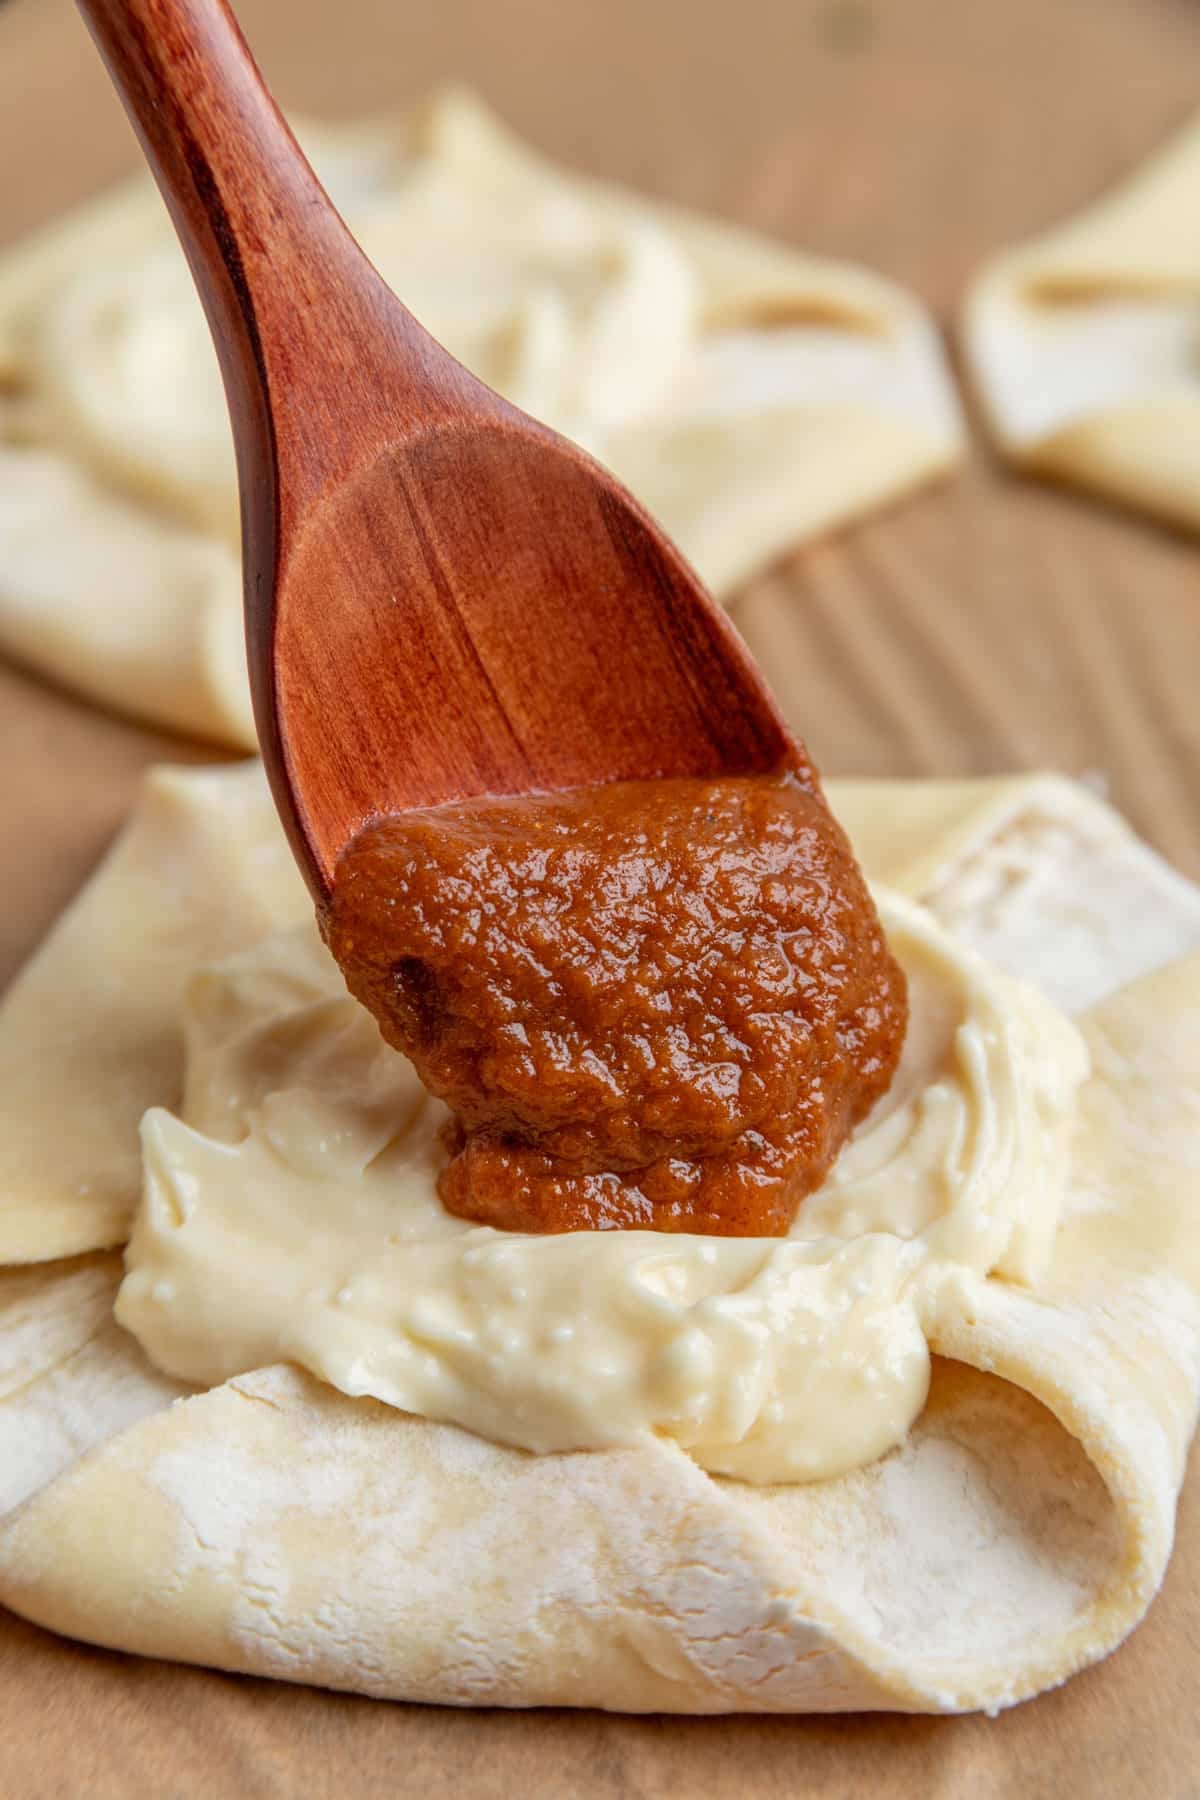
You don’t have to be exact, but try to divide the fillings as evenly as you can. The ¾-inch pastry border matters. The fillings spread as the danishes bake, and the bare edge keeps them from running off the pastry.
A spoon works fine, but after testing many batches, I found that cookie scoops are the easiest way to portion the fillings across the full batch. For the cream cheese, I use a #40 scoop, filled just slightly over level. For the pumpkin, I use a #60 scoop, lightly rounded.
If the pastry gets soft: If the dough feels warm or turns floppy while you work, chill the danishes for 10 to 15 minutes before baking. If you assemble them fairly quickly and don’t over-handle the dough, you won’t need to.
Step 4: Add the Egg Wash and Coarse Sugar
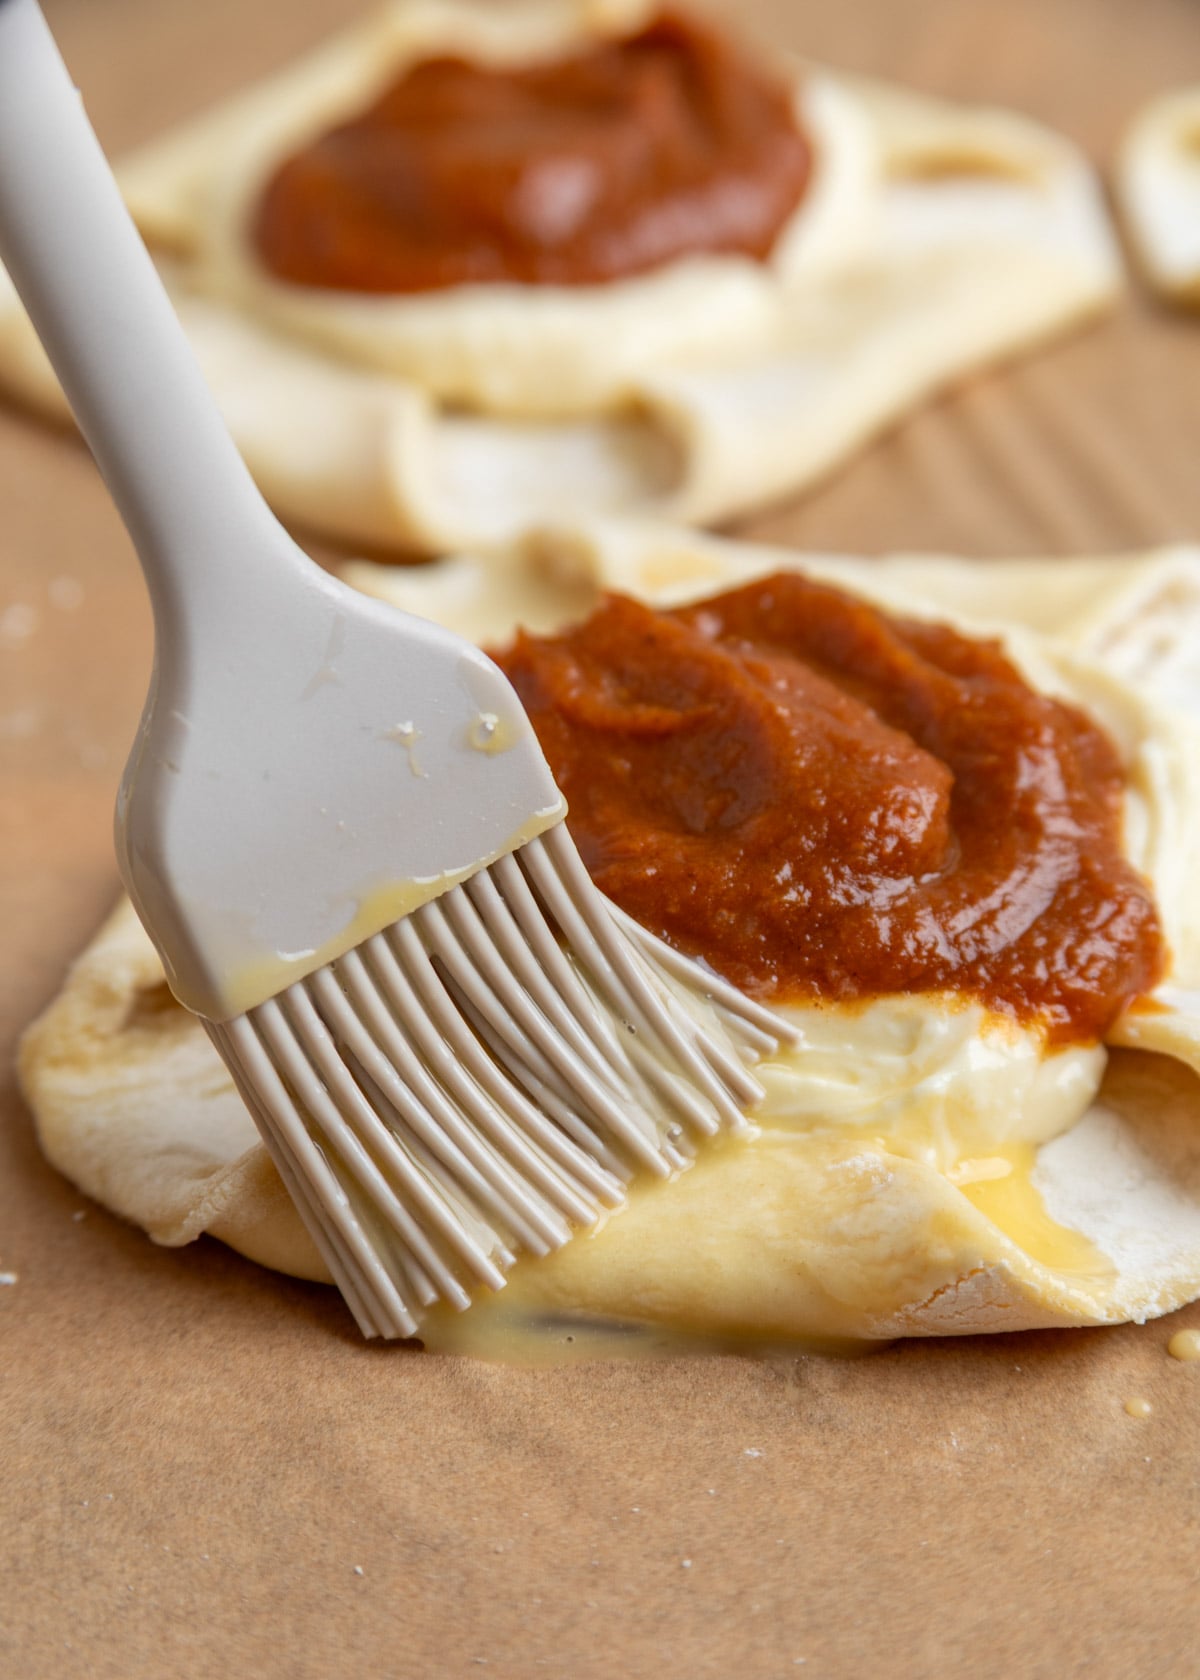
One last step before your danishes head to the oven: an egg wash for a deep, golden finish. Brush the exposed edges of the pastry with the leftover beaten egg.
Then sprinkle the edges with turbinado sugar, such as Sugar in the Raw, for sparkle, crunch, and a subtle hint of molasses. Coarse white sparkling sugar works too, and it gives them a little extra shimmer.
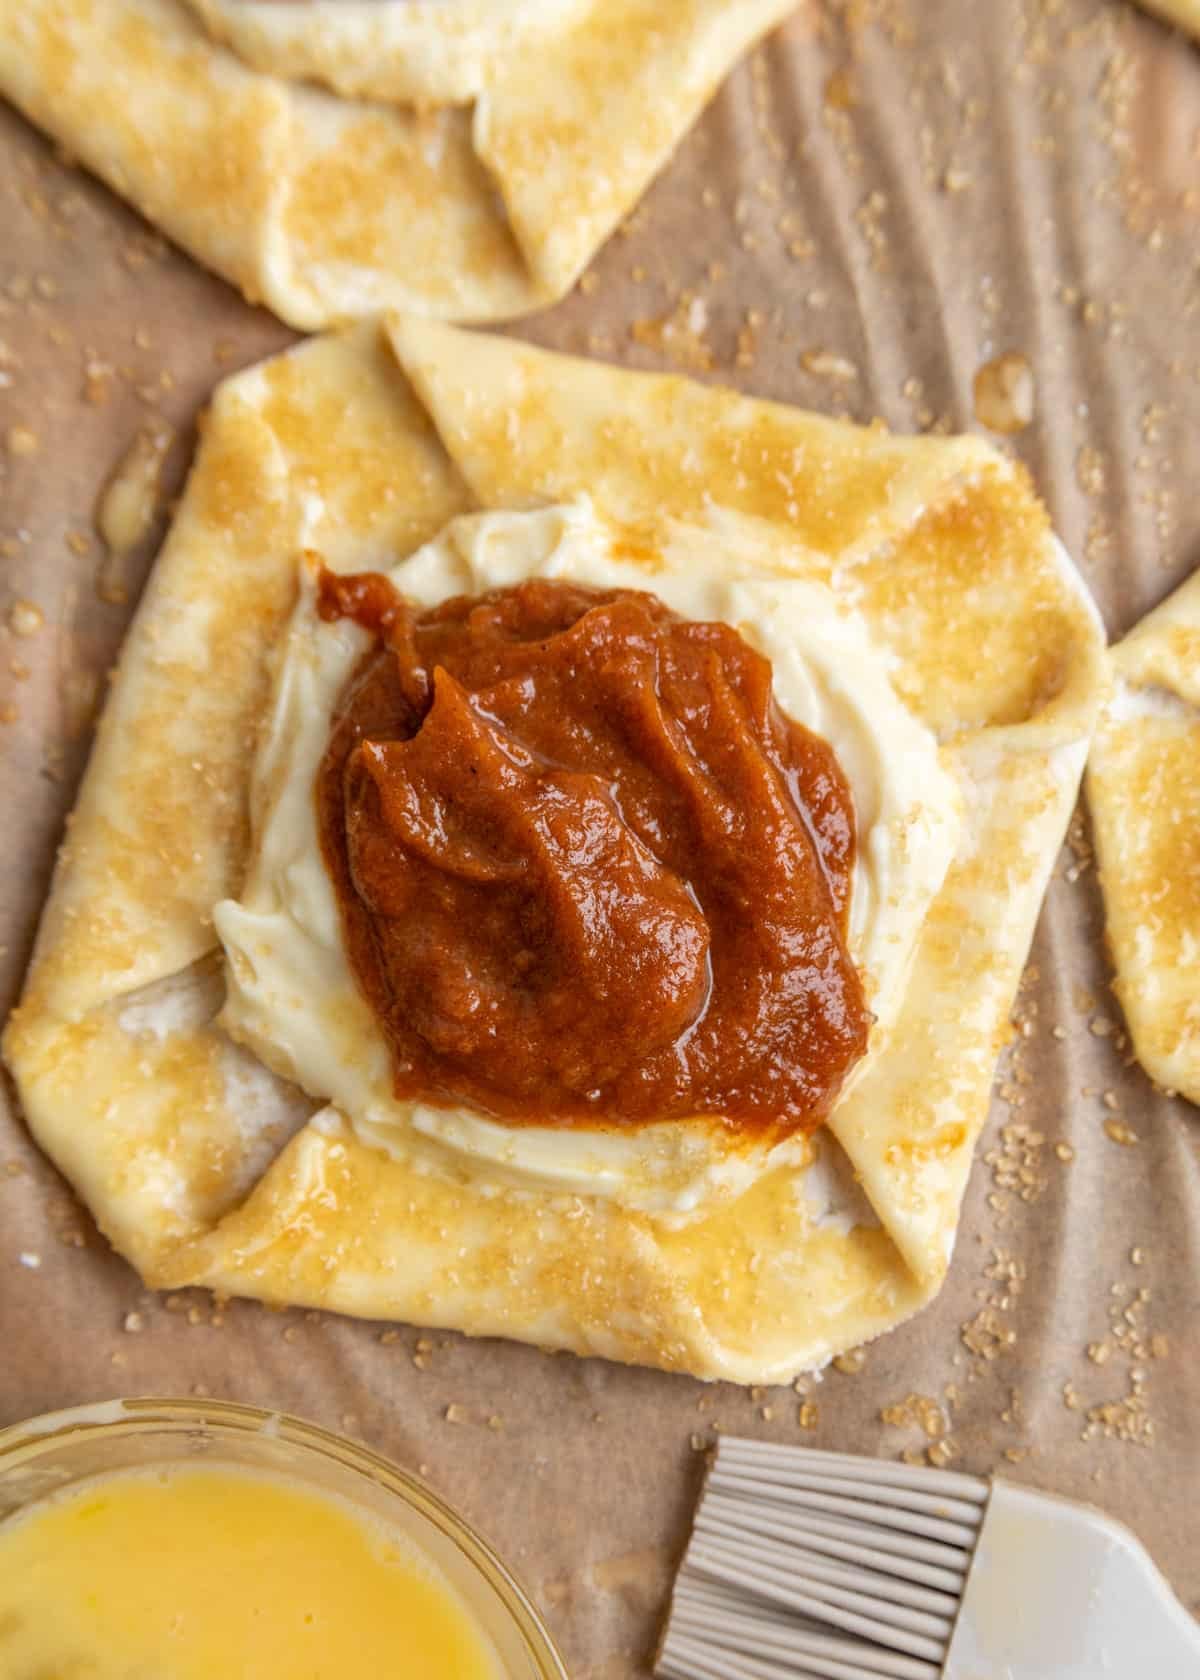
Step 5: Bake One Sheet at a Time (and Repeat)
Bake at 400°F for 18 to 22 minutes, until the danishes are puffed and deep golden brown on the bottom and sides. They’ll puff up a lot in the oven, then settle as they cool.
Don’t be tempted to pull them early. Puff pastry can look done on top while it’s still raw in the center. Look for deep color on the edges, bottom, and sides of the layers. Be sure the pastry around the filling looks dry and flaky, not doughy.
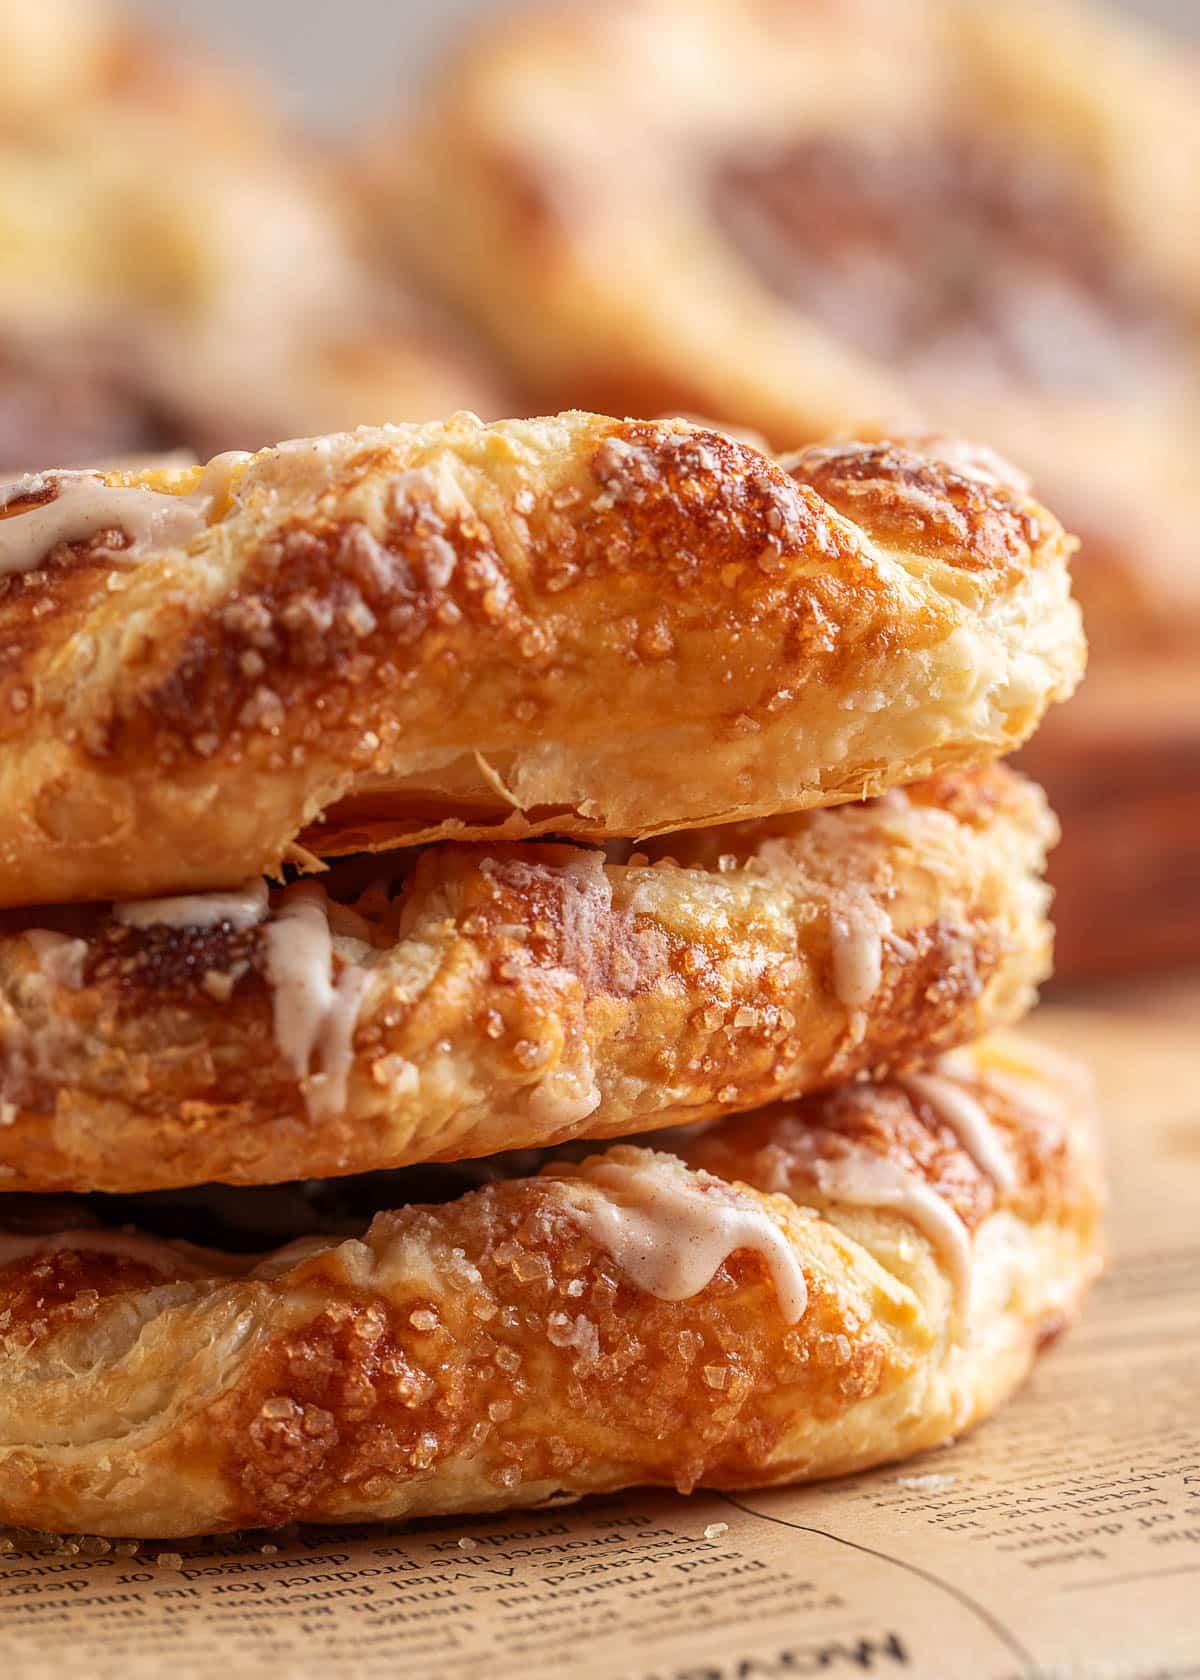
Why bake times vary: Timing depends on how accurately your oven runs, how much heat your baking sheet conducts (thin, dark pans brown faster than heavy, light-colored ones), and how cold the pastry is when it goes in. Start checking at 18 minutes, but go by color, not the timer.
When the first batch is almost finished baking, roll, fill, and egg-wash the second puff pastry sheet the same way.
Bake the danishes on a second parchment-lined baking sheet, or let the first pan cool completely before reusing it.
Let the danishes cool on the baking sheet for about 10 minutes. Then, move them to a wire rack to prepare for their cinnamon-glazed finish.
Step 6: Glaze the Danishes
In a small bowl, whisk together the sifted powdered sugar, whole milk, cinnamon, and vanilla until smooth. Don’t skip sifting the powdered sugar. It’s the best way to keep little lumps out of the glaze.
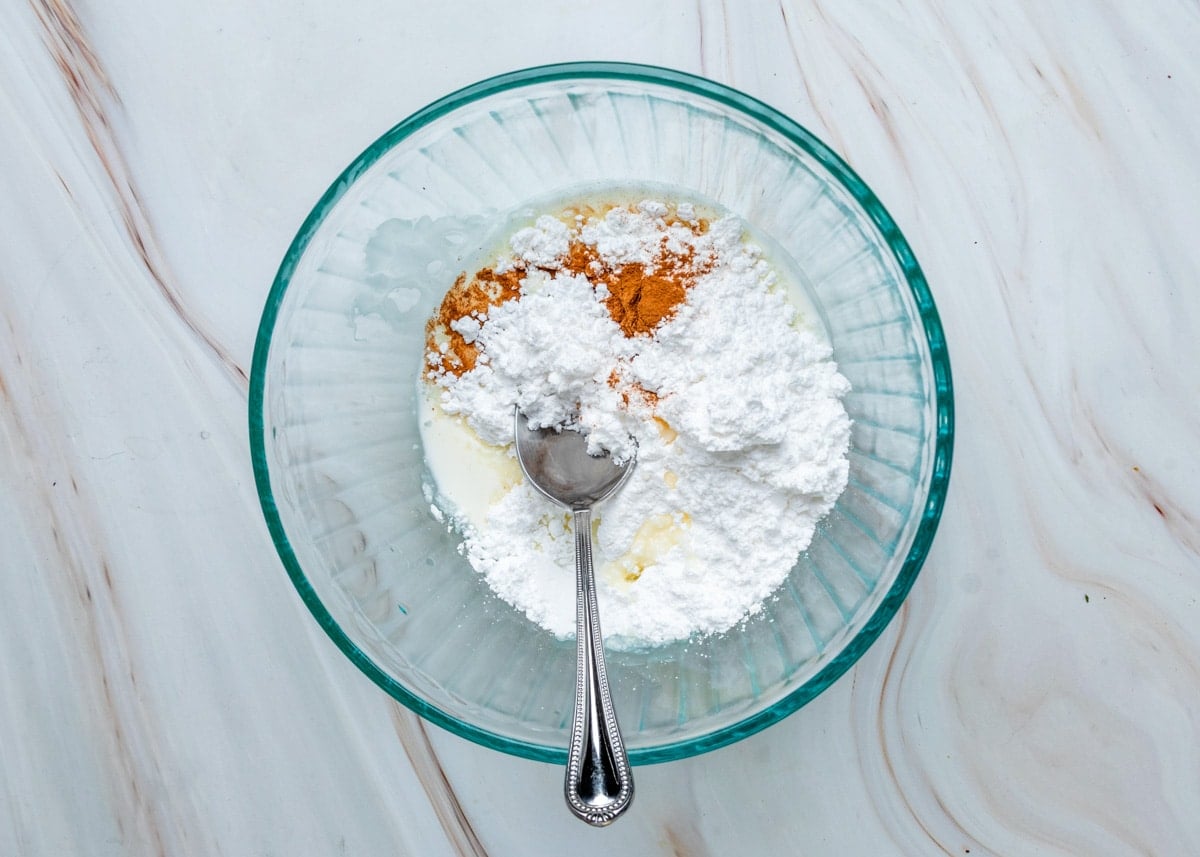
Measuring the powdered sugar: For the most consistent glaze, weigh the sifted powdered sugar. If you don’t have a kitchen scale, your next best bet is the spoon-and-sweep method: gently spoon the sifted sugar into a measuring cup, then level it off with the back of a knife.
If the glaze is too thick to drizzle, add more milk a few drops at a time, or a little extra powdered sugar if it seems too thin. For more on making glazes, see my Powdered Sugar Glaze post.
Wait until the danishes are just slightly warm or at room temperature before glazing them. Otherwise, the glaze will melt into the pastry instead of setting. Dip a fork or mini whisk into the glaze and drizzle it back and forth over each one.
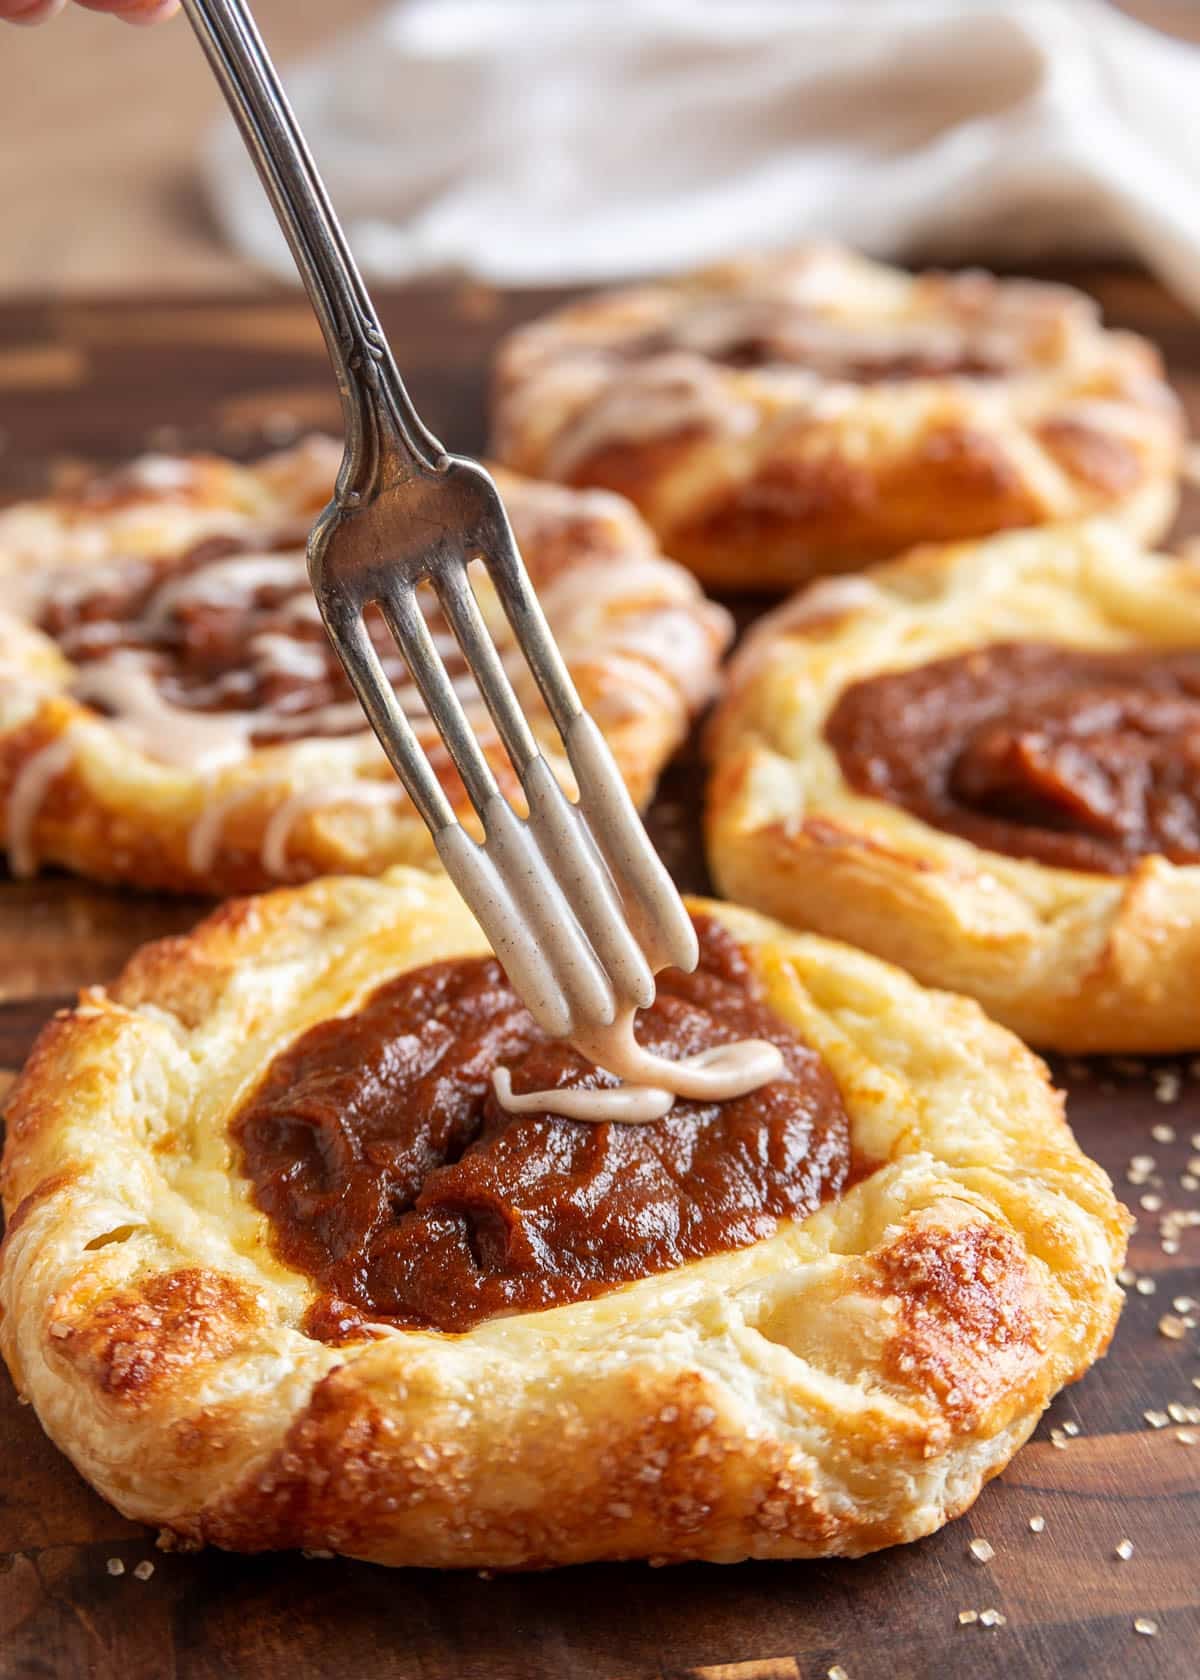
Serving Pumpkin Cream Cheese Danish
My family likes these danishes served slightly warm or at room temperature, with coffee, chai, or hot apple cider on the side.
These are perfect for Thanksgiving morning, especially if you have overnight guests for the holiday weekend. They’re a great way to give everyone something homemade with their morning beverage before the big meal.
The rest of the fall, they’re an easy way to make a weekend breakfast feel a little more special. Add a batch of Cider Doughnut Muffins and a loaf of Pumpkin Crumb Bread, and you have a fall bakery basket ready for guests.
Storing and Reheating Leftovers
This Pumpkin Cream Cheese Danish recipe is best the day it’s made, when the pastry is crispest and flakiest. Leftovers can sit at room temperature on the day you bake them. After that, store them in an airtight container in the refrigerator for up to 3 days, since both fillings contain cream cheese and egg.
To reheat, place the refrigerated danishes on a parchment-lined baking sheet and warm them in a 350°F oven for 4 to 5 minutes. They won’t be quite as crisp as on day one, but the warm pastry will get back some of its fresh-baked texture.
More Fall Bakes To Try
Pumpkin Cream Cheese Danish
Ingredients
For the Pastry
- 2 sheets puff pastry , defrosted (see Note 1)
- turbinado sugar or coarse sparkling sugar , for sprinkling
Pumpkin Filling
- ⅔ cup pumpkin puree (I use Libby's, see Note 2)
- 3 tablespoons packed light brown sugar
- 1 teaspoon pumpkin pie spice
- ½ teaspoon ground cinnamon
- 1½ tablespoons beaten whole egg (half of a large egg; save the rest to brush the puff pastry)
- pinch Diamond Crystal kosher or fine sea salt
Cream Cheese Filling
- 6 ounces brick style cream cheese , softened to room temperature (I use Philadelphia)
- 3 tablespoons granulated sugar
- 1 large egg yolk
- 1 teaspoon freshly-squeezed lemon juice
- 1 teaspoon vanilla extract
For the Glaze
- 1 cup sifted confectioner's sugar (115 grams, see Note 3)
- 1½ tablespoons whole milk (plus additional if needed)
- ½ teaspoon vanilla extract
- ¼ teaspoon ground cinnamon
Instructions
- Preheat the oven to 400°F and line 2 half-sheet pans with parchment paper. Keep each sheet of the defrosted puff pastry in the refrigerator until you’re ready to roll it.
Make the Fillings
- Pumpkin filling: In a medium bowl, whisk the pumpkin purée, brown sugar, pumpkin pie spice, cinnamon, and salt. Beat 1 large egg in a small bowl, then whisk 1½ tablespoons of it into the pumpkin mixture until smooth. Set the remaining egg aside for the egg wash.
- Cream cheese filling: In a separate bowl, beat the softened cream cheese, granulated sugar, egg yolk, lemon juice, and vanilla with a hand mixer until completely smooth (or combine well with a spoon).
Shape the Danishes
- Unfold 1 sheet of puff pastry onto parchment or a lightly floured surface, and roll it into a 10½-inch square. Cut it into 4 equal squares.
- Transfer the squares to a prepared baking sheet, spacing them a few inches apart. Fold each corner about ¾ to 1 inch in toward the center, and lightly press the points down so they stay in place.
- Dollop about 1¾ tablespoons of cream cheese filling to the center of each square (I use a #40 cookie scoop, filled slightly over level; a spoon also works). Spread it out slightly, leaving a ¾-inch border of puff pastry.
- Top with just under 1½ tablespoons of pumpkin filling (I use a lightly rounded #60 cookie scoop) and spread it lightly over the cream cheese filling. The pumpkin layer should be a little smaller in diameter than the cream cheese layer.
- Lightly brush the exposed pastry border with the reserved beaten egg, then sprinkle with coarse sugar.
Bake
- Bake for 18 to 22 minutes, until the danishes are puffed and deep golden brown on the edges and sides, and the pastry around the filling looks dry, not doughy (see Note 4).
- While the first batch bakes, repeat the pastry-shaping instructions above with the second sheet of puff pastry, the second lined baking sheet, and the remaining fillings.
- Cool the danishes on the baking sheet for 10 minutes, then transfer them to a wire rack to cool until they're just barely warm or room temperature.
Glaze and Serve
- Whisk the powdered sugar, milk, vanilla, and cinnamon in a bowl until smooth. If the glaze is too thick to drizzle, add more milk a few drops at a time. If it’s too thin, whisk in a little more sifted powdered sugar, a teaspoonful at a time.
- Drizzle the glaze over the danishes with a fork or mini whisk. Let the glaze set for a few minutes and serve.
Notes
Nutrition Estimate
Nutrition information is automatically calculated, so should only be used as an approximation.
Please note that our recipes have been developed using the US Customary measurement system and have not been tested for high altitude/elevation cooking and baking.