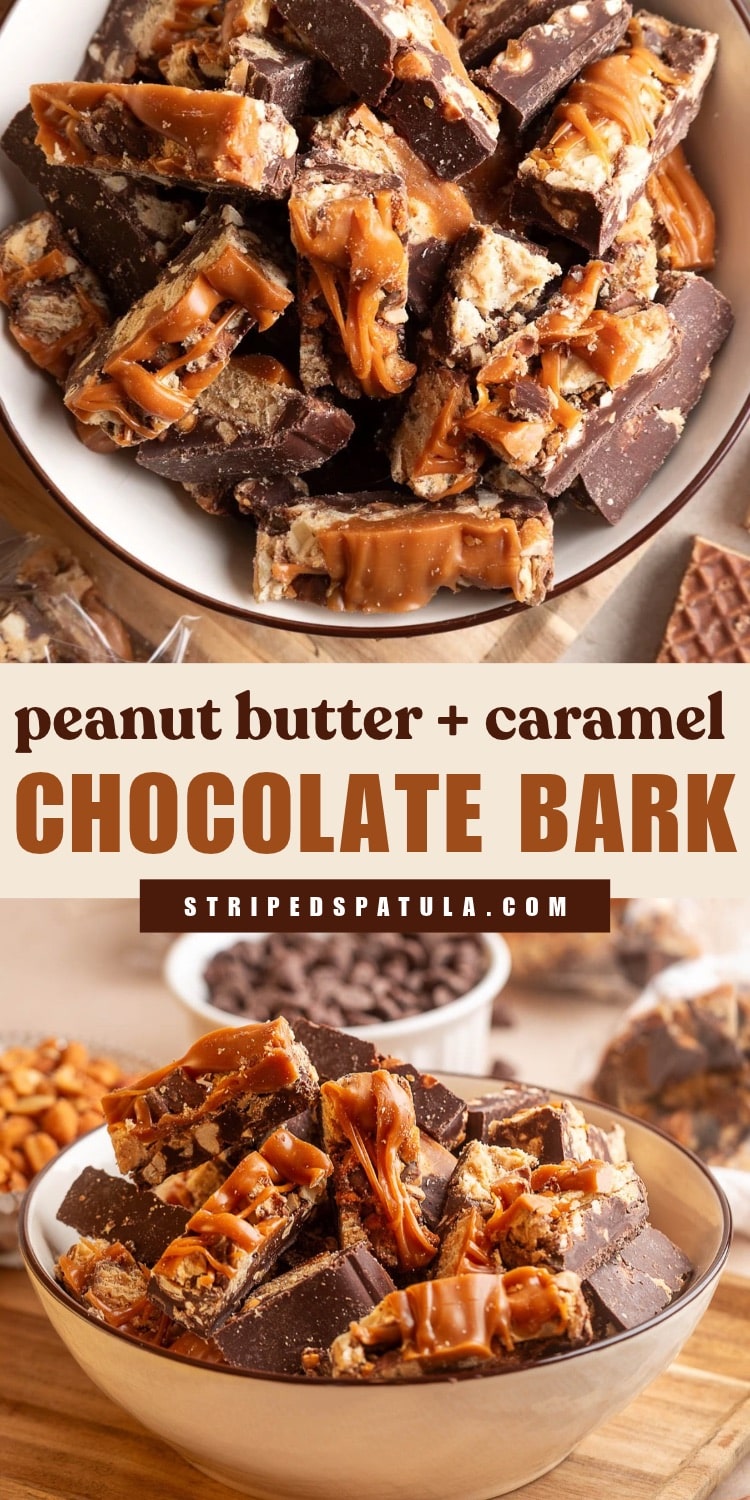
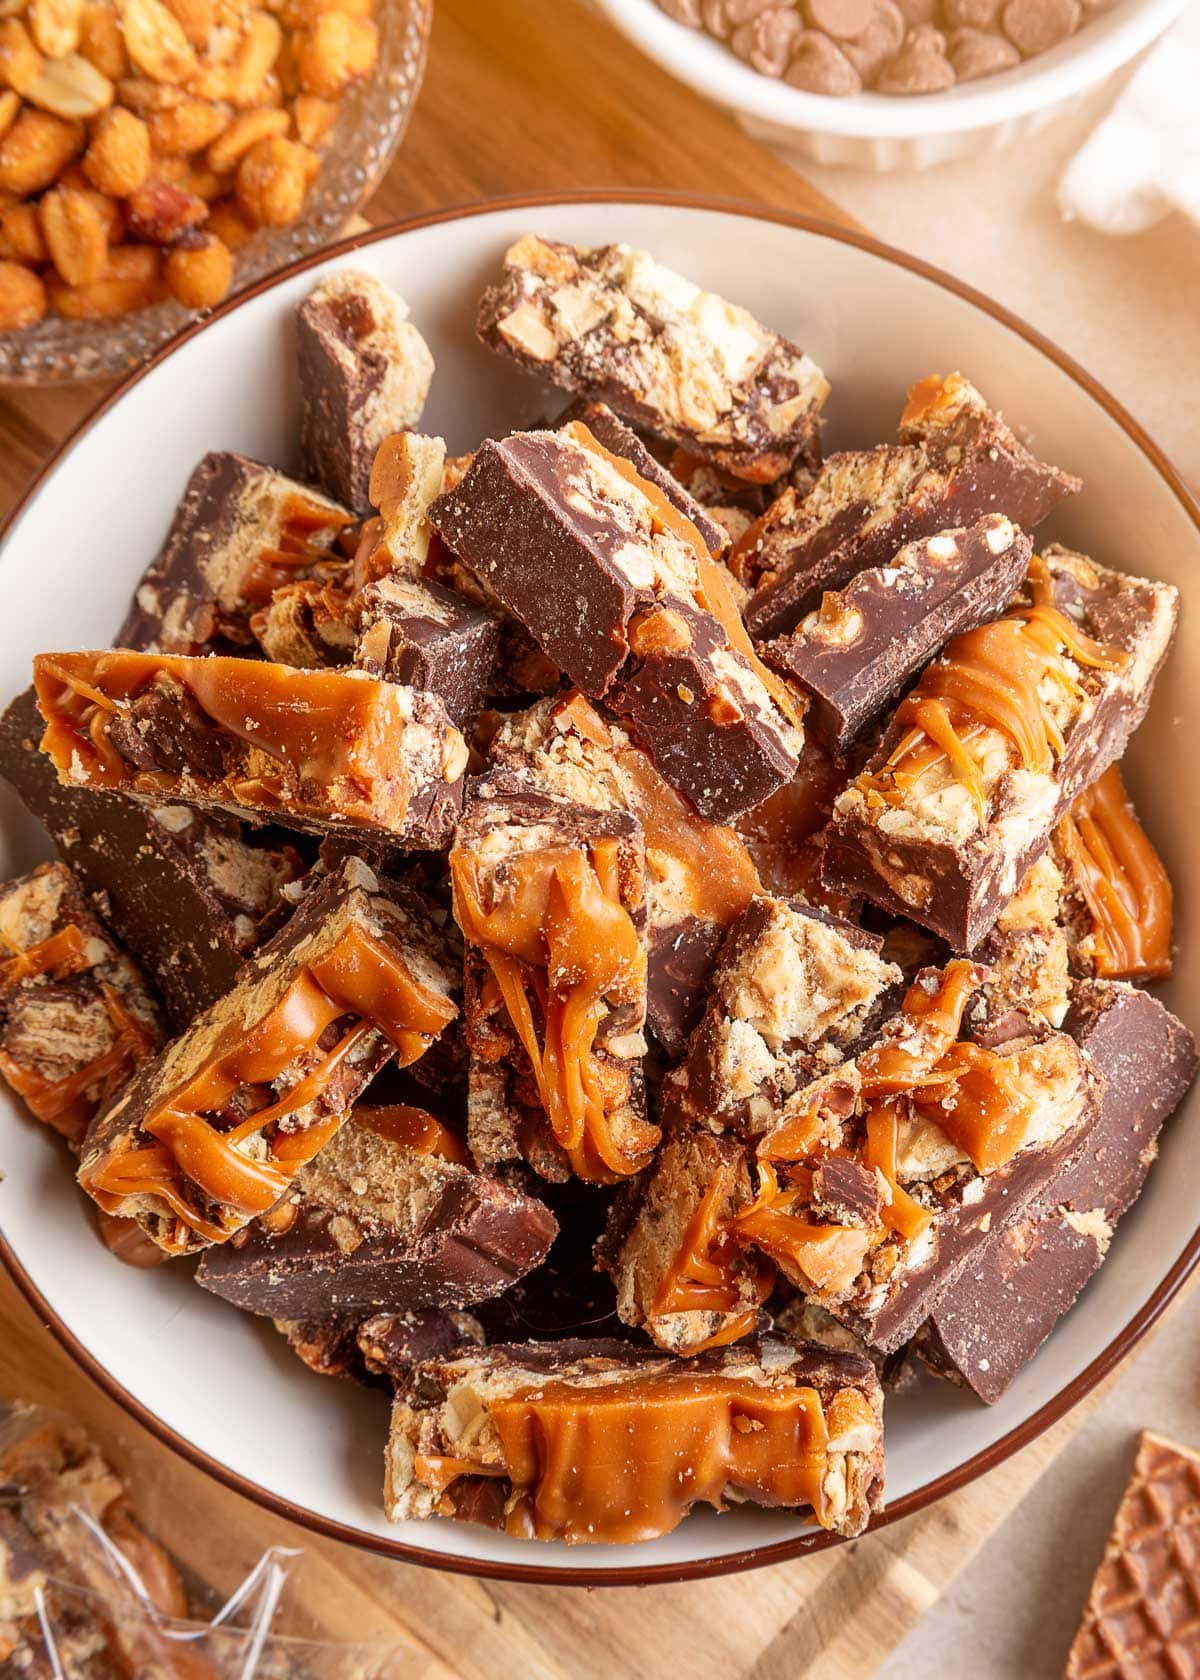
If you grew up loving Nutty Buddy bars, you’ll love this no-bake Chocolate Peanut Butter Caramel Bark. Chopped wafer cookies and honey-roasted peanuts get pressed into swirled chocolate and peanut butter, then drizzled with caramel. It also makes an easy homemade holiday gift!
Before You Start Cooking
- Prep the mix-ins first. Chop the peanuts and Nutty Buddy bars before you melt the chocolate. The toppings need to go on while the chocolate is still warm so they set into the bark.
- Use regular chunky peanut butter. Skip peanut butter “spreads” and natural peanut butters that separate and need stirring. Both make the bark too soft, so it won’t hold together as well when you cut it. I use Jif Extra Crunchy peanut butter.
- Choose your chocolate. My favorite is semi-sweet bars or blocks, like Ghirardelli baking bars. Tempering them takes a little more work, but the bark sets up glossier and won’t melt on your fingers quite as fast. Semi-sweet chips work, too. The bark will be a bit softer, but they’re quicker, cost less, and are often already in the pantry.
- Use caramel bits. They melt quickly and smoothly, and you don’t have to unwrap anything. Kraft makes them, and while I rarely see them at my local grocery stores, they’re easy to find at Target and Walmart.
How to Make Chocolate Peanut Butter Caramel Bark
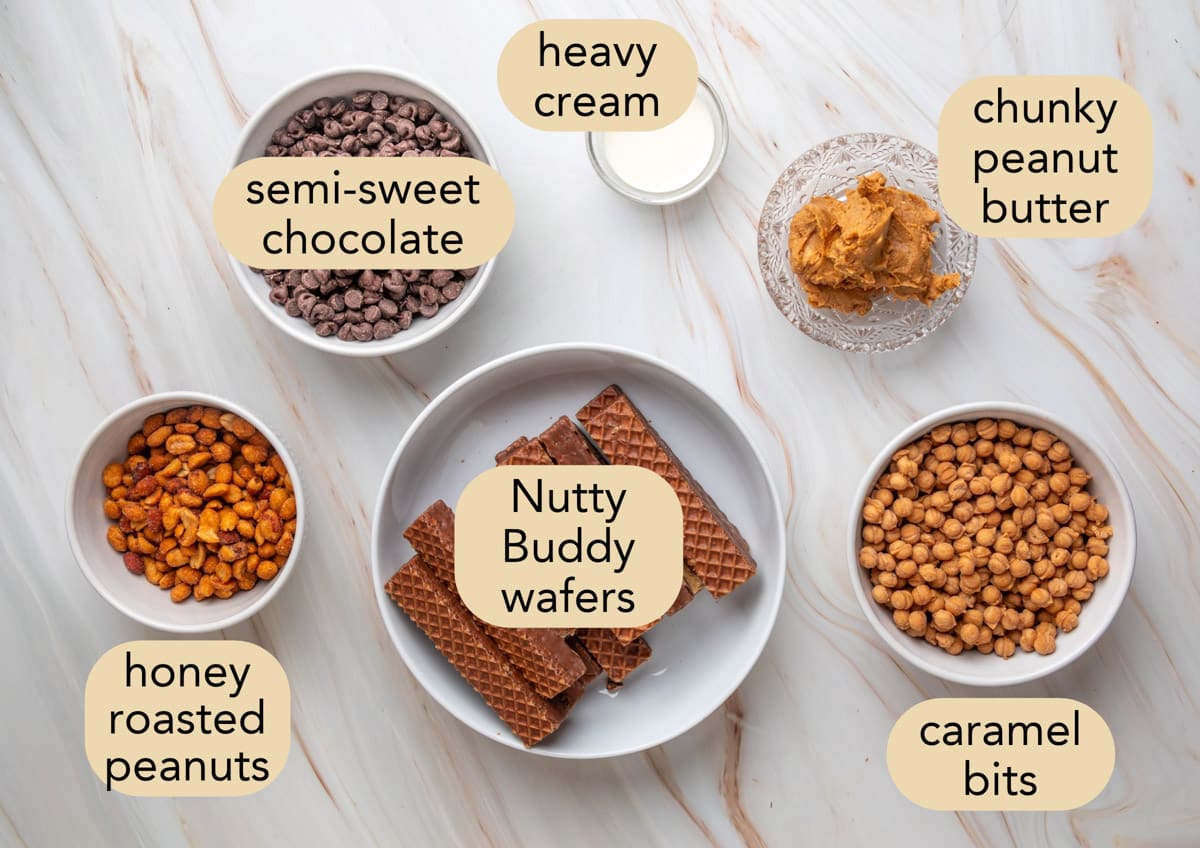
Step 1: Prep the Pan and Toppings
For the Pan
Start by spraying the bottom and sides of a 9×13-inch baking pan with a light coating of cooking spray, then line it with parchment. The spray will keep the parchment from sliding around when you spread the chocolate.
Leave about a 2-inch overhang on two sides of the pan (long or short sides, your choice). Later on, you’ll use those ends as handles to lift the whole slab of bark out of the pan.
Tip: To keep the overhang from getting in the way while you’re making the bark, clip it to the pan sides with binder clips. I keep a few metal ones in my kitchen just for holding parchment in place, but since the bark never goes in the oven, any binder clips will work.
For the Toppings
Before you start melting anything, chop the honey-roasted peanuts and Nutty Buddy wafers so they’re ready to go. Once the chocolate is melted, you’ll need to work swiftly when layering the bark.
Give the peanuts a rough chop. I like having a mix of smaller and larger pieces throughout the bark.
Cut the Nutty Buddy bars into roughly ½-inch wide chunks. Bigger wafer chunks make the bark hard to slice cleanly once it’s chilled. Tiny pieces tend to crumble and separate, turning the wafer layers powdery.
Step 2: Melt the Chocolate
How you melt the chocolate depends on whether you’re using chips or bars. Either way, you’ll want a rubber spatula and an instant-read thermometer.
If you’re using chocolate chips
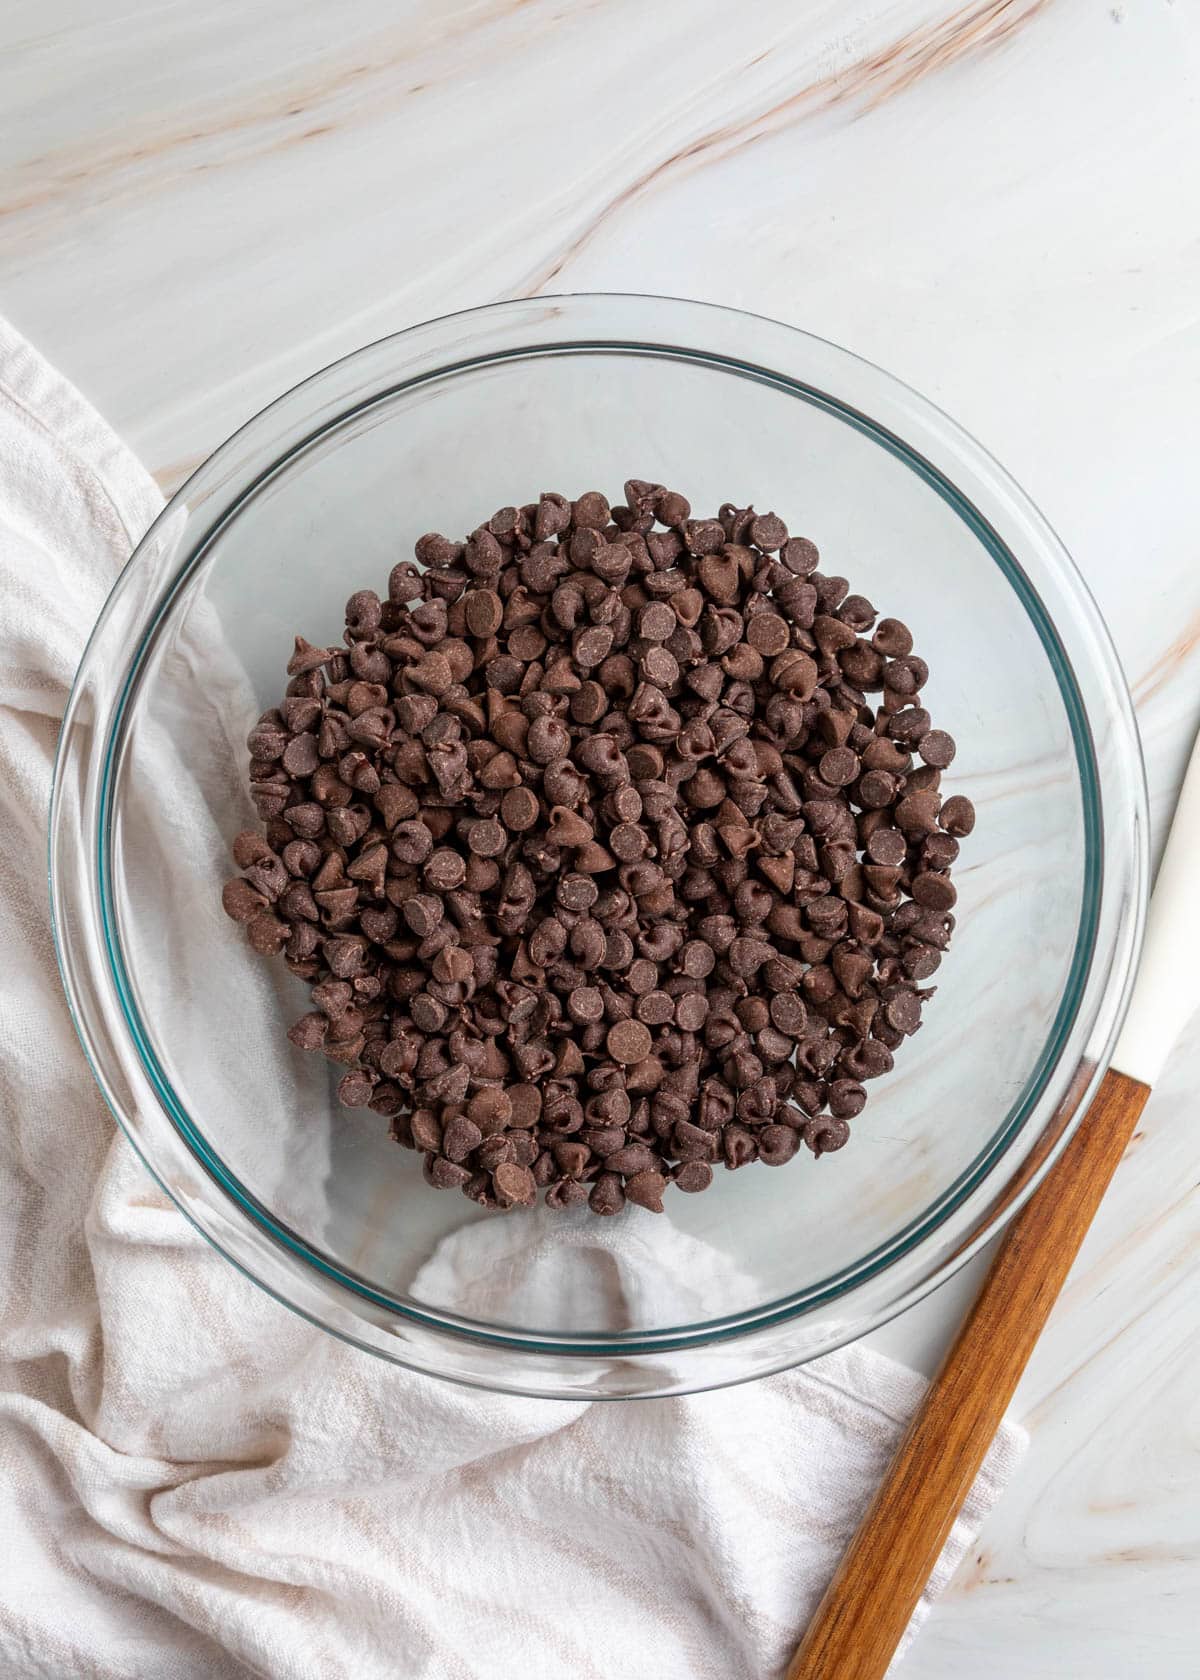
Add the chips to a microwave-safe bowl and microwave at 50% power in 30-second intervals, stirring after each one. After about 1½ to 2 minutes total, switch to 10- to 15-second intervals until the chocolate is about two-thirds melted.
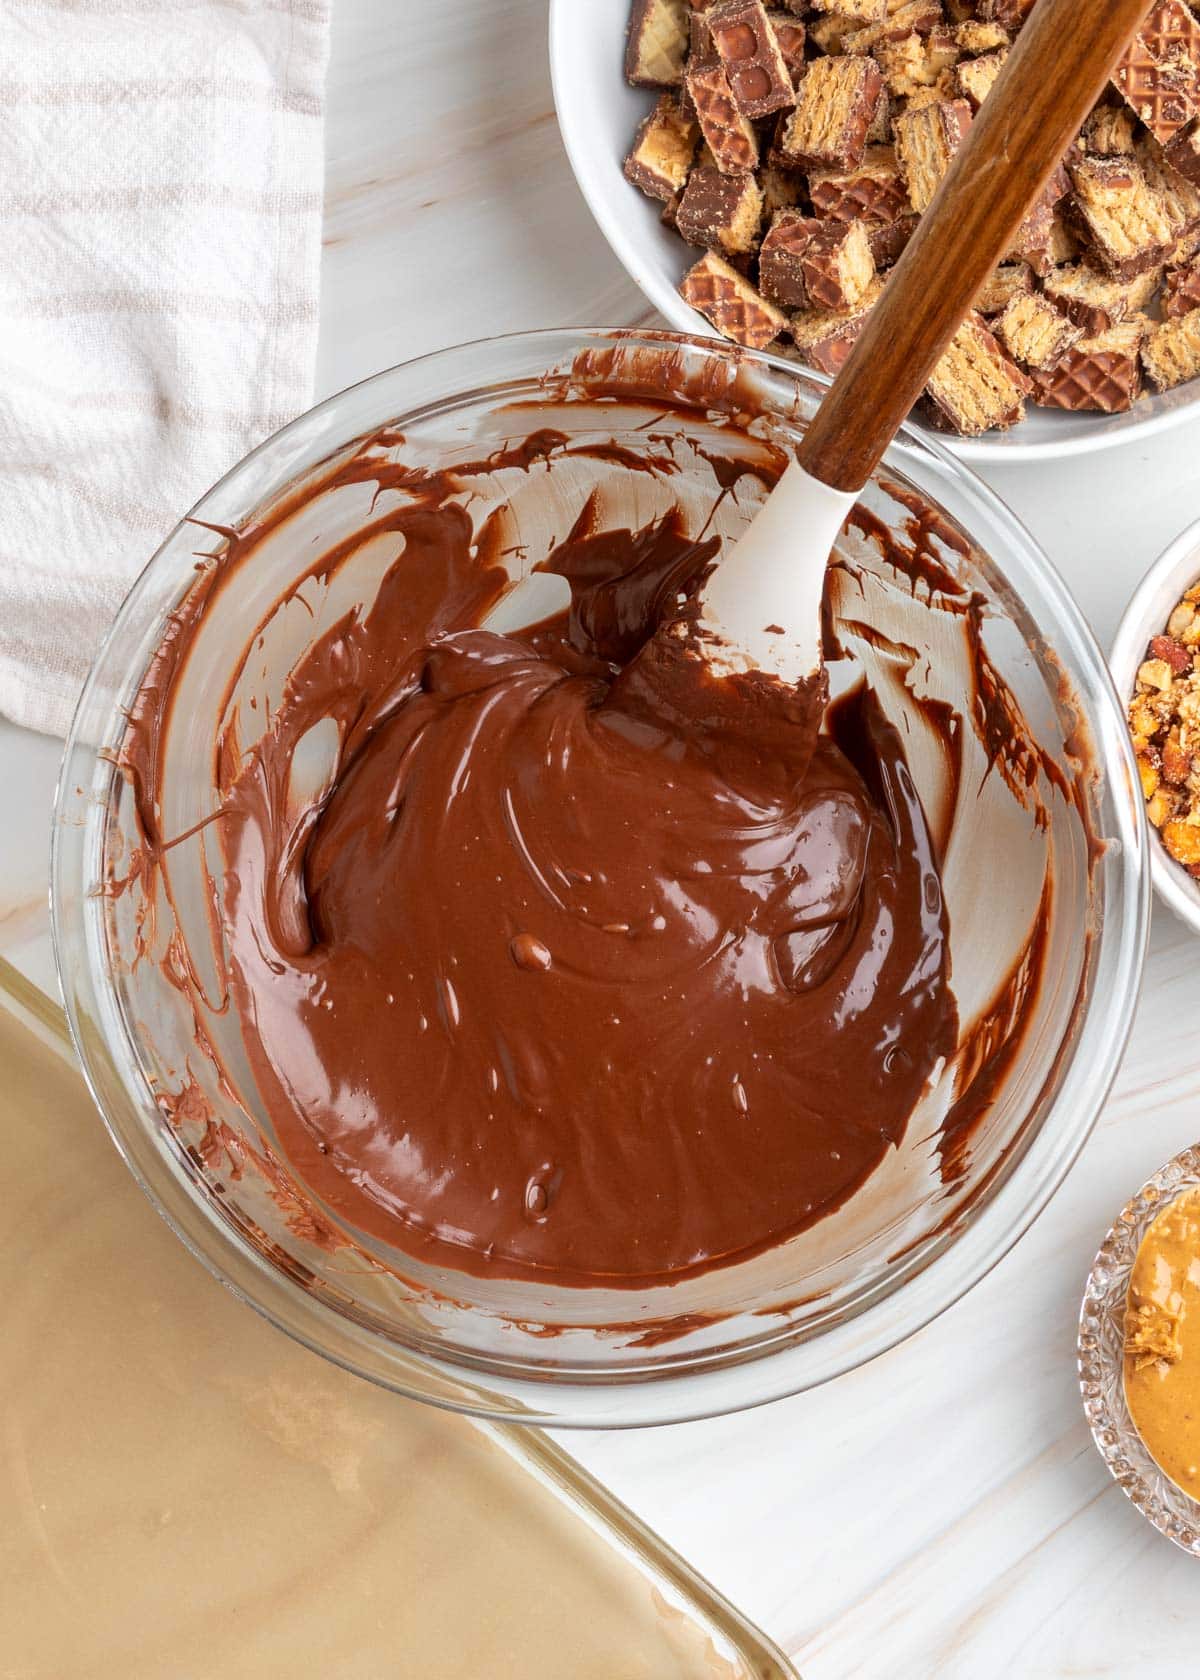
Then take the bowl out and keep stirring. The residual heat will melt the rest of the chips, and you’ll end up with smooth chocolate that’s about 88 to 90°F.
You want the chocolate to be warm enough to stay fluid while you spread and swirl it, but not so hot that it melts the peanut butter and softens the Nutty Buddy bars.
If you’re using semi-sweet chocolate bars or a block (preferred)
With bars or a block, you’ll temper the chocolate. Finely chop the chocolate with a serrated knife, then add two-thirds of it to a microwave-safe bowl and set the rest aside.
Tip: A bench scraper makes it easy to move the chopped chocolate into the bowl without sending little flakes all over the counter.
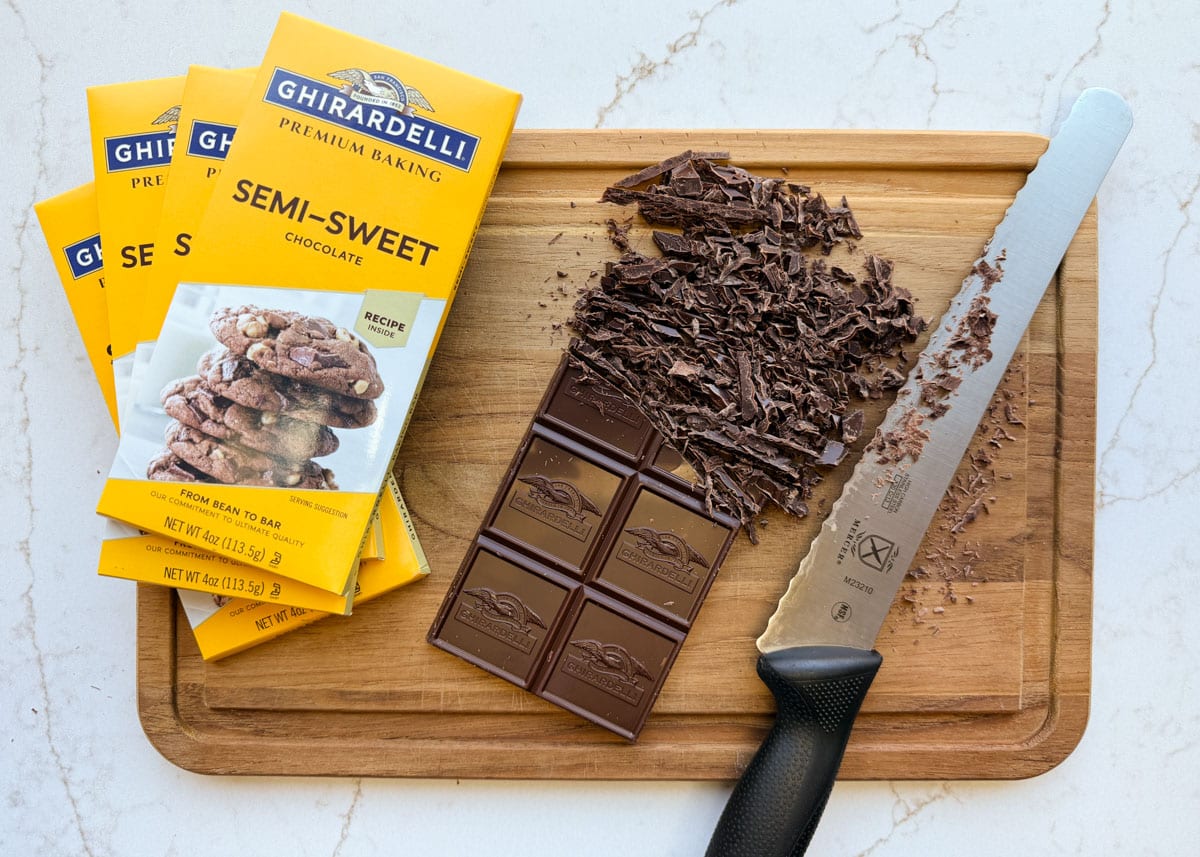
Microwave at 50% power in 30-second intervals, stirring well after each one, until the chocolate is completely melted and reads 110°F to 115°F on an instant-read thermometer.
As with the chips, I switch to 10- to 15-second intervals after about 1½ to 2 minutes total. The amount of time will depend on your microwave’s power and how finely you’ve chopped the chocolate.
Now add the reserved chocolate a little at a time to bring the temperature down, stirring until each addition melts before adding more. Keep stirring until all the chocolate is melted and it’s cooled to a working temperature of 88°F to 90°F.
If it drops below that range, pop it back in the microwave at 50% power for just 3 seconds at a time until it’s back in the working temperature range.
Step 3: Spread and Swirl
Pour the melted chocolate into your lined pan and spread it into an even layer. I like to use a metal offset spatula here, since it makes it easy to smooth and level the chocolate all the way to the corners.
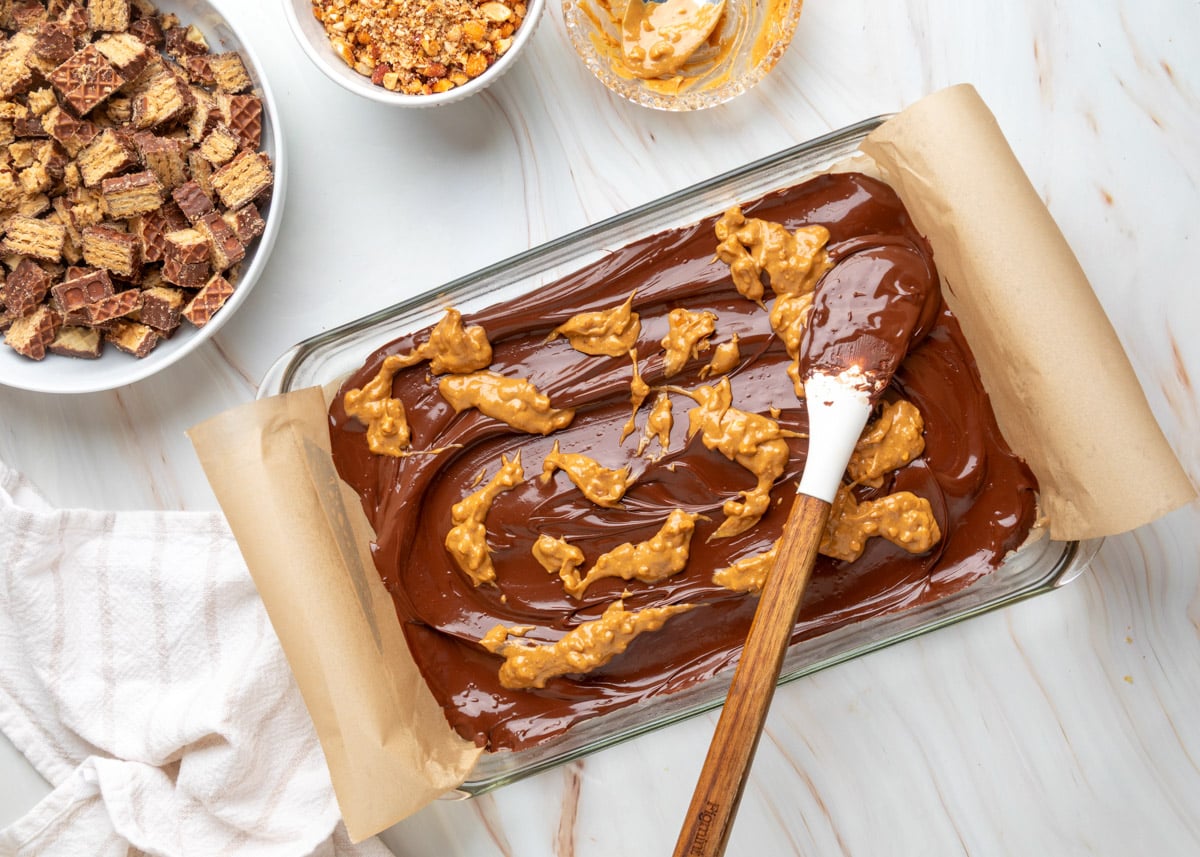
Then drop small spoonfuls of chunky peanut butter all over the top and gently swirl them through the chocolate. Don’t overdo it. You want small ribbons of peanut butter running through the chocolate, not one big blended layer.
Step 4: Add the Toppings
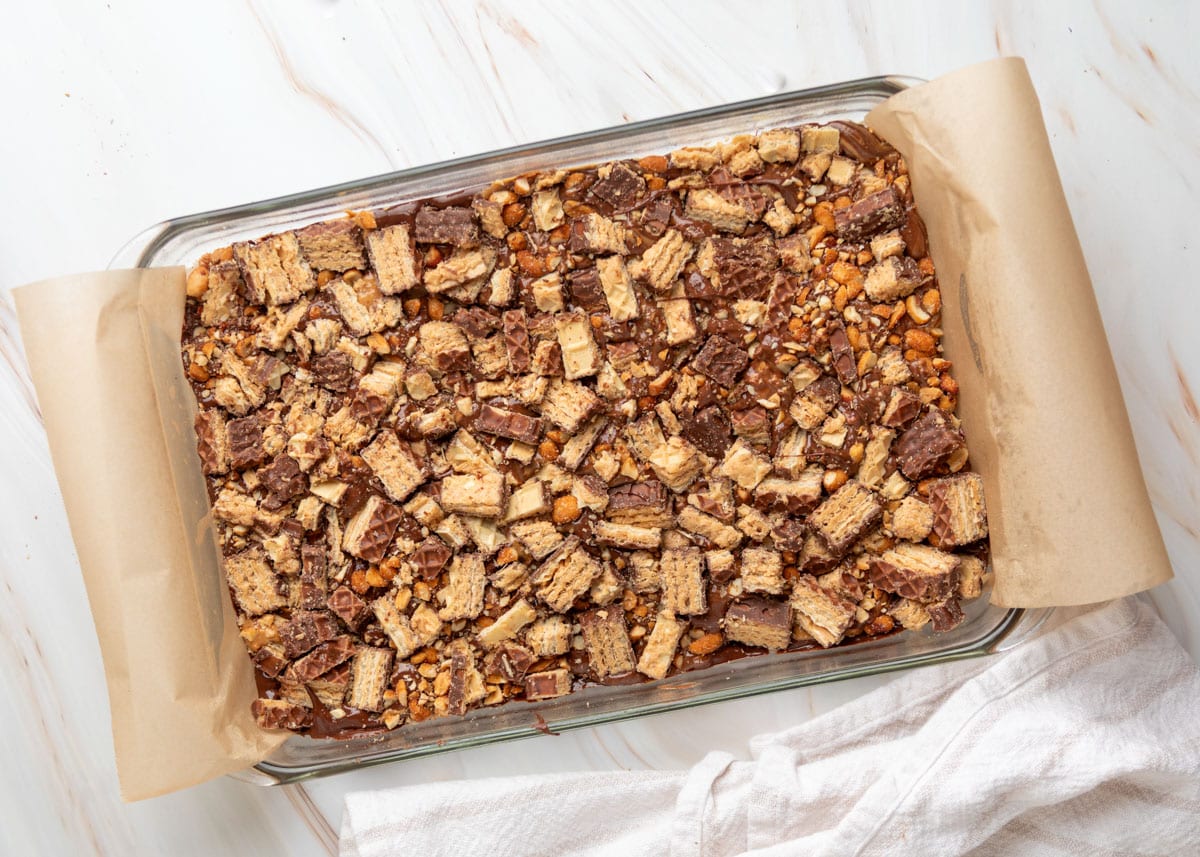
While the chocolate is still warm, scatter the chopped peanuts and Nutty Buddy pieces all over the top. Try to spread them out so every piece of bark gets a little of both.
Then give everything a gentle press so it settles into the top of the chocolate base. You can do this with your hands or the back of a spatula. I usually lay a piece of parchment over the top when pressing by hand, so nothing sticks to my fingers.
It seems like a small step, but don’t skip it! Toppings that are just sitting on the surface tend to pop off when you cut the bark.
Step 5: Drizzle the Caramel
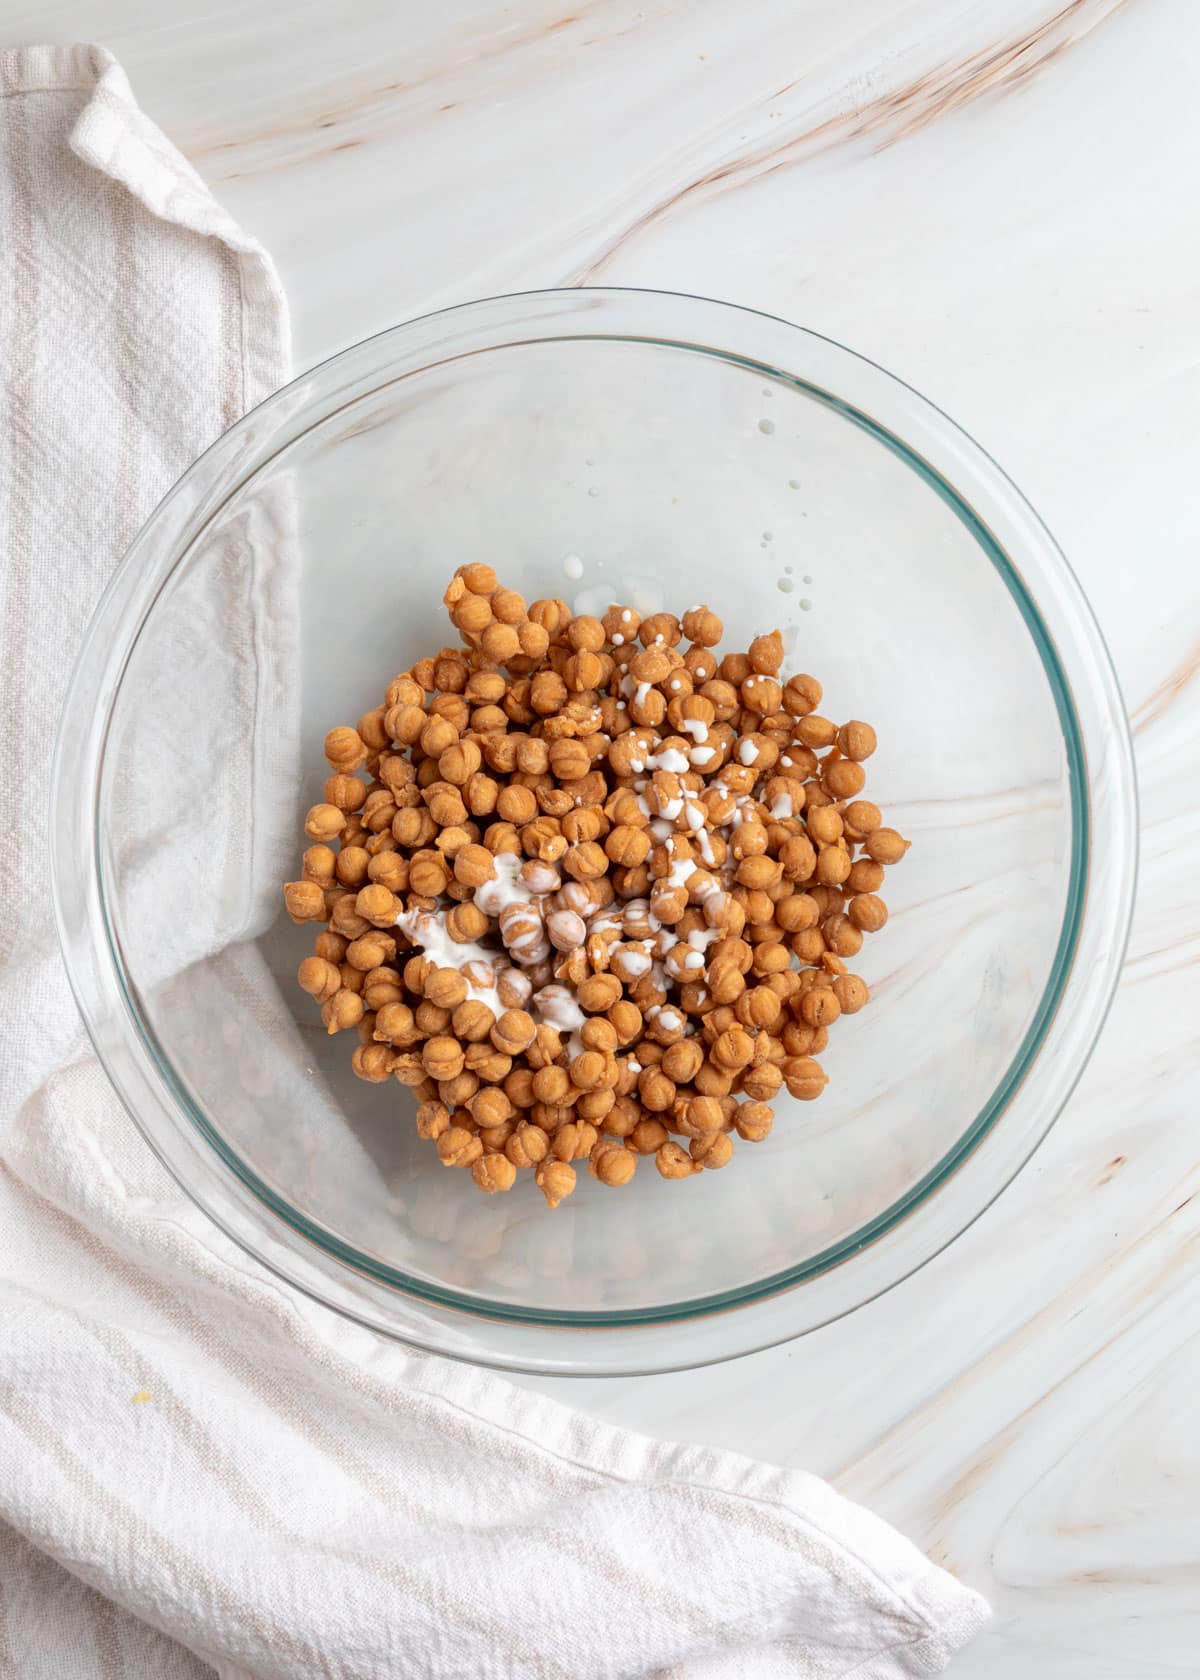
Add the caramel bits and heavy cream to a microwave-safe bowl and microwave on high for 1½ to 2 minutes, then stir until smooth. The heat from the bowl usually takes care of any unmelted bits, but if a few are still hanging on, give it another 10 seconds or so.
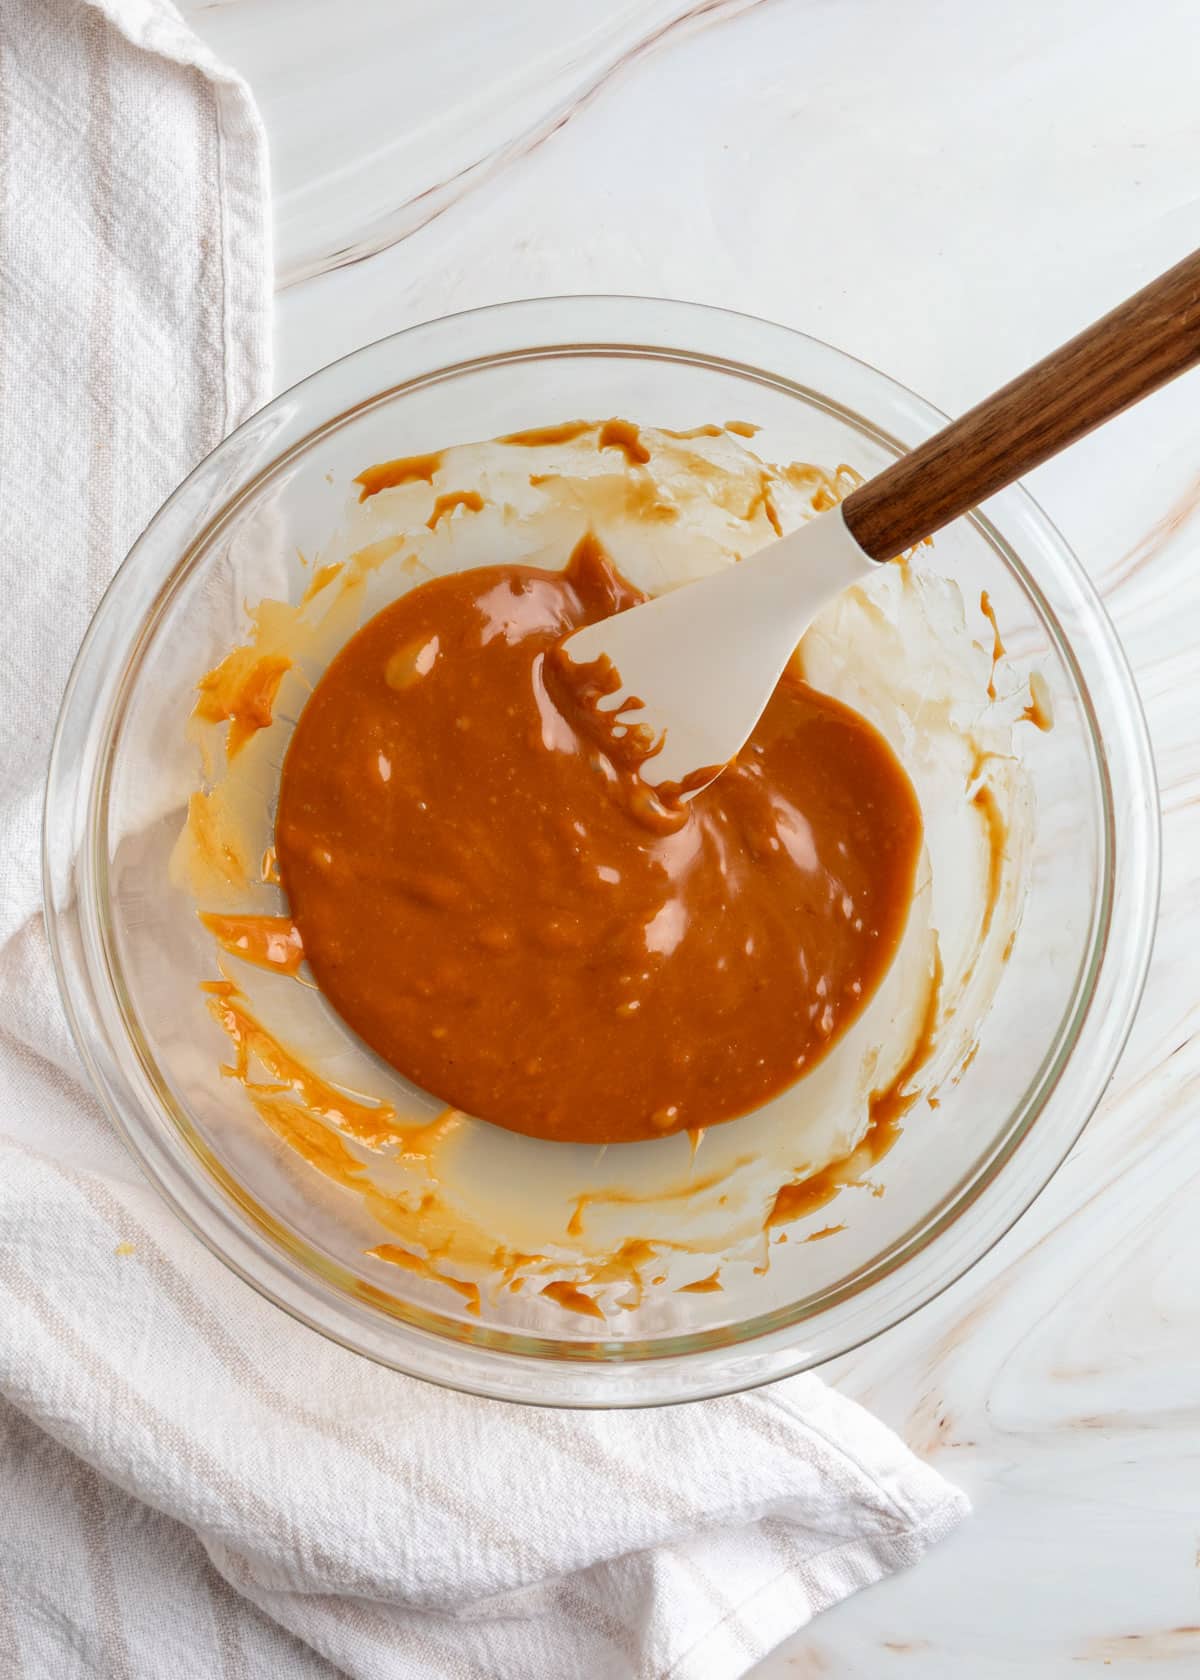
Then, grab a fork and drizzle the caramel back and forth over the bark. Be generous here. You want little pools and ribbons of caramel to help glue all those toppings in place.
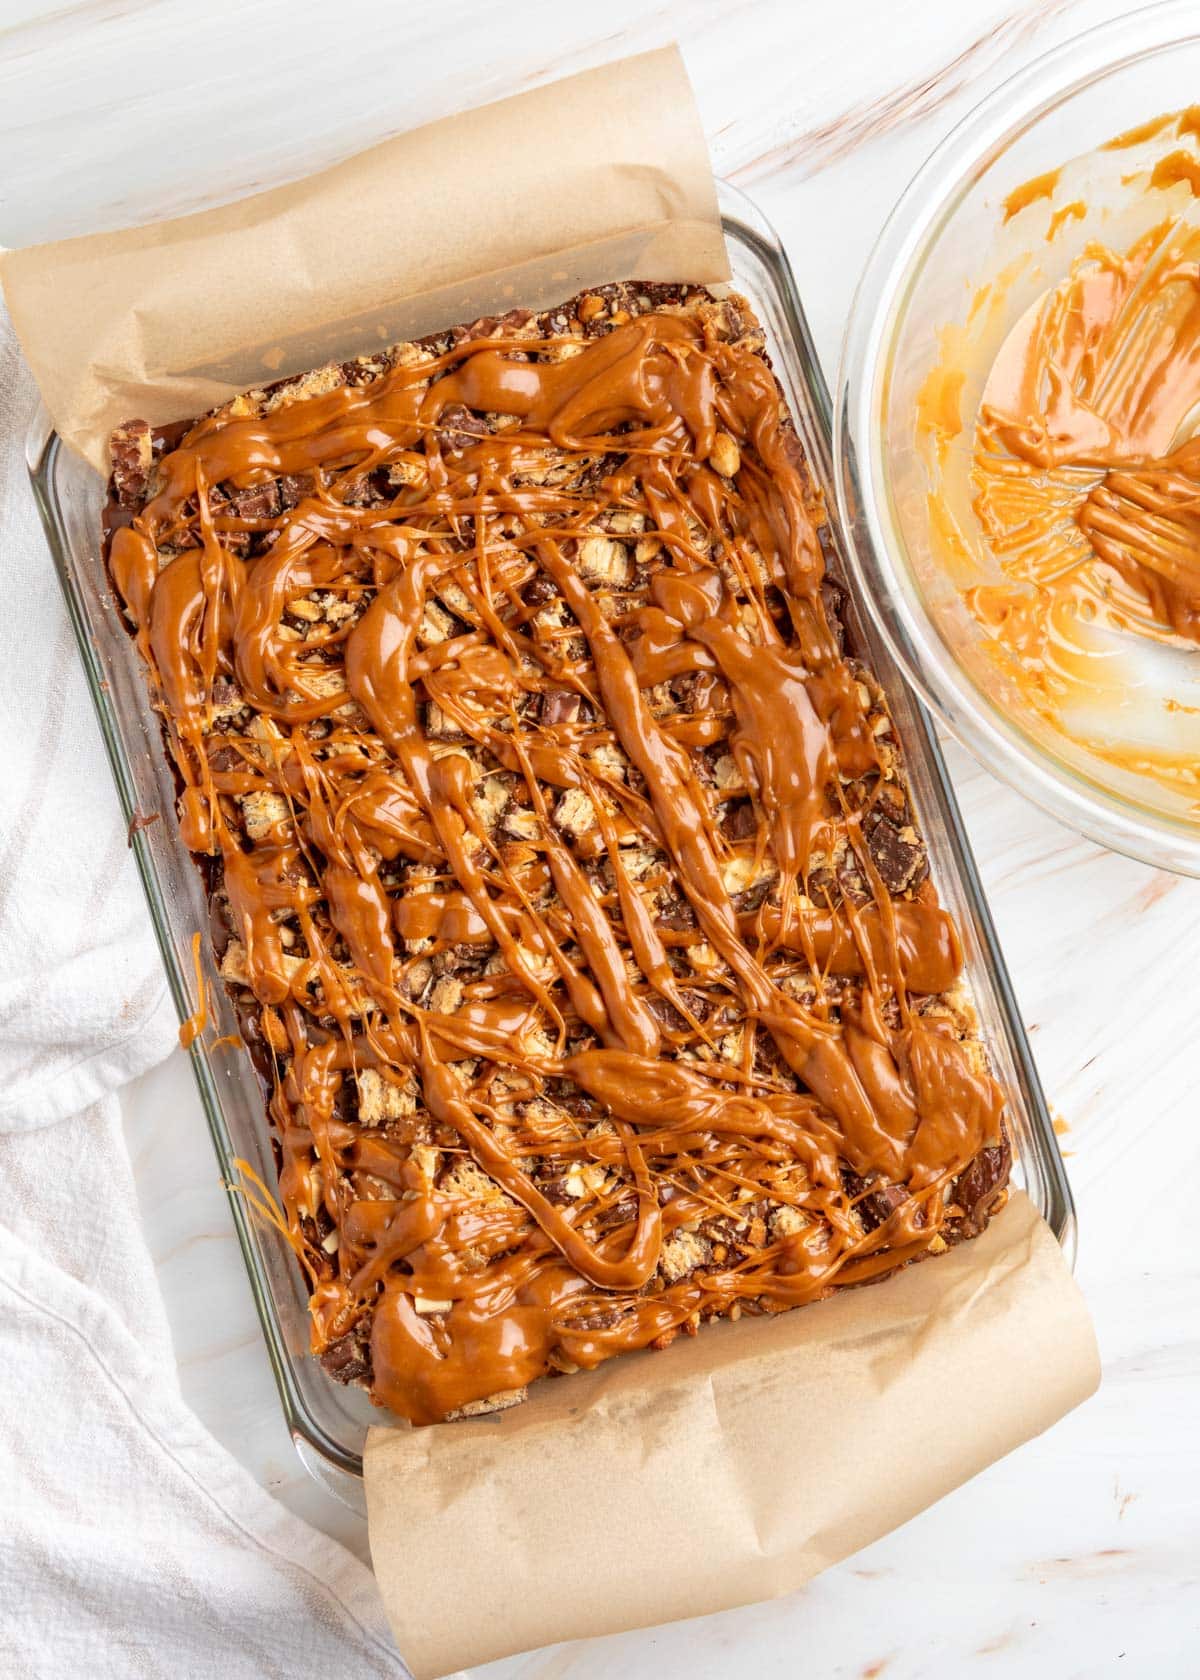
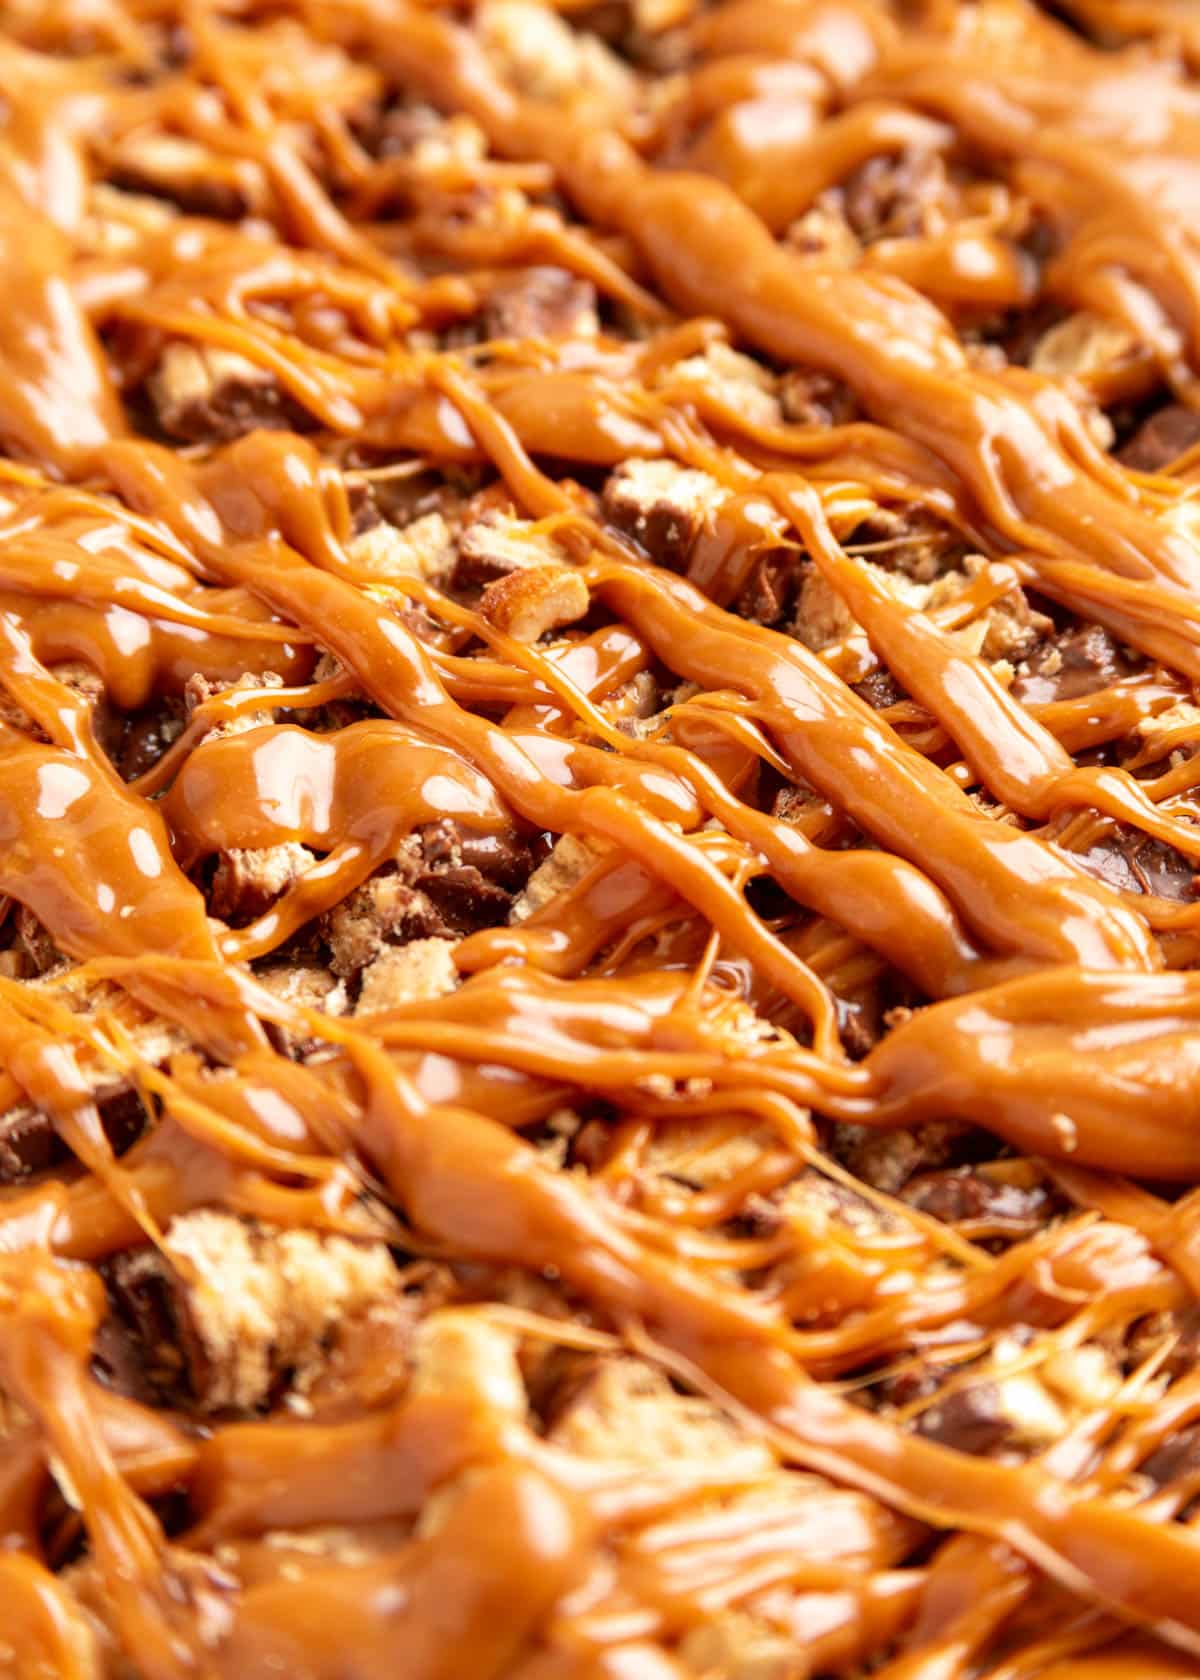
Step 6: Chill and Cut
Pop the pan in the freezer until the chocolate is set and firm, but the caramel is still soft enough to cut through. Depending on how warm your chocolate was and whether you went the tempering route, this can take anywhere from 10 to 20 minutes.
If you leave it in for a few minutes too long and the bark is too hard to cut through, don’t worry. Just let it sit on the counter for a few minutes, and it’ll soften up enough to slice.
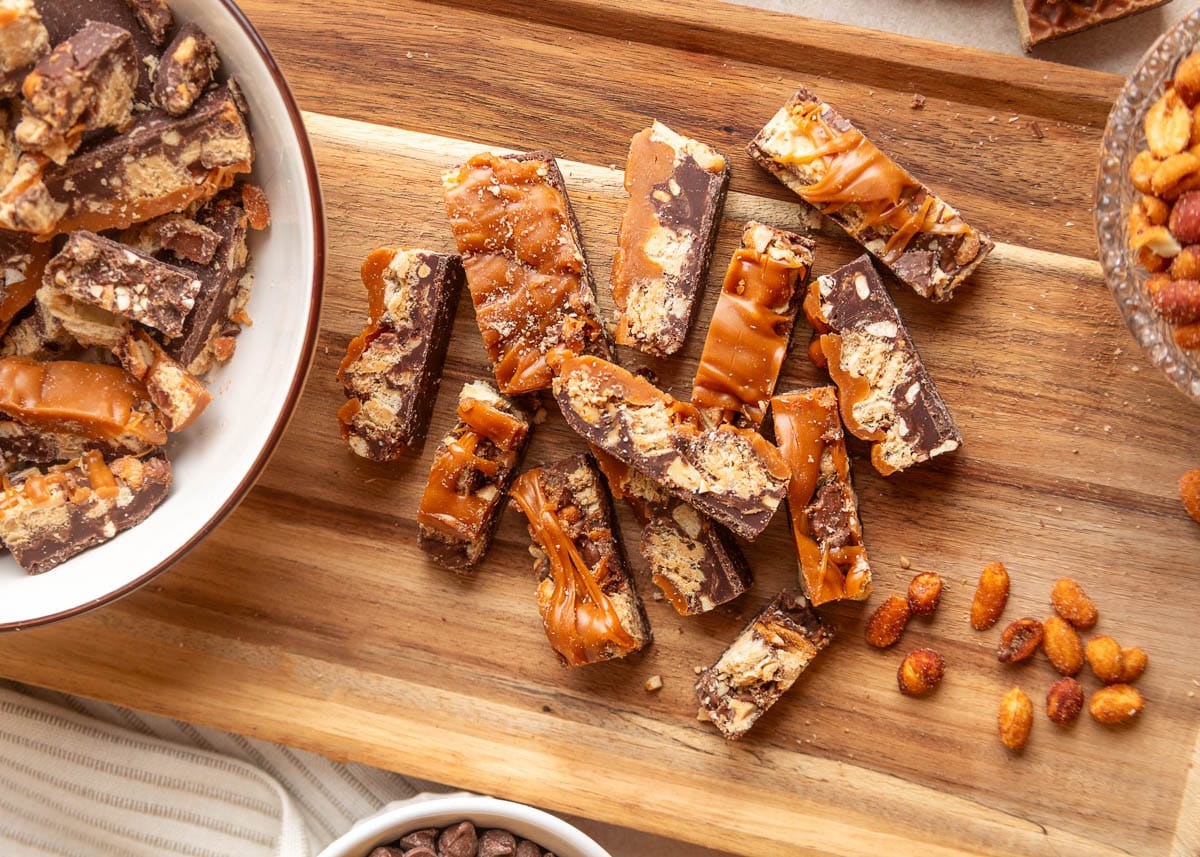
Use the parchment overhang to lift the bark out of the pan and onto a cutting board. Then grab a sharp knife (I use my chef’s knife) and cut it into pieces.
I cut the long side into 11 strips, then cut those into 3 rows across the short side, for 33 pieces total, each about 1 to 1¼ inches by 3 inches. You can make them bigger if you’d like, but I wouldn’t go much thinner widthwise, or the bark may start to fall apart.
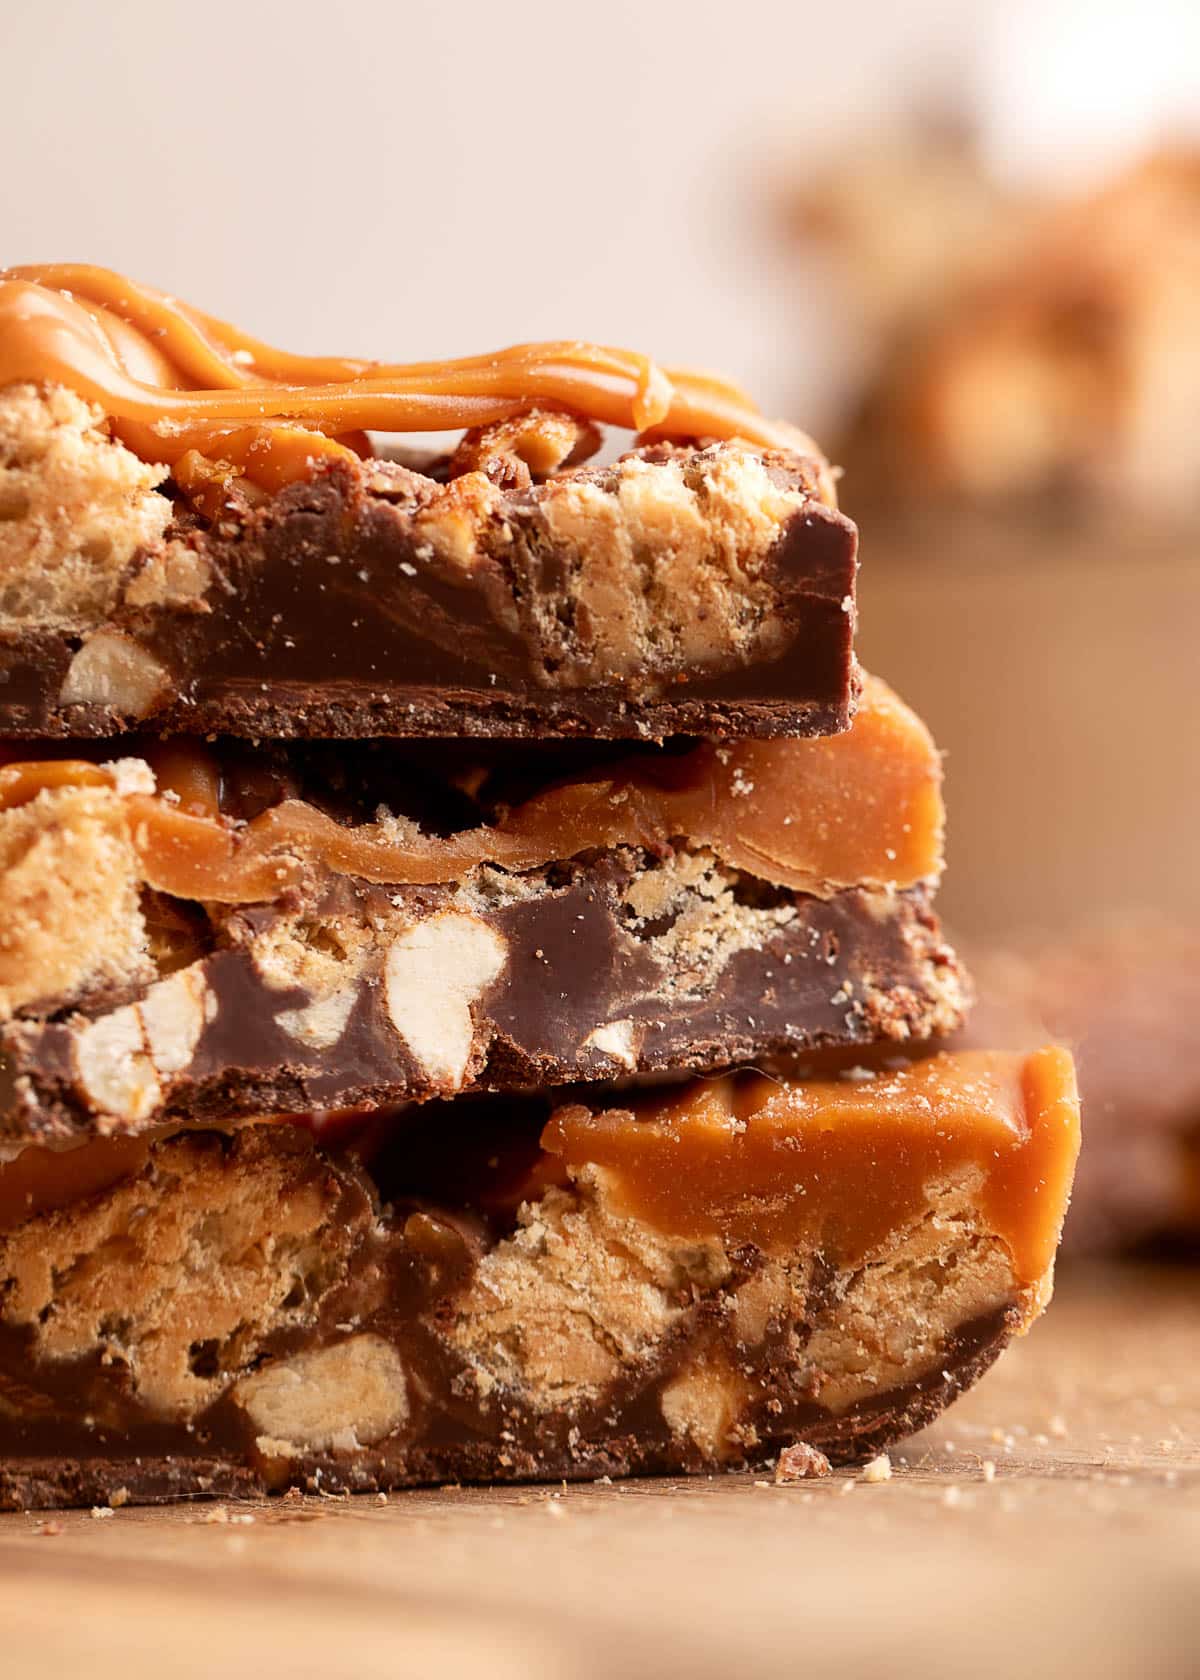
Storing Chocolate Peanut Butter Caramel Bark
I like this bark best stored in the fridge, where the peanut butter swirl stays nice and firm. Keep it in an airtight container for up to 2 weeks, and take it out about 5 minutes before serving so the chocolate isn’t too hard to bite into.
If you prefer a softer bite, you can store it at room temperature in an airtight container for up to 1 week. Just keep it somewhere cool and away from the stove or a sunny window.
If you made your bark with chocolate chips, I’d stick with the fridge. Since the chips aren’t tempered, chip bark gets softer at room temperature than bark made with bars.
Note: The Nutty Buddy wafers are crispest the day you make the bark. They’ll soften a little as they sit, but in my testing, they still add plenty of crunch throughout these storage windows.
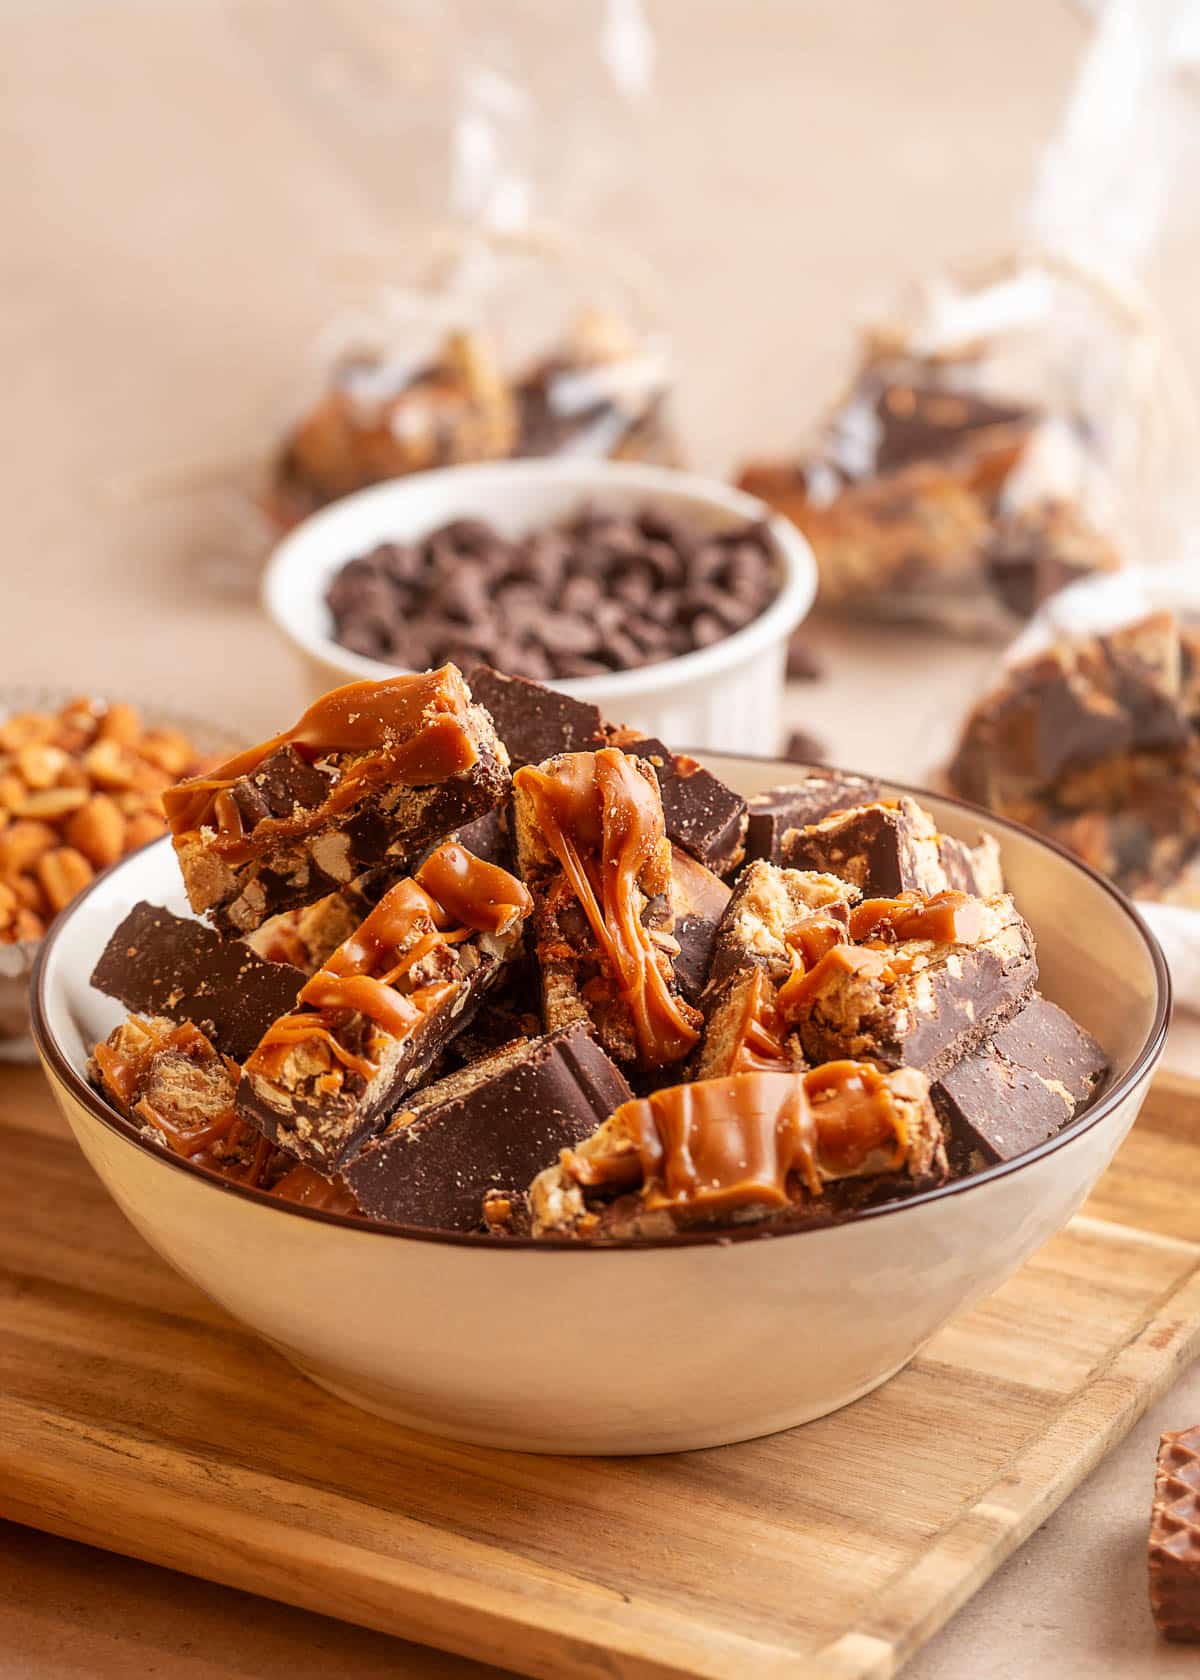
Serving and Gifting
This Chocolate Peanut Butter Caramel Bark is made for sharing. Pile it on a platter for a holiday party, tuck a few pieces into cookie tins, or set it out on a dessert table alongside your favorite cookies.
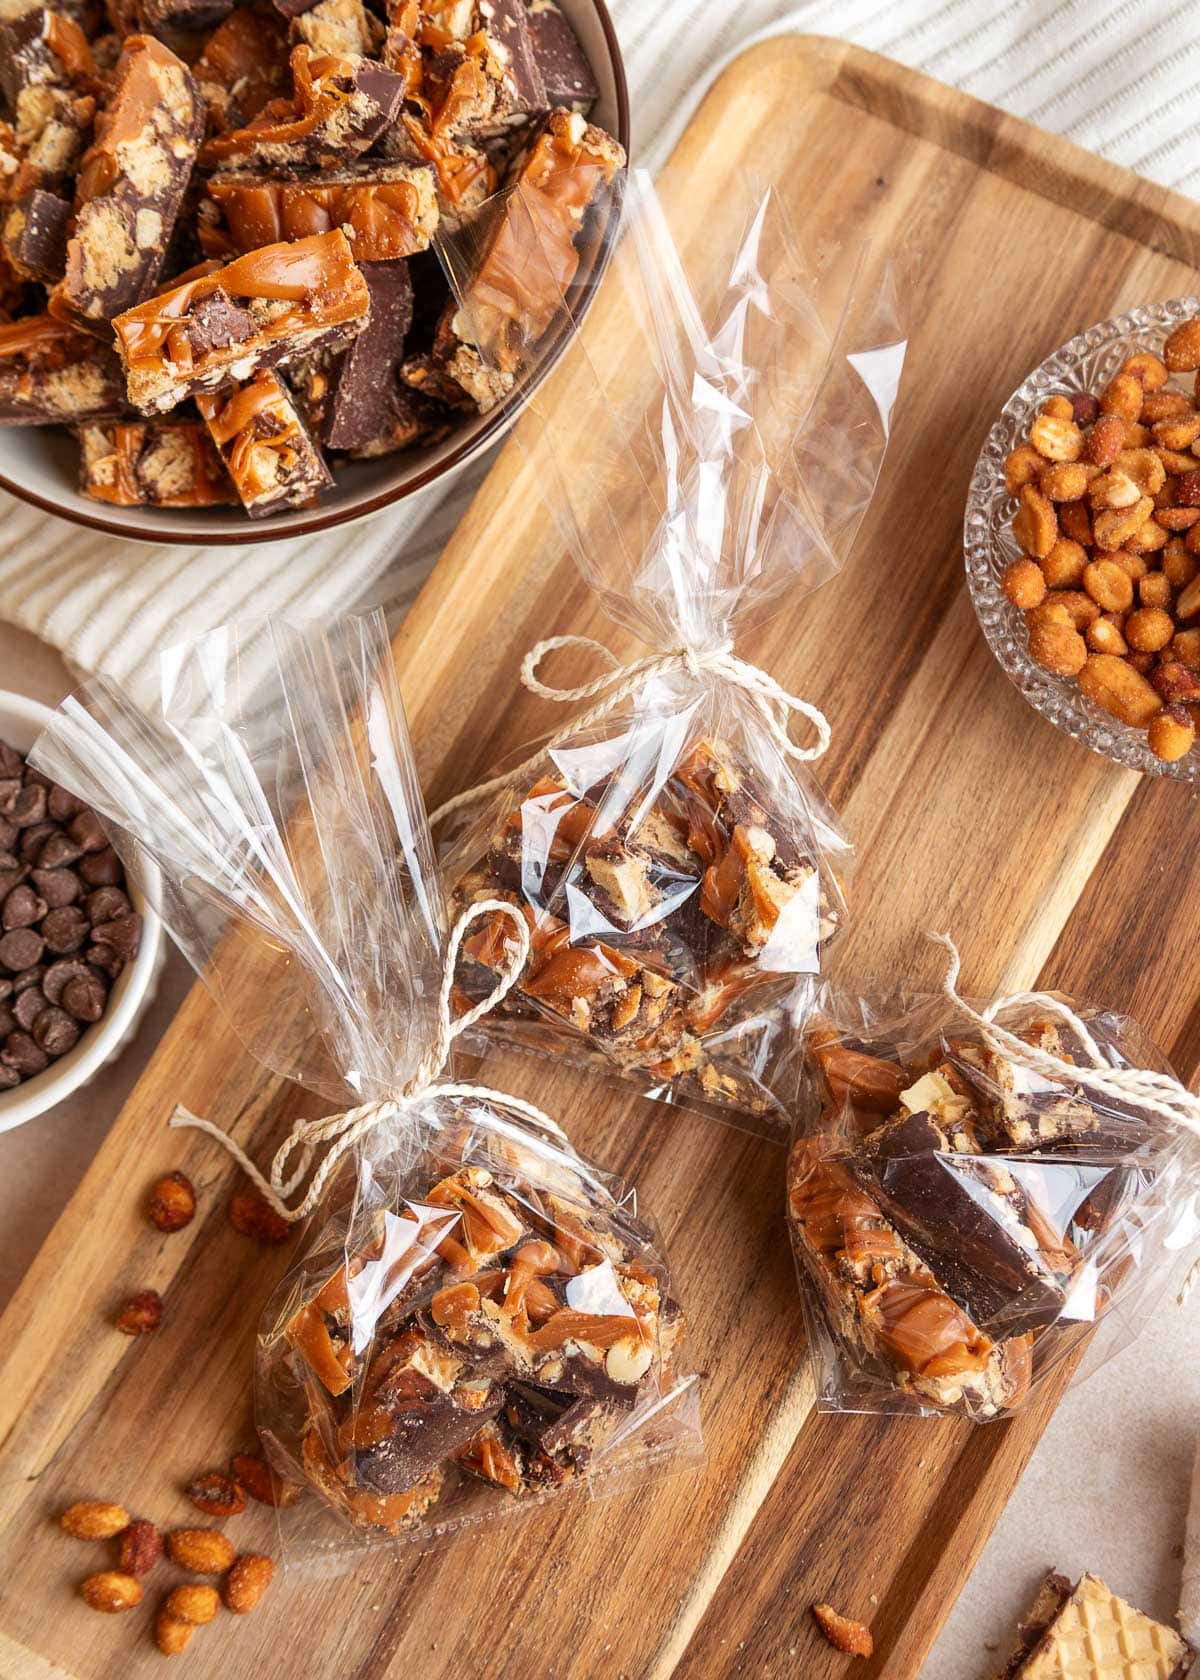
Packaging the bark for gifts
Clear cellophane bags {affiliate link} are my favorite way to package this bark. You can see all the layers of chocolate, peanuts, and caramel right through the bag, and it looks pretty with ribbon tied at the top.
A few tips for gifting:
- Let it set completely before bagging. If the caramel is still soft, the pieces will stick together in the bag.
- Chill it before you give it. Keep the bark in the fridge until you’re ready to package and hand it off, so the chocolate and peanut butter swirl stay firm. It’s also a good idea to let the recipient know it keeps best in the fridge.
- Add a label. Since the bark is loaded with peanuts and peanut butter, I like to add a “contains peanuts” note on the tag in case of allergies.
More Sweet Treats for Holiday Gifting
Chocolate Peanut Butter Caramel Bark
Ingredients
- 18 ounces semisweet chocolate , from a bar/block or chocolate chips (see Note 1)
- 6 tablespoons extra crunchy peanut butter (see Note 2)
- ½ cup roughly chopped honey roasted peanuts
- 6 Little Debbie Nutty Buddy wafer bars , roughly chopped into ½-inch pieces, (see Note 3)
- 11 ounce bag Kraft caramel bits (see Note 4)
- 1½ tablespoons heavy cream
Instructions
- Lightly spray the bottom and sides of a 9×13-inch baking pan with cooking spray, then line it with parchment paper, leaving about a 2-inch overhang on two sides. If it gets in the way of assembling the bark, clip it to the sides of the pan with binder clips.
- Chop the peanuts, Nutty Buddy bars, and measure out your peanut butter before you start melting the chocolate. Once the chocolate is spread in the pan, you’ll need to work swiftly to swirl in the peanut butter and add the toppings while it’s still at working temperature.
If Using Chocolate Chips
- Add the chocolate chips to a microwave-safe bowl. Microwave at 50% power in 30-second intervals, stirring with a rubber spatula after each. After 1½ to 2 minutes total, switch to 10- to 15-second intervals and continue until the chocolate is about two-thirds melted.
- Remove the bowl and keep stirring until the residual heat melts the rest of the chips and the chocolate is smooth. It should read 88°F to 90°F on an instant-read thermometer.
If Using Block or Bar Chocolate
- Finely chop the chocolate with a serrated knife. Add two-thirds of it to a microwave-safe bowl and set the rest aside.
- Microwave at 50% power in 30-second intervals, stirring well after each. After 1½ to 2 minutes total, switch to 10- to 15-second intervals. Continue until the chocolate is completely melted and reads 110°F to 115°F on an instant-read thermometer.
- Add the reserved chocolate a little at a time, stirring until each addition melts before adding more. Keep stirring until all the chocolate is melted and has cooled to 88°F to 90°F. If it drops below that range when melted, microwave at 50% power in 3-second intervals until it’s back in range.
To Assemble the Bark
- Pour the melted chocolate into the prepared pan and spread it into an even layer, all the way to the corners, using an offset spatula.
- Drop small spoonfuls of chunky peanut butter over the chocolate. Gently swirl it through the chocolate, leaving visible ribbons of peanut butter rather than blending it in completely.
- While the chocolate is still warm, scatter the chopped peanuts and Nutty Buddy pieces evenly over the top. Gently press them into the top of the chocolate with your hands or the back of a spatula so they stay in place when you cut the bark.
- Combine the caramel bits and heavy cream in a microwave-safe bowl. Microwave on high for 1½ to 2 minutes, then stir well until smooth. If any bits haven’t melted, microwave in 10-second intervals.
- Using a fork, drizzle the caramel generously back and forth over the bark.
Chill and Cut
- Place the pan in the freezer for 10 to 20 minutes, until the chocolate is set and firm but the caramel is still soft enough to cut through. If the bark gets too hard to cut, let it sit at room temperature for a few minutes.
- Use the parchment overhang to lift the bark out of the pan and onto a cutting board. With a sharp chef’s knife, cut it into 11 strips along the long side, then 3 rows across the short side, for 33 pieces.
- Serve right away, or store in an airtight container in the fridge for up to 2 weeks (see Note 5).
Notes
Nutrition Estimate
Nutrition information is automatically calculated, so should only be used as an approximation.
Please note that our recipes have been developed using the US Customary measurement system and have not been tested for high altitude/elevation cooking and baking.