

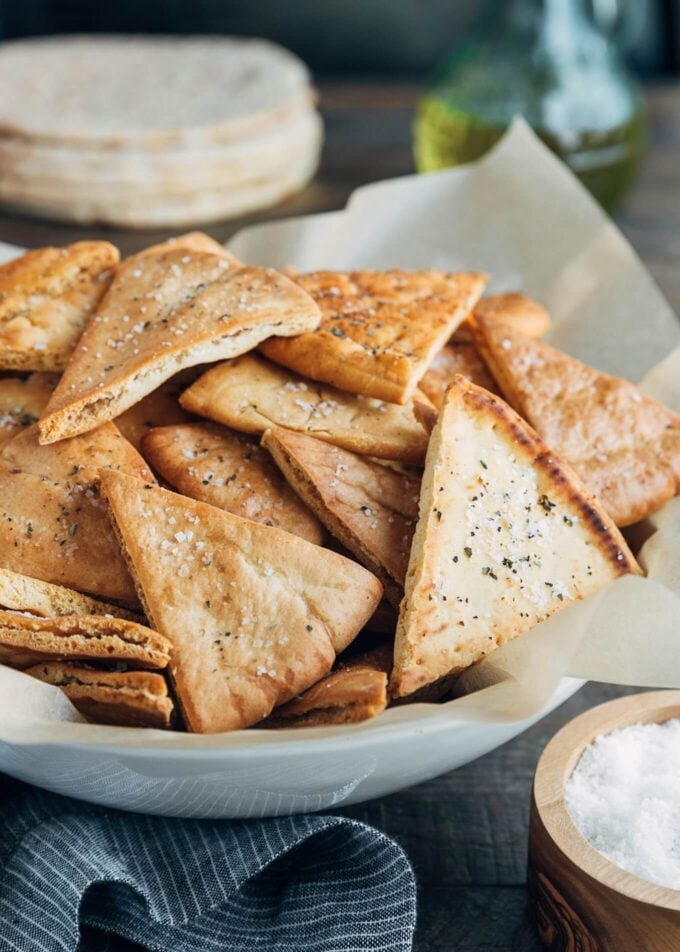
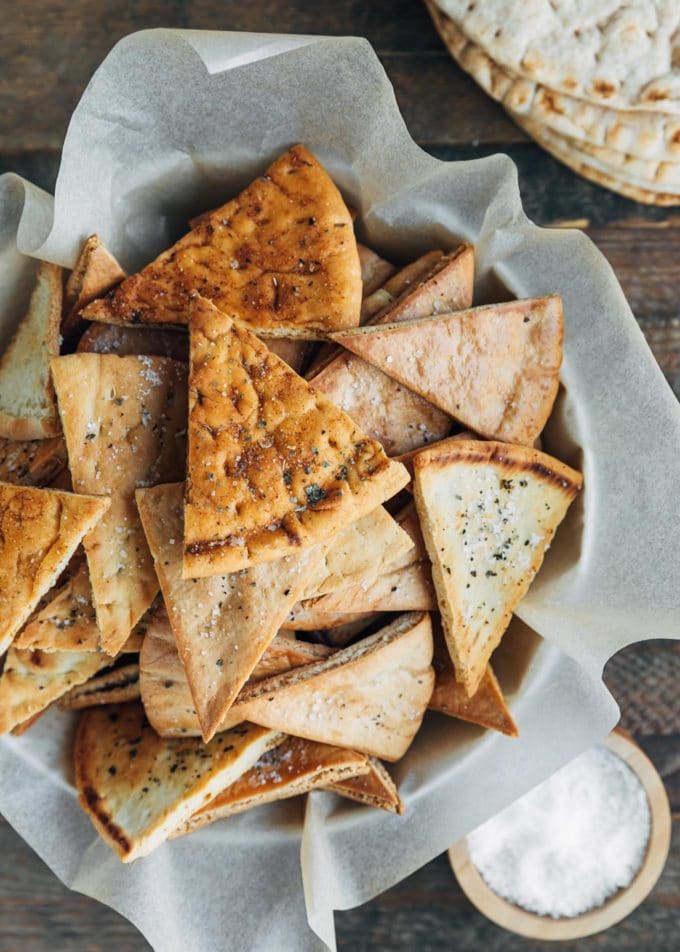
Homemade Pita Chips are an easy to make snack that you can feel good about. Great for serving with dips, cheeseboards, soups, and salads, and ready in under 30 minutes!
I don’t know about you, but I’m completely weak in the face of pita chips. Whether I’m looking for a snack, using them as a vehicle for my favorite dips, or crumbling them over soups and salads, pita chips never last long in my house.
It’s a good thing they’re so easy to make! They’re ready in under 30 minutes and are endlessly customizable in terms of flavors. Let me tell you: there’s nothing like eating warm, homemade pita chips, fresh out of the oven.
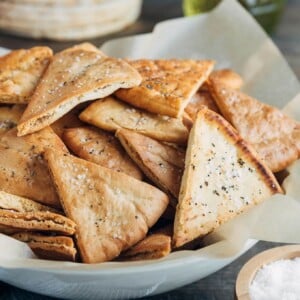
Baked instead of fried, these chips are also a crispy, satisfying treat for when you’re looking to snack on the lighter side. They’re equally great for holiday entertaining, game day parties, and casual mid-day noshes.
How to Make Baked Pita Chips at Home
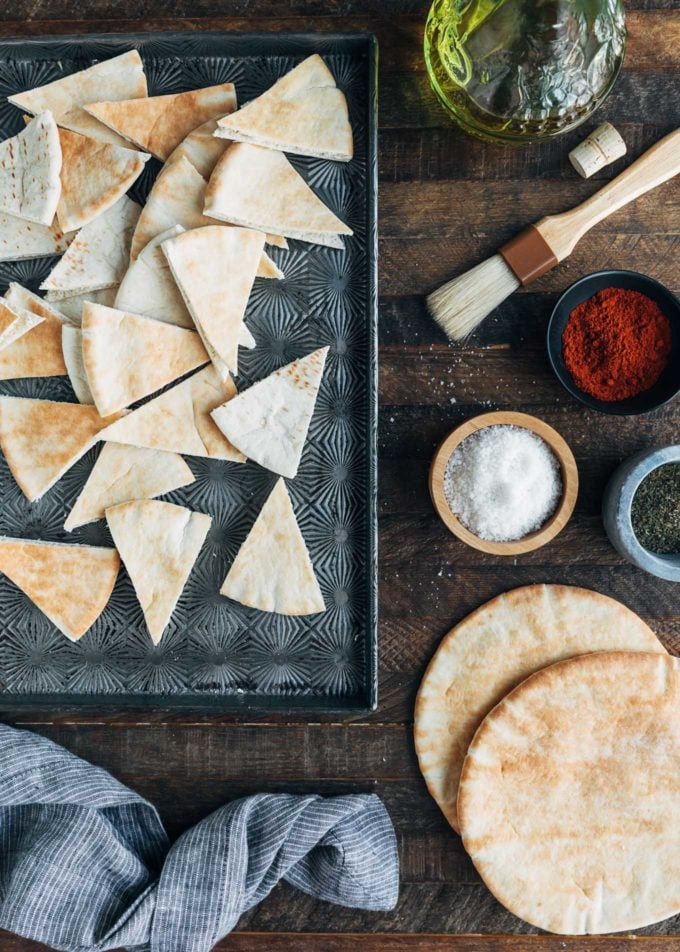
All you need to make homemade pita chips is a parchment lined baking sheet, a pastry brush, olive oil (for savory chips) or melted butter (for sweet chips), and your favorite seasonings.
Just place the wedges on the baking sheet, brush each side with oil or butter, season, bake, and cool. That’s all there is to it!
Can I brush the whole pita rounds before cutting instead of individual chips?
You can, but when making a thick pita or double-layer chip (more on this below), we really prefer to brushing them when they’re cut. It’s a little more work, but the oil will reach those cut edges better, and even seep a little between the layers, yielding a more flavorful and crispier chip.
What kind of Pita Bread Should I Use to Make Chips?
I like to make chips out of large pita rounds that I cut into 8 wedges. You can use either white or whole wheat pita for this recipe.
The chips are easy to adapt to your serving needs based on the type of pita bread you buy, and how you cut the rounds.
For thin, extra crispy chips, buy pocket pita and separate each cut wedge into two layers. These chips are great for snacking on their own, or serving with soups, such as my French Lentil Soup, salads, and light-textured dips.
For a thicker chip, you have two options. You can either use pocket pita and not separate the wedges into layers, creating a double-layer chip. Or, you can buy single-layer “pocketless pita” (essentially, a soft flatbread). This sturdier texture is great for serving with hefty dips, like my Spinach and Artichoke Dip, and condiments that might crumble with a more delicate chip.
Want to try making your own Pita bread at home for chips? Check out this recipe and tutorial from The Kitchn.
How to Season Homemade Pita Chips
You can season pita chips with just about any of your favorite herbs and spices. It’s fun to get creative and try different flavor combinations from your spice cabinet.
Most of the time, when I’m making pita chips specifically to serve with a dip, I’ll season them simply with flaked sea salt. When I’m making them to serve with a cheese board or mezze platter, or just as a warm basket of chips for snacking, I’ll add herbs and spices.
Some of our favorite combinations have included Mediterranean Herbs and Garlic, Smoked Paprika and Garlic, and Herbed Parmesan. You can make dessert chips, too, by sprinkling the pita wedges with cinnamon sugar or vanilla bean sugar.
When adding herbs and spices, I like to stir them directly into the olive oil before brushing the chips. I brush dessert chips with melted butter instead of olive oil and sprinkle the flavored sugar onto the chips before baking.
How Long Should I Bake Pita Chips?
It’s important to note that the baking time for pita chips can vary and is dependent on the brand of pita you’re using. Some brands are naturally thicker and will take longer to bake, whether you’re making the single or double layered chips described above.
Since pita chips can burn easily, it’s a good idea to start checking your first batch early to get an idea of how long your particular brand of pita will take to crisp. I’ve had single-layer chips take as little as 6 minutes at 375 degrees F, and thick chips as much as 15-20 minutes.
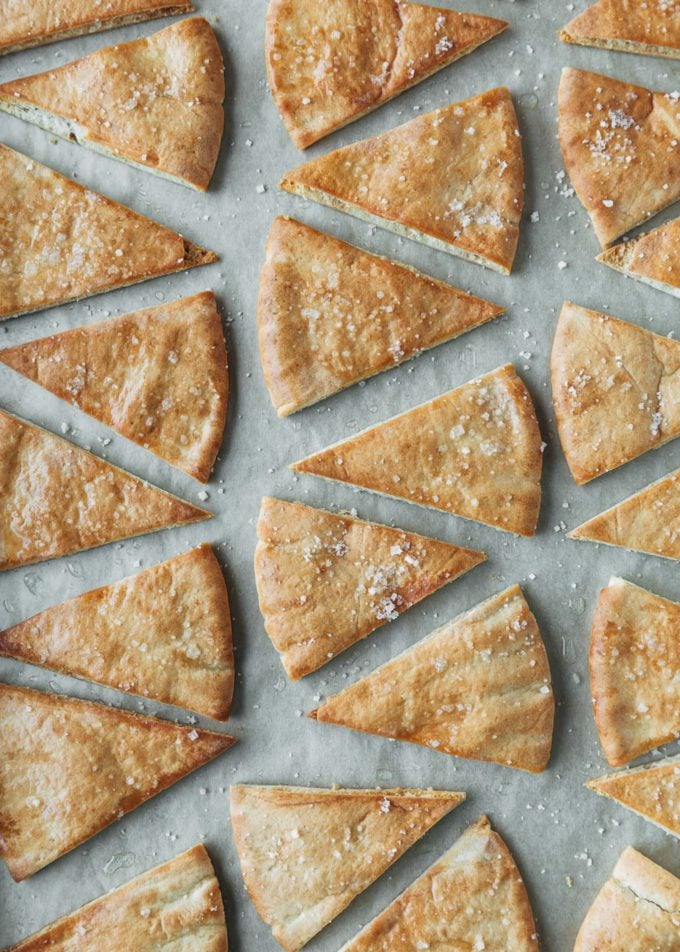
When the chips are ready, they should be golden brown and largely crisped. If they are still a bit soft in areas, this is ok. They will continue to crisp as they cool on wire racks. Once cooled, they’ll last for a couple of days in an airtight container at room temperature (if you don’t eat them all first!).
Homemade Pita Chips
Ingredients
- 4 large rounds pita bread
- 1-1/2 tablespoons olive oil
- flaked sea salt
Instructions
- Preheat oven to 375 degrees F. Line a large baking sheet with parchment.
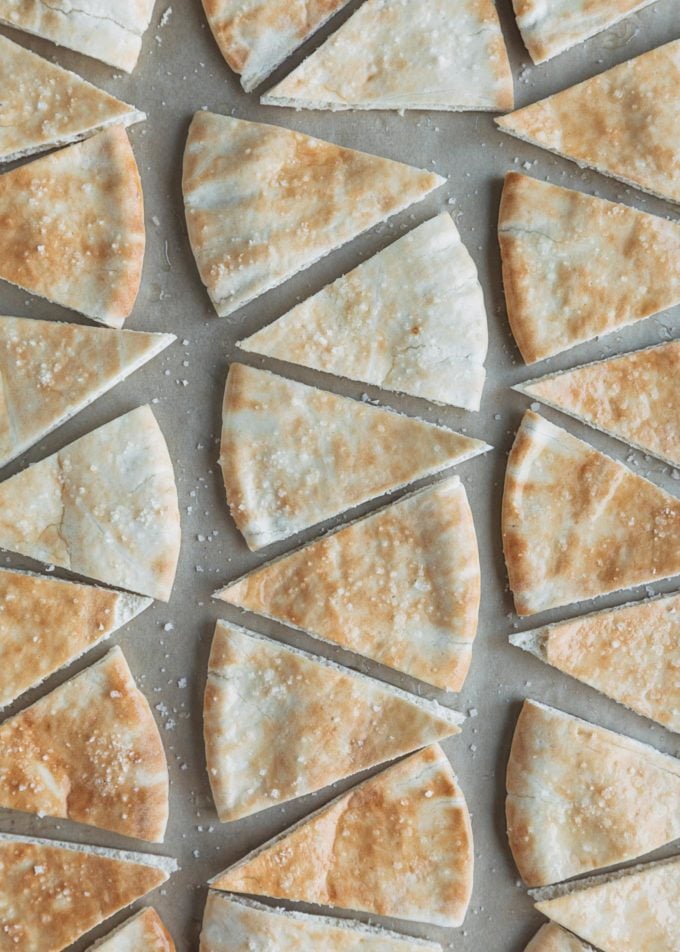
- Cut each pita round into 8 wedges. For thin and extra crispy chips, use pita pockets and separate each wedge into two layers. For thicker, sturdier chips, use pocketless pita, or don't separate the layers.
- Lightly brush each pita wedge on both sides with olive oil. Arrange in a single layer on the prepared baking sheet (if your sheet is too small to accommodate all of the chips, split them between two pans). Sprinkle with sea salt on one or both sides.
- Bake until golden and crisp, turning the chips over once. For the thin, single layer chips, this will take from 6-10 minutes. For thicker chips, you'll need 10-20 minutes.*
- Remove chips from oven and transfer to a wire rack. Chips will continue to crisp as they cool. Store in an airtight container at room temperature for up to a few days.
Notes
Seasoning Variations:
- Mediterranean Herb + Garlic: Stir 1/4 teaspoon each dried oregano, dried basil, and garlic salt into the olive oil.
- Smoked Paprika + Garlic: Stir 1/4 teaspoon each smoked paprika and garlic salt into the olive oil.
- Parmesan + Herb: Stir 1/4 teaspoon each dried oregano and dried basil into the oil. Before baking, sprinkle the tops of each chip with grated Parmesan cheese.
- Cinnamon Sugar: Brush the chips with melted butter instead of olive oil. Mix together 1 tablespoon sugar with 1/2 to 1 teaspoon ground cinnamon. Sprinkle the butter-brushed chips with the cinnamon sugar.
- Everything Bagel: Brush the chips with either olive oil or melted butter. Sprinkle just the tops with everything bagel seasoning.
Nutrition Estimate
Nutrition information is automatically calculated, so should only be used as an approximation.
Please note that our recipes have been developed using the US Customary measurement system and have not been tested for high altitude/elevation cooking and baking.


I made these using the Mediterranean seasoning and they were PHENOMENAL! Thank you for sharing this recipe. So easy and so delicious!