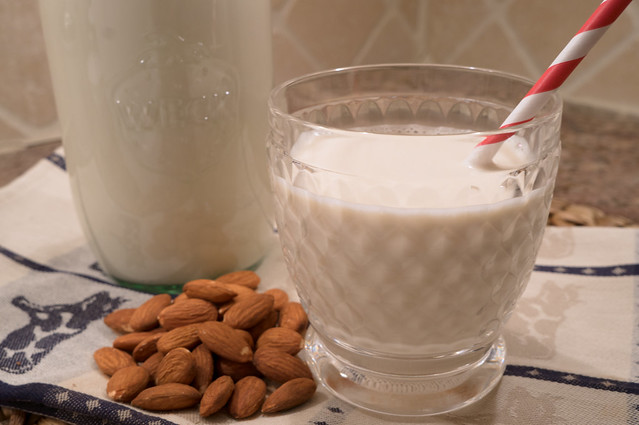
Homemade Almond Milk is deliciously creamy, good for you, and simple to prepare. Drink it cold with a sprinkle of cinnamon for a healthy treat!
Looking back through my posts, you must think that I subsist almost entirely on a diet of butter, cheese, heavy cream, and sugar.
That’s only partially true.
I do love comfort foods, but I also love exploring recipes that are as good for you as they are tasty (and generally try to save the “splurges” for weekends). All things in moderation. My latest find? Homemade Almond Milk.
Until recently, I’d only ever tasted processed almond milk from the grocery store. It’s okay. I like using it in breakfast smoothies, but it’s never made me excited enough to drink a glass on its own.
Despite owning a Vitamix for almost a year (and making more batches of butters than I care to admit—cashew, and peanut, and macadamia, oh my!), the world of homemade milks really hadn’t crossed my mind.
A few weeks ago, while scrolling through my Facebook newsfeed, a recipe that one of my friends had shared caught my eye. The almond milk looked so much creamier than the store-bought variety and sounded way too easy to pass up. I had to give it a try.
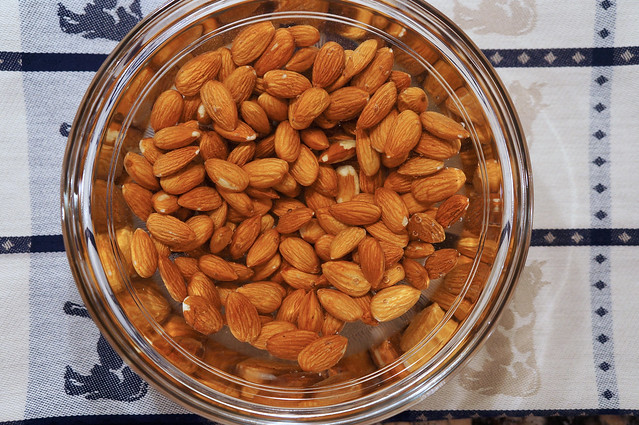
Every almond milk recipe I’ve read stresses one thing: the pre-blending soak. For the creamiest milk, the almonds need to soak in water for at least six hours, or overnight. The longer the soaking time, the better.
Some leave the almond skins on when blending, but I found a hint of bitterness leftover when I did this, so I prefer to remove them after soaking (see recipe notes for instructions). After that, all that’s left to do is whirl the almonds in a blender and strain the milk from the almond pulp.
The best part? You know everything that’s gone into it—no fillers, stabilizers, or hard to pronounce ingredients. Oh, and it’s delicious too.
Don’t have a high-speed blender? No problem! I tried this recipe in both my Vitamix and a regular blender with great results.
The biggest difference was in blending time. While it took less than a minute in my Vitamix, the regular blender took closer to three or four, stopping every minute or so to avoid taxing the motor. The Vitamix milk was also slightly creamier. The key is to make sure that the almonds are soft enough to be blended, so don’t skimp on soaking time, especially if using a regular blender.
Since homemade almond milk hasn’t been pasteurized and doesn’t have stabilizers, it will only keep for about three days in the refrigerator. It’s best to blend small batches and make fresh as you need it. The almond milk will separate as it chills, but a quick shake or stir will bring it right back to its proper consistency.
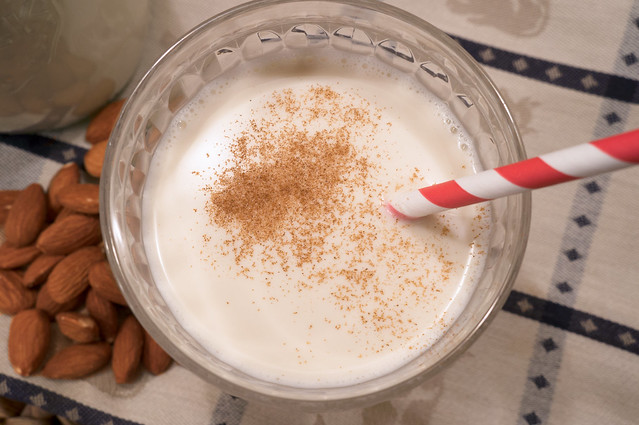
As for the taste, let’s just say I’ve had a glass every day for the past week (not including the one I’m drinking right now). I like it well-chilled with a dusting of Saigon cinnamon on top. Who knew such a treat was hiding in a bag of almonds?
Did you know? Clicking photos in the body of any post will take you to my Flickr feed, where you’ll find additional shots taken during the cooking process.

Creamy Vanilla Almond Milk
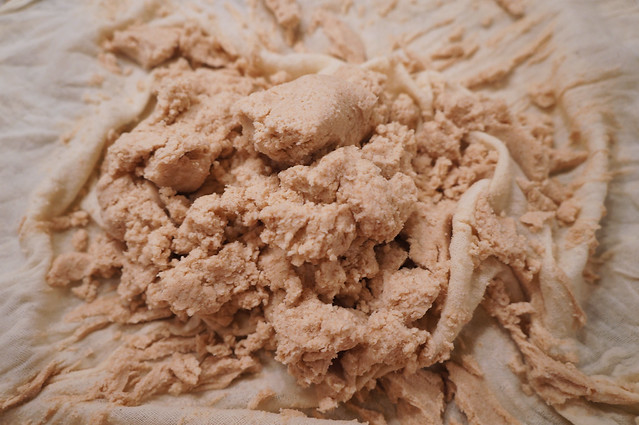
The almond pulp that remains after straining the milk can be dried in the oven to make almond flour for baking. If planning to make almond flour, sweeteners and flavorings should be added after straining. Directions for both processes are provided.
Adapted from The Beautiful Balance
Ingredients
- 1 cup raw whole almonds
- 3 cups water , plus more for soaking almonds*
- 2-4 pitted Medjool dates **
- 1 teaspoon pure vanilla extract
- ground cinnamon (optional, for serving)
Instructions
To Make Vanilla Almond Milk Only:
- Place almonds in a bowl and add enough water to cover by at least one inch. Soak 6-8 hours, or overnight.
- Remove skins from almonds by gently pinching one end. The soaked almond will slip right out of the skin.
- Place skinned almonds, 3 cups of water, and dates into a blender and mix on High speed until smooth (about 1 minute in a Vitamix, 3-4 minutes in a regular blender.)***
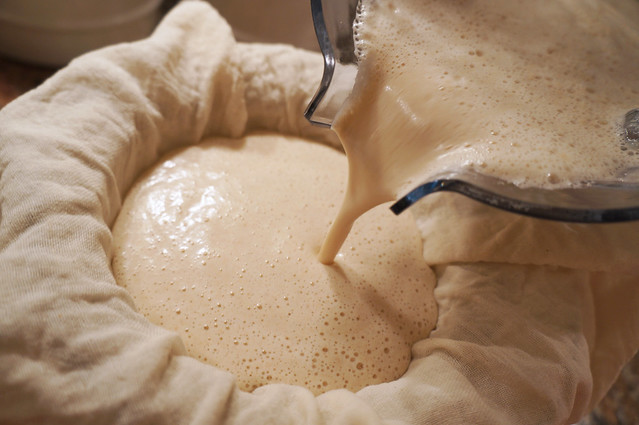
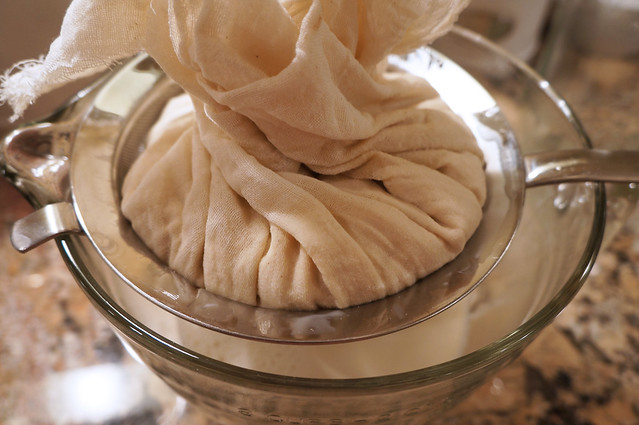
- Set a fine mesh strainer over a large bowl and line the strainer with a double-layer of cheesecloth (or use a milk bag). Pour almond mixture into the cheesecloth, and stir gently to help the liquid strain through. When the mixture starts to thicken, gather cheesecloth tightly around the almond mixture and squeeze the milk through the strainer and into the bowl.
- Refrigerate milk until well-chilled. Mixture may separate; shake to combine and serve with a sprinkling of cinnamon, if desired.
To Make Vanilla Almond Milk and Unsweetened Almond Flour:
- At step 3 above, blend only the soaked, skinned almonds and 3 cups water until smooth. Strain as directed (Step 4).
- Return strained milk to cleaned blender container and add dates and vanilla, blending on High until smooth. Re-strain through a fine mesh sieve (no cheesecloth required) and chill as directed.
- To make almond flour: Spread almond pulp in a thin layer onto a parchment-lined baking sheet. Bake at 150 degrees F, stirring occasionally, for 2-1/2 to 3 hours, until dry. Cool and pulse in a food processor until finely-ground. Store in an airtight container in the refrigerator for up to a few weeks, or the freezer for up to 3 months.
Notes
Nutrition Estimate
Nutrition information is automatically calculated, so should only be used as an approximation.
About our recipes
Please note that our recipes have been developed using the US Customary measurement system and have not been tested for high altitude/elevation cooking and baking.





Such a beautiful adaptation! I am so happy you enjoyed the recipe enough to post it. It looks like it turned out amazingly delicious!
Thanks so much for commenting, and for the great recipe, Christina! I’ve enjoyed homemade almond milk so much, it’s become a staple in my refrigerator. I’m also playing around with a chocolate-coconut-almond adaptation for a fun and healthy dessert treat. So many wonderful flavoring possibilities!