

Turn your farmer’s market haul of fresh sweet cherries into a batch of luxurious homemade cherry preserves! Made without commercial pectin, these sweet refrigerator or freezer preserves are easy to make, and irresistible to eat.
Looking for more ways to use fresh cherries? Try my Rum Cherry Ice Cream!
Why I Love These Cherry Preserves
Every year, without fail, I bring home an abundance of cherries from the farm market. Whether I’m making classic Cherry Pie, Clafoutis, sauce for pork chops, or a batch of these jammy preserves, cherries are one of my favorite summer fruits to cook with in my kitchen. Here’s what I love about this recipe:
- Fresh, Seasonal Flavor. This recipe for refrigerator or freezer preserves is a great way to use up several pounds of cherries. If you make the preserves toward the end of the season, you’ll be able to continue enjoying a taste of summer into fall.
- Customizable. When you make your own preserves, you can customize how you enhance the flavor of the fruit. Experiment with adding spices, extracts, and liqueurs for a batch that’s totally your own!
- Simplicity and Convenience. Though they won’t keep as long as preserves processed with traditional canning methods, refrigerator/freezer cherry preserves are simple and convenient to make. With no need for special equipment or boiling jars, they’ll keep well in the freezer for up to a few months.
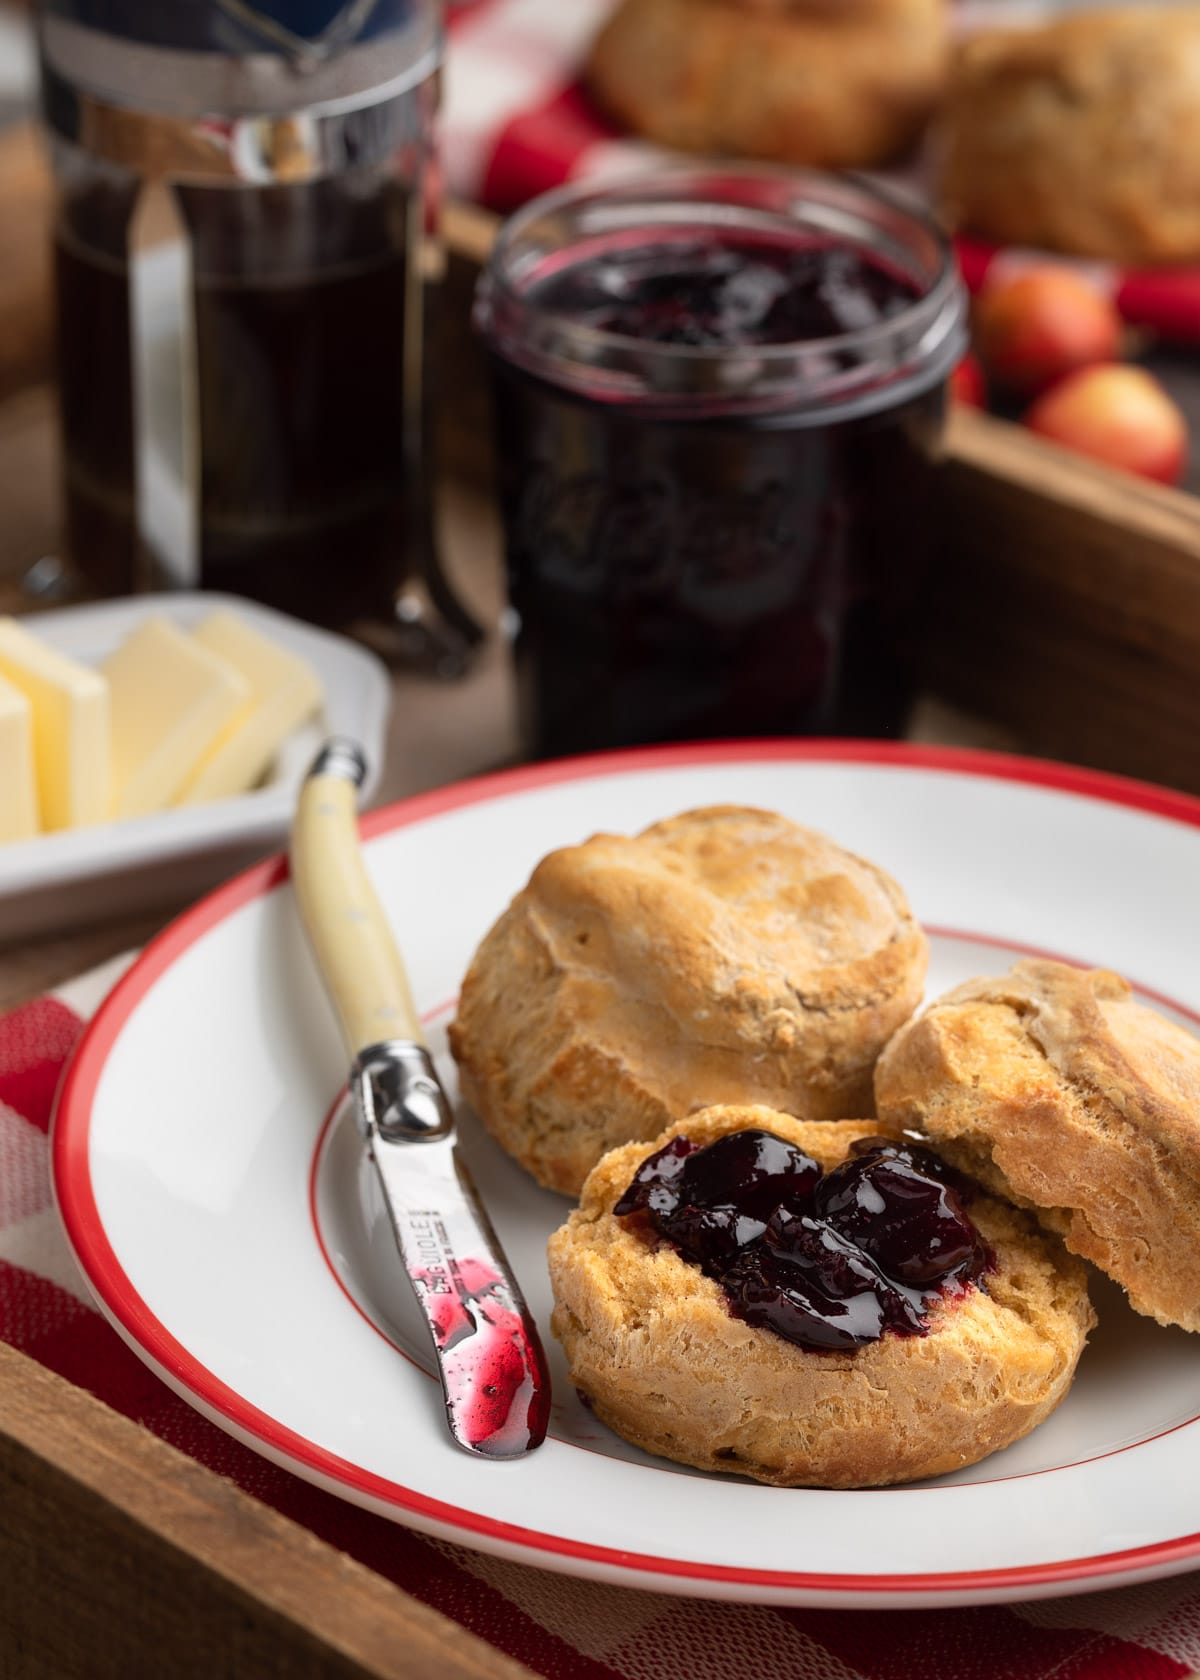
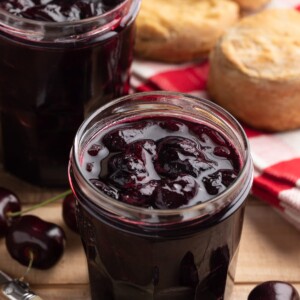
- Great for Breakfast, Dessert, and More! We love to dollop these cherry preserves onto warm biscuits, spread onto thick-sliced artisan toast at breakfast, as a cheese board accompaniment, or even warmed over ice cream. So good!
What You’ll Need to Make No-Pectin Cherry Preserves
Preserves made only with naturally-occurring pectin (the starch in fruit that helps the recipe “set”) need 3 primary ingredients: fruit, sugar, and acid; in this case, lemon.
Many preserve recipes add commercial pectin (sold as a powder or liquid). This isn’t something I typically stock in my pantry, so I make my refrigerator jams and preserves without it.
Did you know? The amount of pectin in fruit varies by type. Cherries are lower on the pectin scale than, say, cranberries, Concord grapes, and lemons.
When making cherry jams or preserves without commercial pectin, you’ll see a slight difference in texture. While they’ll set up nicely, no-pectin preserves will be a bit softer and scoopable in texture.
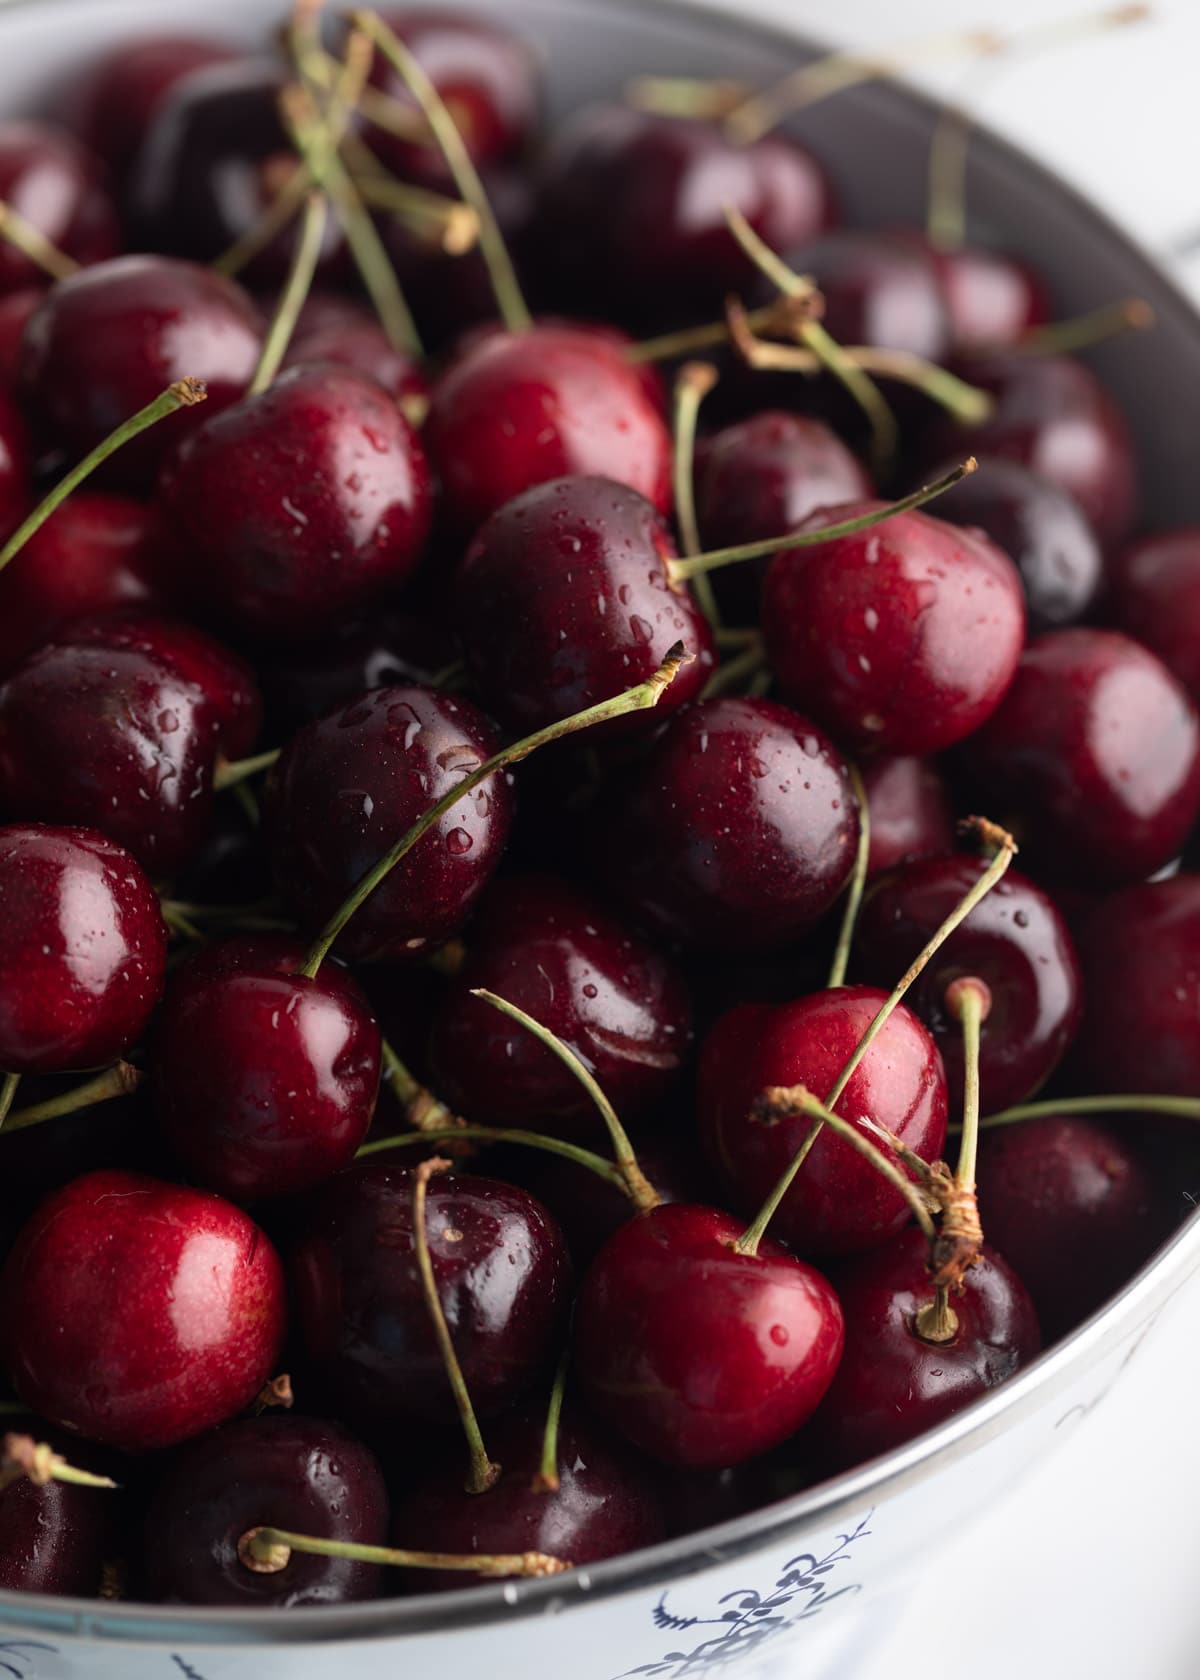
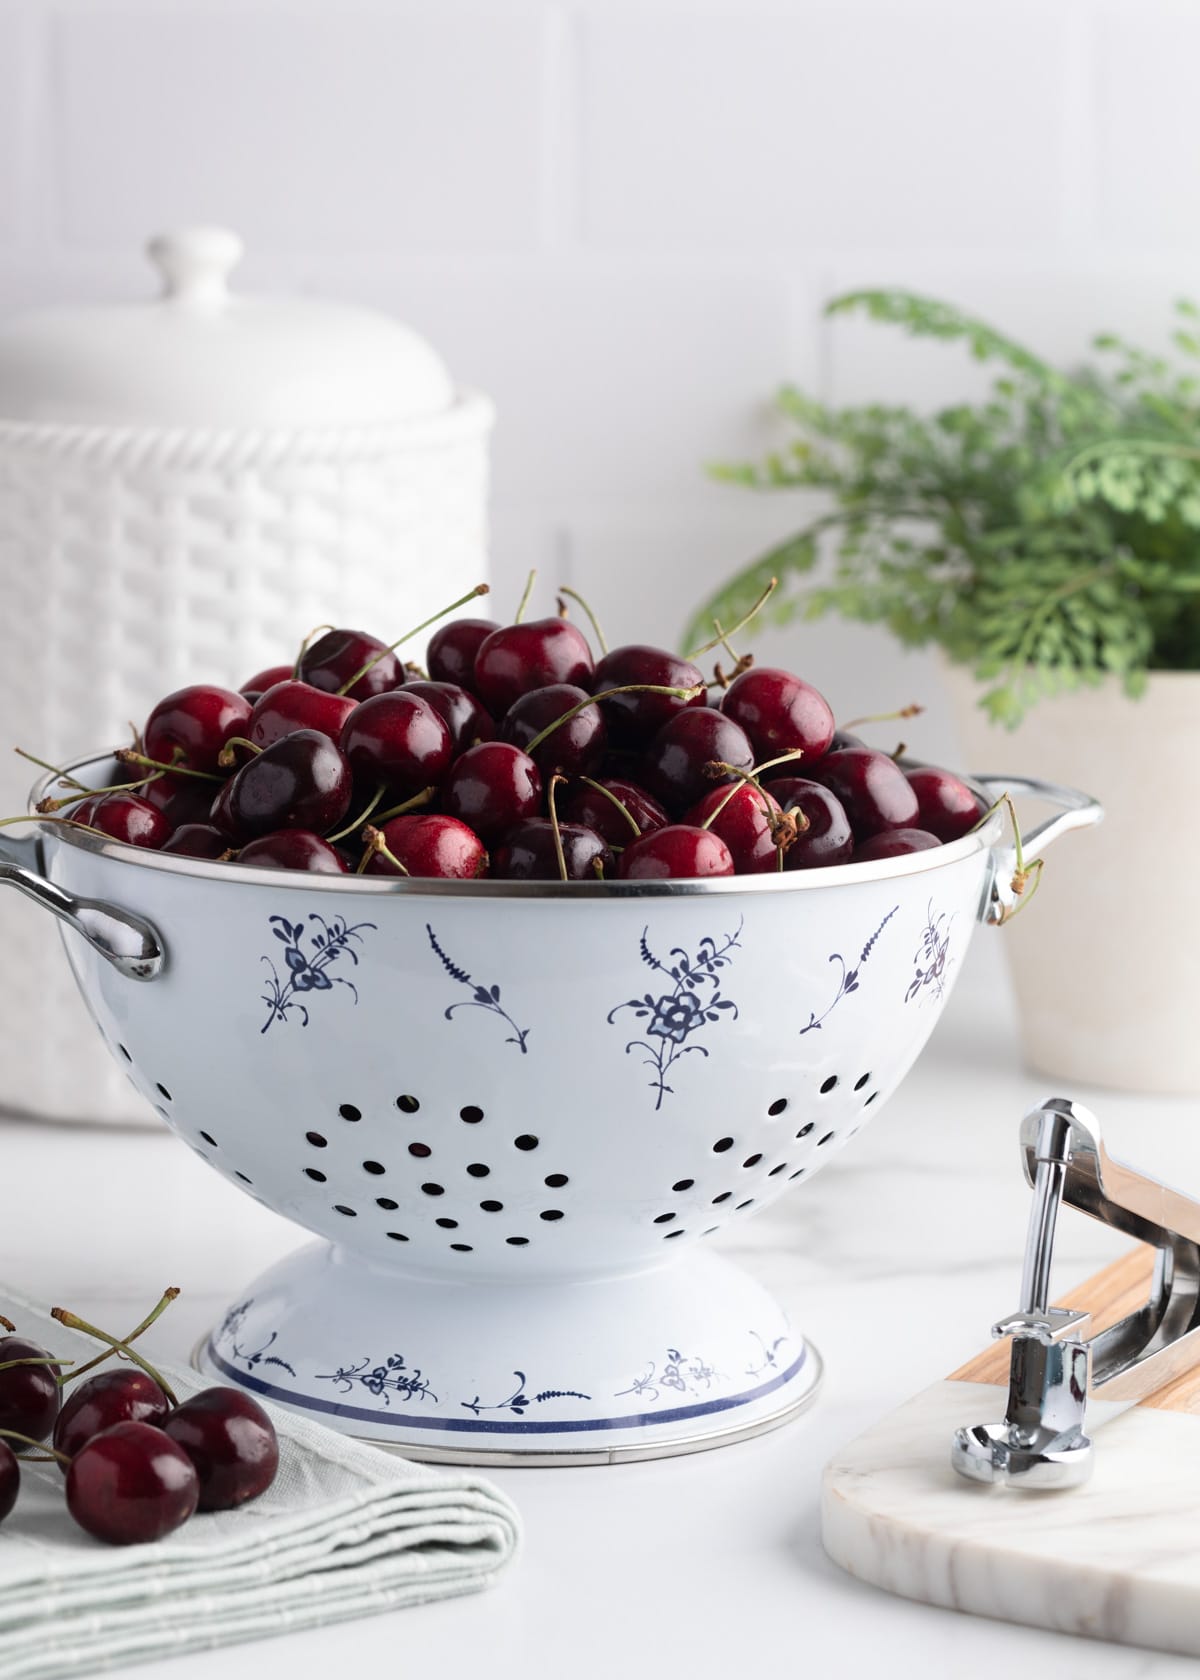
The Cherries
I most often use dark, sweet cherries (such as Bing) to make preserves. You can also use “tart” or “sour cherries,” adjusting the lemon juice and sugar quantities as needed.
The cherries should be ripe, but not overly so. Overripe cherries don’t contain as much pectin.
The Sugar
I use granulated sugar in my homemade preserves. While I usually love the flavor of brown sugar (and use it in recipes like my Cherry Cranberry Sauce), I want the flavor of the fresh summer fruit to be the most prominent flavor. Brown sugar has deeper, molasses notes that can overshadow.
Homemade preserves use a goodly amount of sugar. It not only adds sweetness, but also a.) helps the mixture gel, and b.) works as a preservative.
Interested in the science? Sugar helps jams and preserves keep longer by absorbing water molecules. With less water in the preserves, there’s less opportunity for nasty things (mold and bacteria) to grow. This is why “low-sugar” jams and preserves typically don’t keep fresh for as long as recipes made with traditional fruit-to-sugar ratios, typically 1:1 or 2:1.
The preserves will taste sweet (they’re preserves, after all), but the acid in the recipe will help to balance it.
The Lemon Juice and Zest
Adding an acidic ingredient, like lemon juice, to preserves lowers the recipe’s Ph. This is especially important when making preserves that will be canned, as the acid helps to prevent botulism.
For refrigerator preserves that are stored for a much shorter period, I like using lemons for flavor, and for their extra pectin. While most of the pectin is in the peel, the juice also gives the cherries a little boost.
Other Additions
You can customize this jam by adding supporting flavors, such as a splash of cherry brandy (Kirsch), bourbon, or amaretto. 1 to 3 tablespoons (depending on the spirit) added to the pot will give the preserves a flavor boost, without making them “boozy.”
Other optional add-ins include vanilla extract, vanilla bean, almond extract, or spices like cinnamon, cloves, black pepper, or star anise.
Especially when working with almond extract or spices, add them conservatively, to taste. These flavors can easily overpower, and the fruit should always be the focal point.
How to Make The Preserves
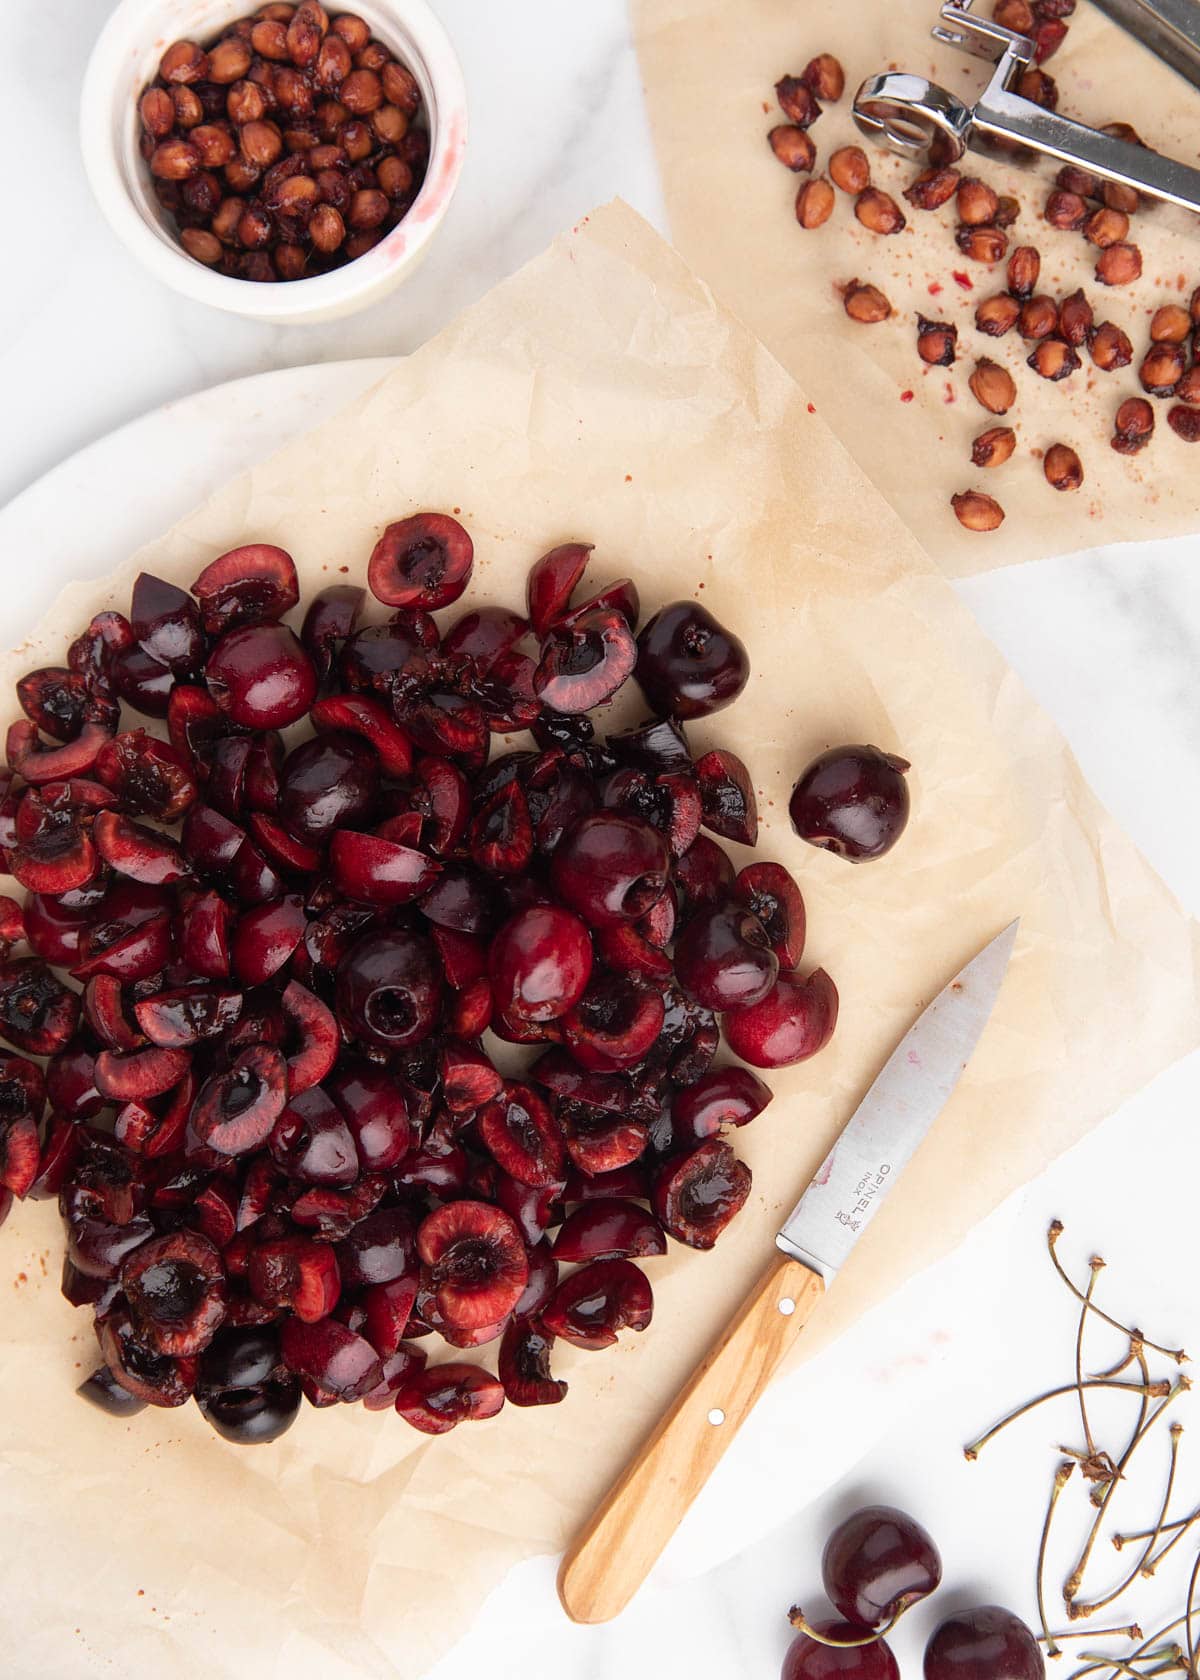
Prepping the Cherries
The most “hands on” work when making cherry preserves is prepping the fruit. You’ll need to pit a full 3 pounds. Check out my How to Pit Cherries guide for 5 easy pitting methods that will help make the task less tedious.
Since preserves are made with pieces of fruit, or whole fruits (as opposed to jams, where the fruit is typically more finely chopped or crushed), I roughly chop or quarter most of the cherries, and leave about 20% whole or halved.
I love the soft, juicy texture of whole cherries in preserves (plus, they’re pretty). But if you leave the majority of the fruit whole, it will affect the texture of the final product.
Without smaller pieces of fruit cooked down in the base, the batch really just becomes a bunch of cherries in a thick syrup.
Wondering how preserves differ from jam? Check out The Difference Between Jam, Jelly, and Marmalade from Fine Cooking.

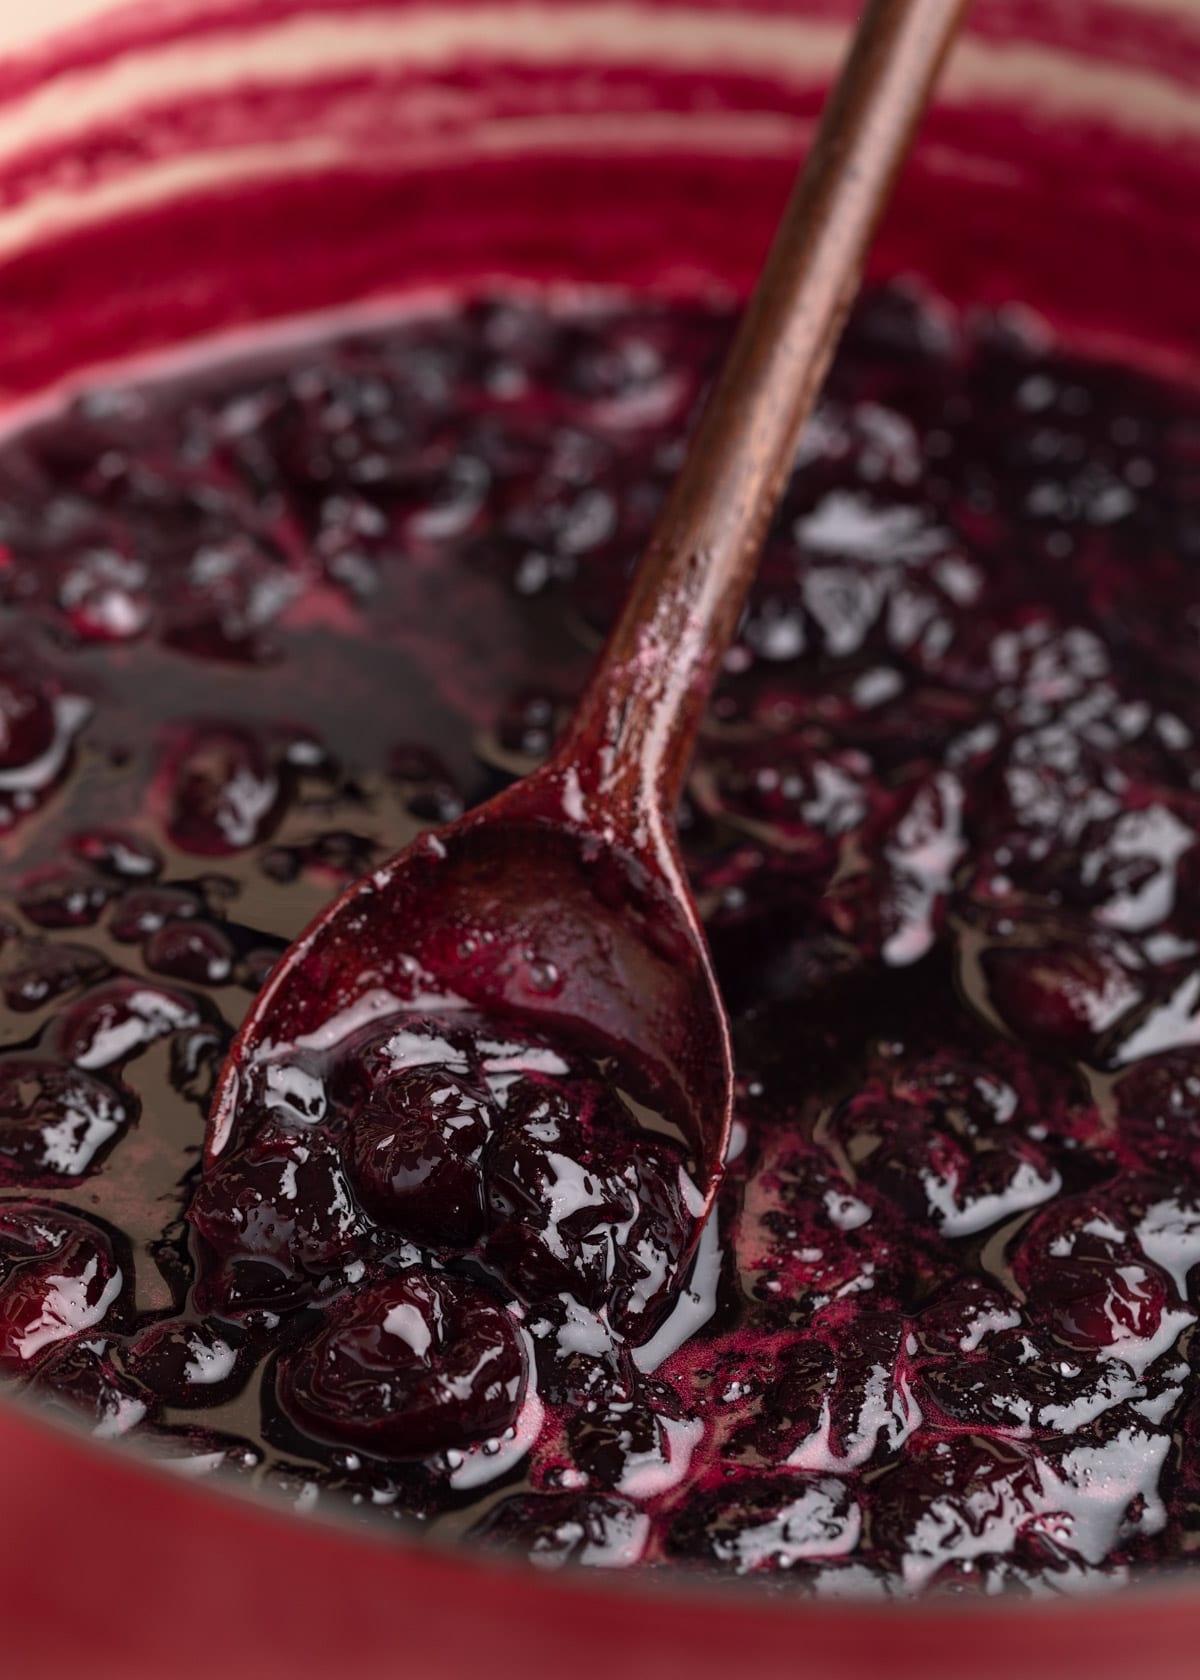
Boiling the Preserves
To cook the preserves, you’ll need a large, deep non-reactive pot. I use either my copper jam pan or one of my enameled cast iron Dutch ovens {affiliate links}.
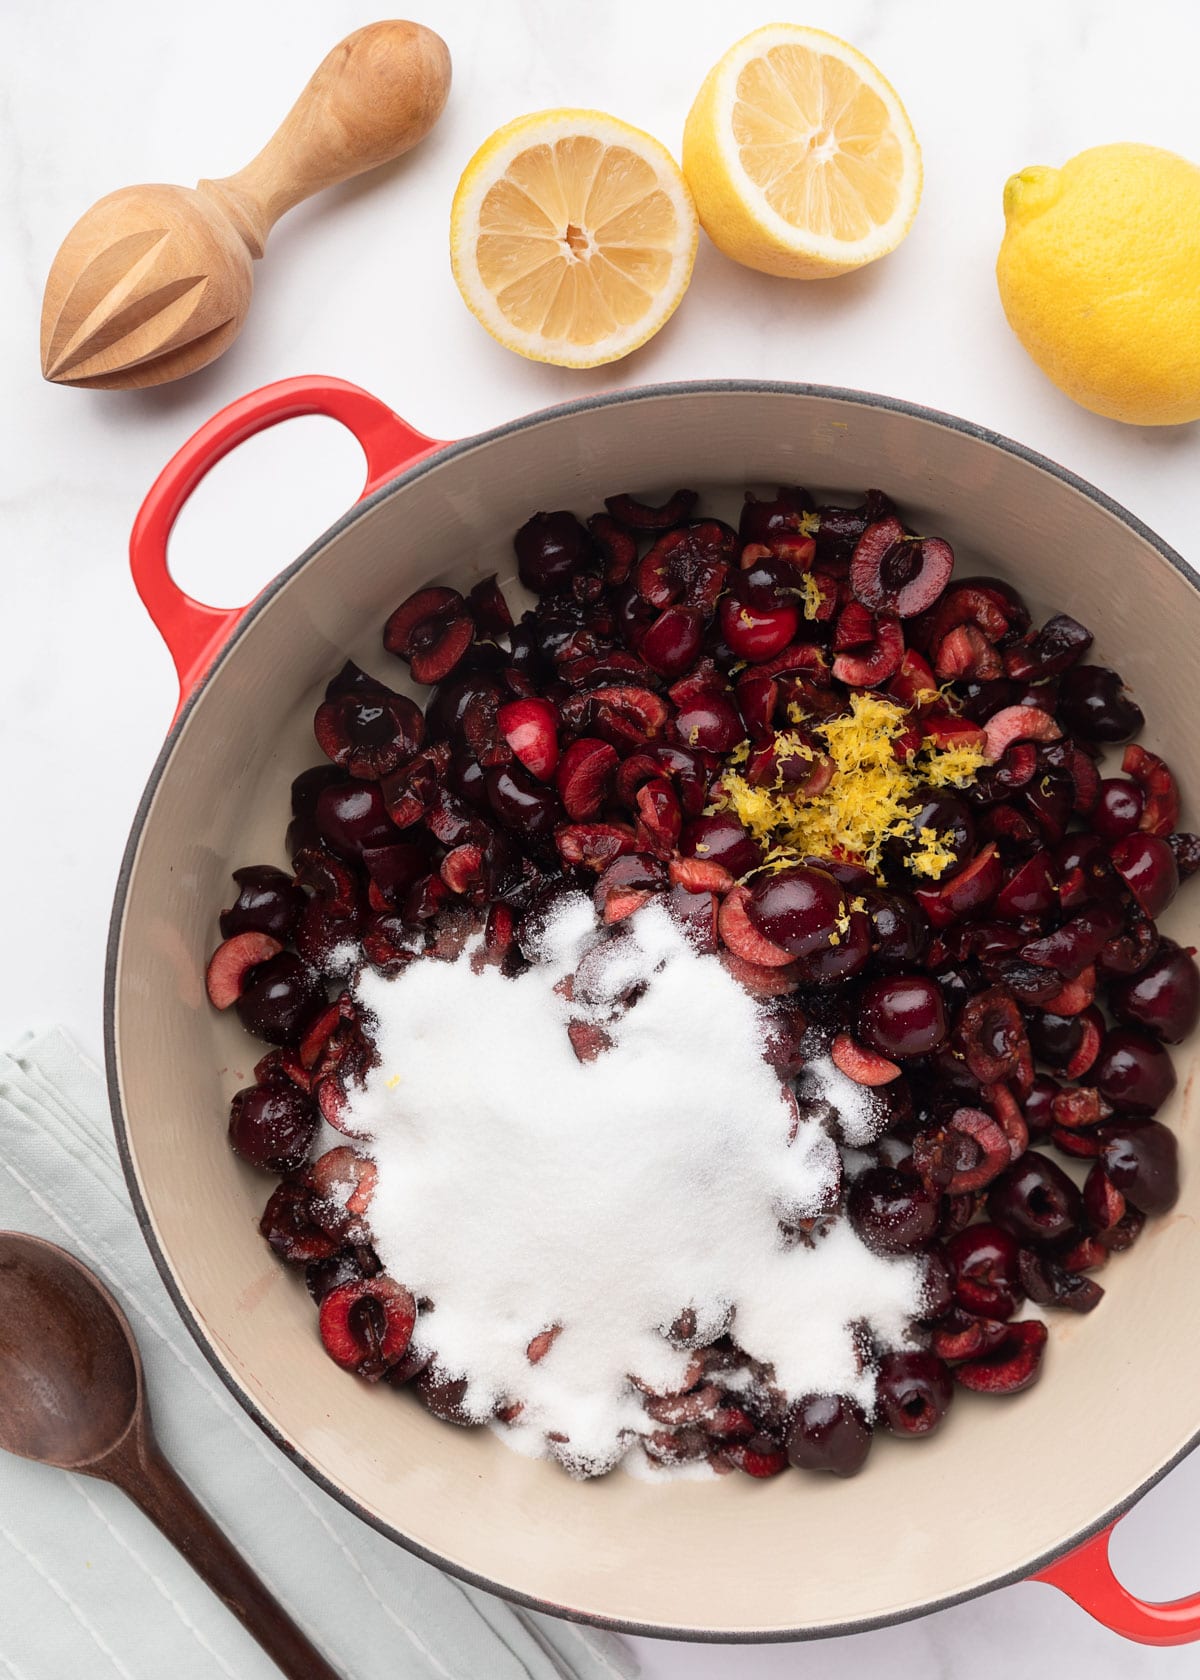
Many recipes for jams and preserves add water to the pot with the fruit, sugar, and lemon juice/zest. Instead, I like to let the ingredients mingle in the pot for about 15-20 minutes to lightly macerate and release some of the cherry juices.
When they’re ready, bring the mixture to a boil and cook, stirring often, until they’re thickened and pass the “gel” test (described below). This usually takes me about 30 minutes, but cooking time can vary depending on the fruit, your pan, and your stove.
Be careful not to let the sugars scorch on the bottom of the pan. Also, as the cherries cook down, you may notice a light pink foam-like substance on the surface. I skim this off when the preserves are finished cooking.
How To Tell When the Preserves are Ready
In order to set properly, the sugars in the preserves need to reach the “gel” temperature, 220 degrees F at sea level. I monitor this with a candy thermometer as the preserves are boiling.
I also use the “wrinkle test”. Before you start making the preserves, place a few small dishes or saucers in the freezer. When you’re ready to test the preserves, take them off of the heat and spoon a small amount of the liquid onto the plate.
Place the plate back in the freezer for a minute or two, then nudge the liquid with the tip of your finger. If it wrinkles, the preserves are ready. If not, continue cooking for a few more minutes and test again.
There’s a little bit of a window here, but if you significantly overcook the preserves, the fruit and sugars will caramelize, creating a chewy, even stringy consistency.

Storing Cherry Preserves
This recipe is written as refrigerator or freezer preserves; I have not confirmed the sugar quantity or Ph for proper canning. To store the preserves, I use very clean lidded glass jars; my favorites are Weck and Le Parfait {affiliate link}.
When preparing preserves for the freezer, be sure that the containers you’re using are freezer safe, and don’t overfill them. Leave about a half an inch of head space at the top of the jar to allow for expansion.
The preserves will keep for up to a couple of weeks, tightly covered, in the refrigerator. You can also freeze them for several months. Once defrosted, use the preserves within a week.
Before using preserves stored in the refrigerator or freezer, be sure to check for any signs of mold or spoilage.
Cherry Preserves
Ingredients
- 3 pounds fresh sweet cherries , stemmed and pitted
- 2-1/2 cups granulated sugar
- 2-3 tablespoons fresh lemon juice (about a lemon's worth)
- 1 teaspoon grated lemon zest
Instructions
- Roughly chop or quarter about 80% of the cherries (you don't have to be exact here), leaving the rest a combination of whole cherries and halves.
- In a wide, deep, non-reactive pot or pan, combine cherries, sugar, and lemon juice and zest. Stir and let stand for 15-20 minutes, until the cherries have begun to release their juices.
- Place a few saucers or small plates in the freezer; you'll use them later to test for doneness.
- Bring to a boil over medium-high heat, stirring often so the sugars don't scorch on the bottom of the pan. Continue boiling until the liquids have reduced and started to thicken. To reach the "gel" stage, the sugars need to reach 220 degrees F (for soft, spreadable preserves) on a candy thermometer, measured at sea level. This usually takes me about 30 minutes, but the time can vary by the fruit, your stove, and cookware.
- To test for doneness, take the preserves off of the heat and pour a spoonful of the preserves' liquid onto one of the chilled plates. Pop it back in the freezer for a few minutes. Nudge the liquid with your finger. If it wrinkles, the preserves are ready. If it doesn't continue cooking in 5-minute increments, until the liquid passes the wrinkle test.
- Ladle the preserves into clean jars, leaving 1/2- to 1-inch at the top to allow for expansion if freezing. Cool to room temperature for 1 hour (up to 2 hours if needed), then tightly cover the jars before refrigerating or freezing. Preserves will keep for up to a few weeks in the refrigerator or a few months in the freezer.*
Notes
Variations:
- Liquor/Liqueur: Add 1-3 tablespoons of cognac, cherry brandy (Kirsch), bourbon, or amaretto to the pot with the lemon juice.
- Vanilla: Add 1 scraped vanilla bean or 2-3 teaspoons of vanilla extract.
- Almond: Add 1/8 to 1/4 teaspoon of almond extract, to taste (add conservatively; almond extract can overpower the fruit in this recipe)
- Spices: Add spices such as ground cinnamon (1/2 to 1 teaspoon) or a small cinnamon stick, ground cloves (1/4 teaspoon), star anise (2 pods), or black pepper (1/2 to 1 teaspoon) to the preserves, to taste.
Nutrition Estimate
Nutrition information is automatically calculated, so should only be used as an approximation.
Please note that our recipes have been developed using the US Customary measurement system and have not been tested for high altitude/elevation cooking and baking.
You may also like:
Condiments & Sauces
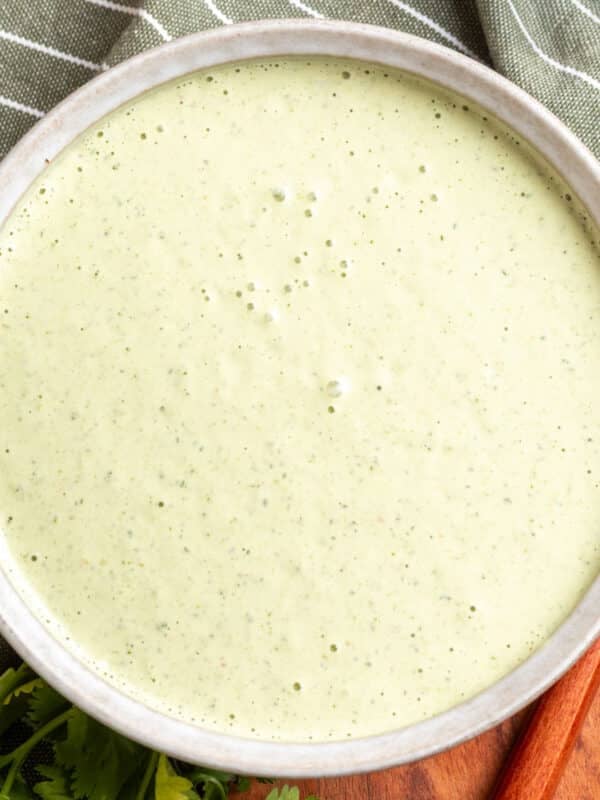
Cilantro Jalapeño Dressing

Condiments & Sauces
Homemade Creole Seasoning

Appetizers
Chunky Guacamole

Condiments & Sauces

Can I give them a hot water bath so they can be sealed and put on the shelf?
Hi Susan, this recipe is for refrigerator/freezer jam. It has not been tested to verify the proper sugar quantity and pH required for safe canning.
I made this recipe using a mix of fresh picked cherries from northwest Michigan. I decided to add a bit of high quality bourbon which also came from a local distillery in the same area. It is amazing! What a great treat!
Preserves turned out great! A friend gave me 3.5 lbs of sweet northwest Michigan cherries and just knew they would go bad by the time we finished them. This was a great option. Very sweet but that’s a must with preserves to keep away bacteria. Has such a wonderful cherry flavor…had to try it on an English muffin w butter and it was sublime. What a treat! Can’t wait to give a few jars to the friend and his family. They’re going to love it!!