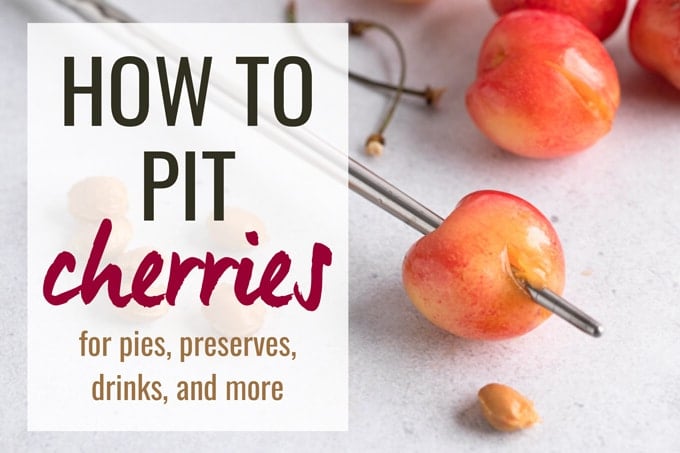
Love fresh cherries, but aren’t sure the best way to pit them? Learn 5 of my favorite cherry pitting methods, including a few DIY tricks using common household items.
This post contains affiliate links. As an Amazon Associate, I earn a commission (at no additional cost to you) from qualifying purchases made by clicking these links. As always, all recommendations and opinions expressed are my own.
1. Cherry Pitter Tool
Let’s start with the most obvious of the bunch: a dedicated cherry pitter tool. If you pit a lot of cherries for recipes, it’s a handy gadget to have. While it’s largely a single-use tool (I say “largely” because you can also use some models for olives), it gets the job done well.
A batch of my Cherry Preserves alone uses 3 pounds of fresh cherries (about 150). With my pitter, I can prep the whole lot in about 10 minutes. The punch method it uses to push out the pit also keeps the fruit well-intact. It’s great for recipes that call for whole cherries, like Clafoutis.
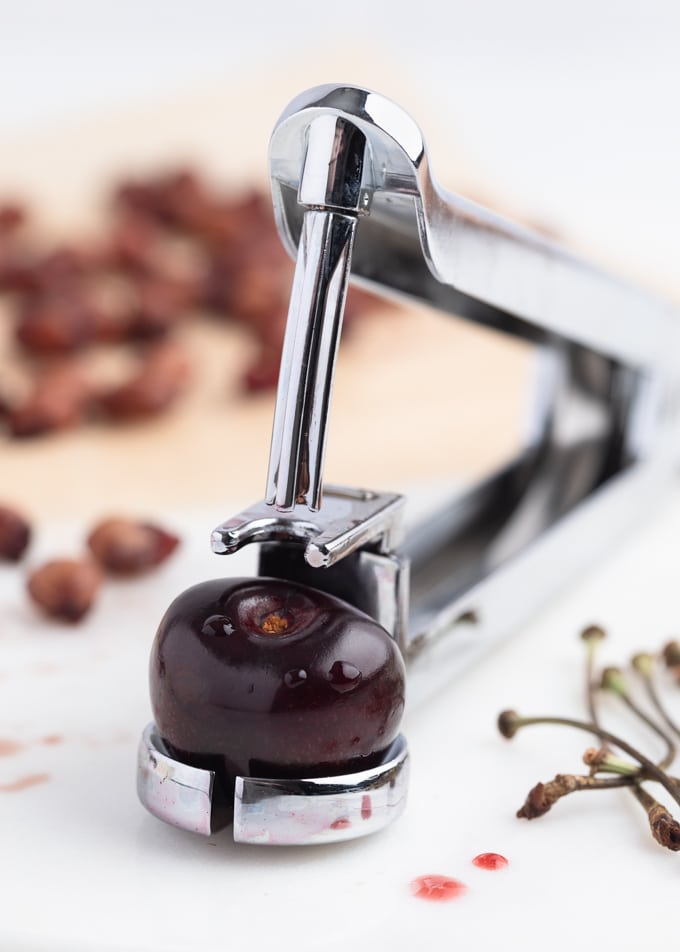
I purchased my Leifheit cherry pitter (pictured above) about 20 years ago from Williams-Sonoma. While it appears that the model is no longer available, the OXO Good Grips Cherry and Olive Pitter gets good reviews.
What about bulk cherry pitter machines? Honestly, I haven’t found a model that I love. If you use one that you recommend, let me know in the comments!
Potential drawbacks: juice splatter can be an issue with handheld cherry pitters. I use mine over a bowl in the sink, and wear a washable apron or an old shirt that I don’t mind getting juice on.
Also, when using the pitter with very ripe fruit, sometimes there isn’t enough resistance behind the punch to force out the pit. Before adding the cherries to recipes, I like to double check that all of the pits are gone, so none of my guests get a surprise.
2. Chopsticks or Reusable Straws
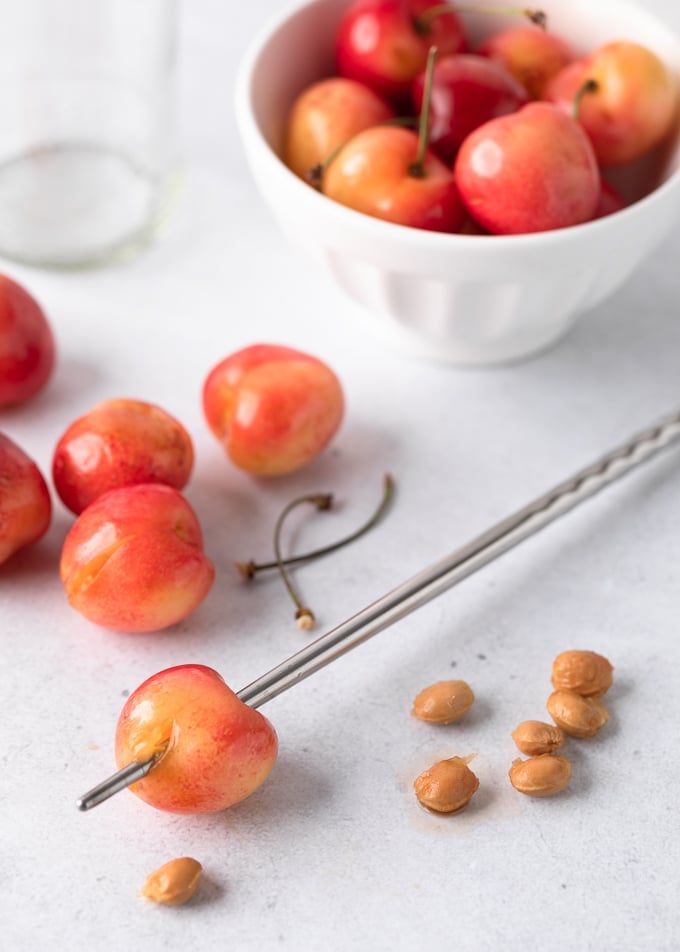
Chopsticks and reusable straws also work well for pitting cherries. After removing the cherry’s stem, push the end of the chopstick or straw into the stem side until you hit the pit, and then gently push it out the opposite side.
If you find that you’re having difficulty steadying the cherry or positioning the chopstick while you do this, you can balance the fruit over an empty, narrow neck bottle. (I usually use a soda, wine, or beer bottle.)
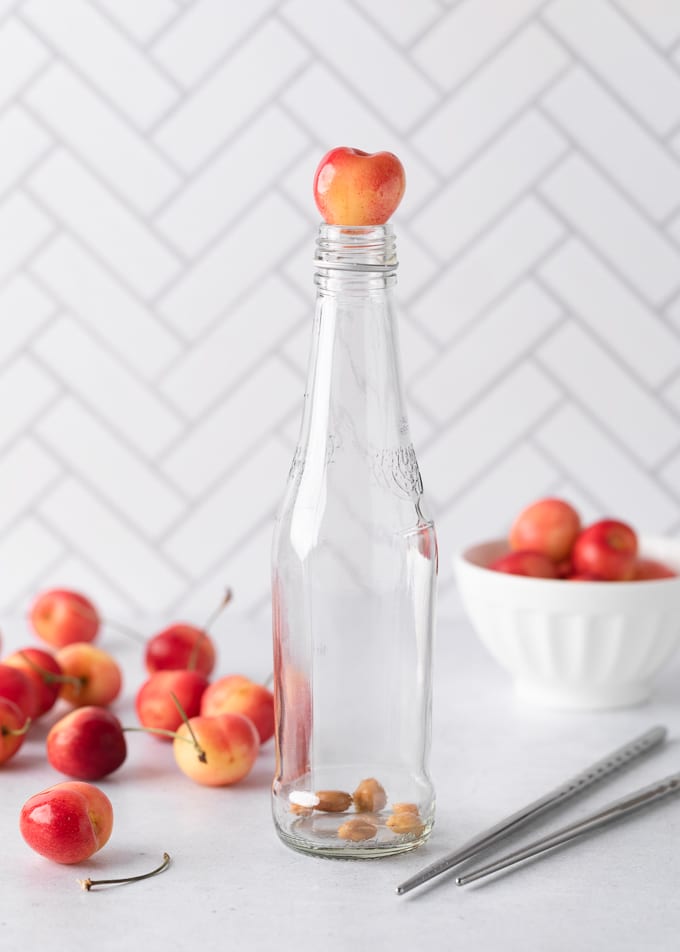
Just sit the cherry, stem side up, at the bottle’s opening. Steady the cherry and top of the bottle with one hand, and use your chopstick or straw to push the pit into the bottle.
Bonus: using a bottle helps to catch cherry juices and reduce splatter in the sink or on the counter.
3. Pastry/Piping Tips
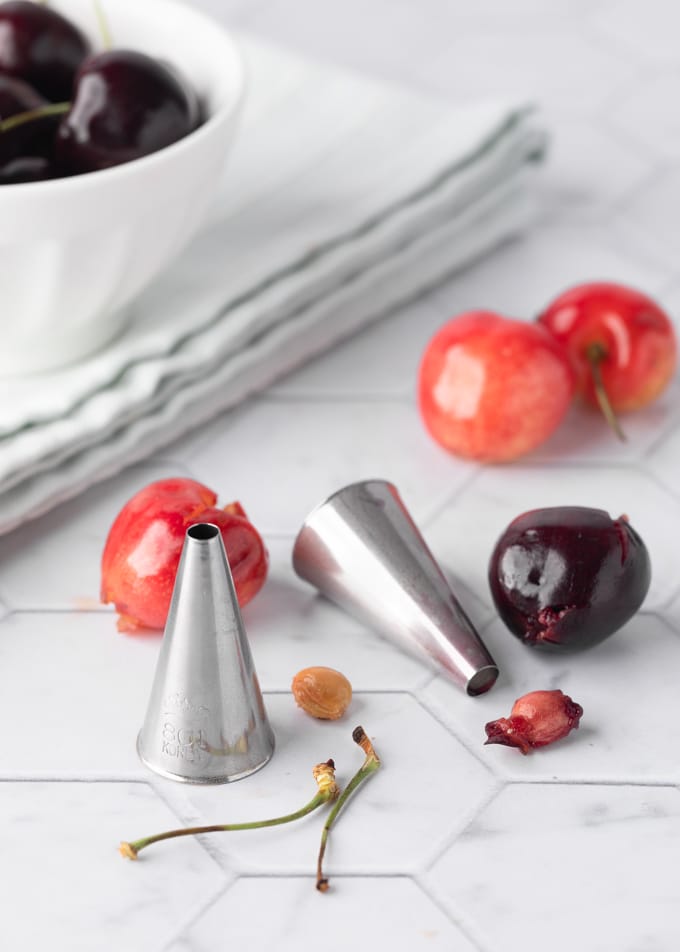
If you have a metal pastry tip in your kitchen for cake decorating, it can pull double duty as a DIY cherry pitter. Simply remove the cherry stem and place the fruit, stem side down, over the top of the piping tip. Then, gently press down on the fruit until the tip pushes the pit through.
Depending on the size of the cherries, I most often use Ateco’s 3/16″ plain tip (#801) or their 1/4-inch (#802). When choosing a tip, remember that if it’s too small a diameter, it’ll be difficult to center on the pit, and if it’s too large, you’ll carve out too much fruit.
I prefer using plain (round) tips to stars. Not only can you pinch your fingers on the star’s sharp edges as you push the pit through, but it also leaves the cherries looking a bit jagged.
Drawbacks: I find that this method extracts more juice than a pitting tool, and the cherry often splits. This method is great when you don’t need picture-perfect whole cherries for your recipe.
Heading to the market? Check out “How to Buy and Store Cherries Like a Pro” from Epicurious.
4. Paper Clip Pitter
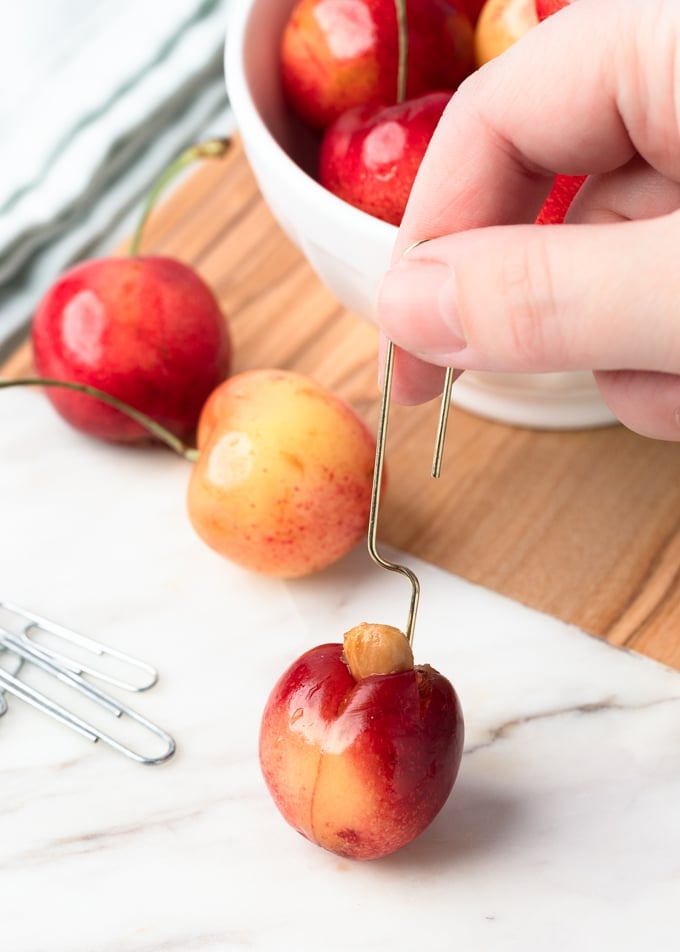
If you have a paper clip in your desk drawer, you can use it make another easy DIY cherry pitting tool.
Lift the clip’s inner loop and bend it backwards all the way to create a long, flat “s” shape. Use one of the hooks (large or small end, depending on the cherries) to carve into the center of the fruit from the stem side.
Twist the clip to scoop around and under the pit in a circular motion. Keep the area as small as you can so you don’t remove too much of the fruit, and use the clip to lift the pit out.
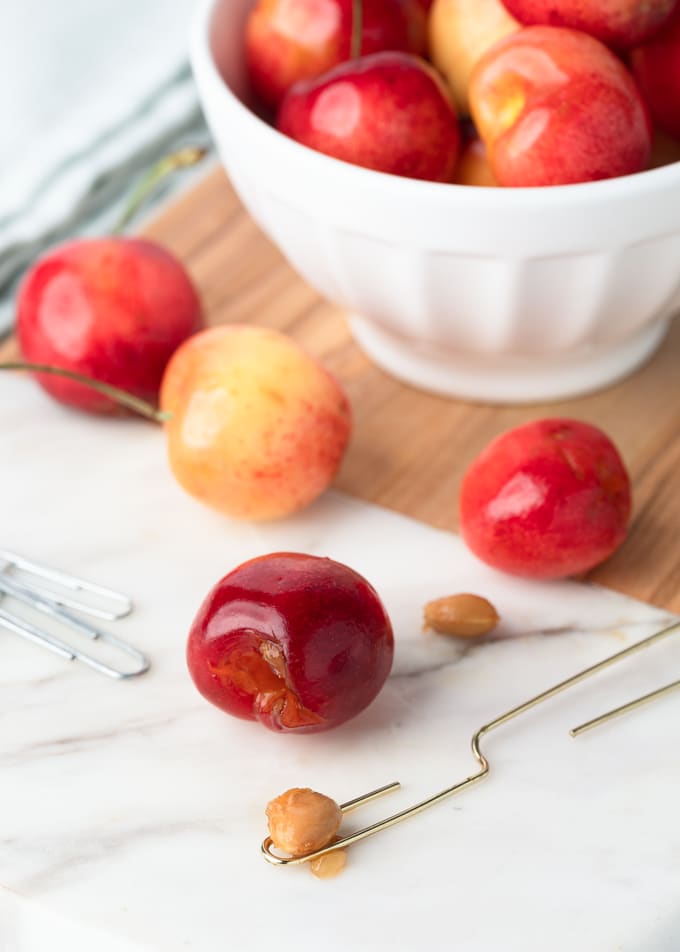
I find that for most cherries, the slightly heavier 50mm paper clips work best. Smaller, thinner clips can be prone to bending with the weight of the pit.
Drawbacks: If the cherry is very ripe, this can get a bit messy. I use the paperclip method over a bowl to catch the juices and reduce cleanup.
5. Pitting Cherries with a Knife
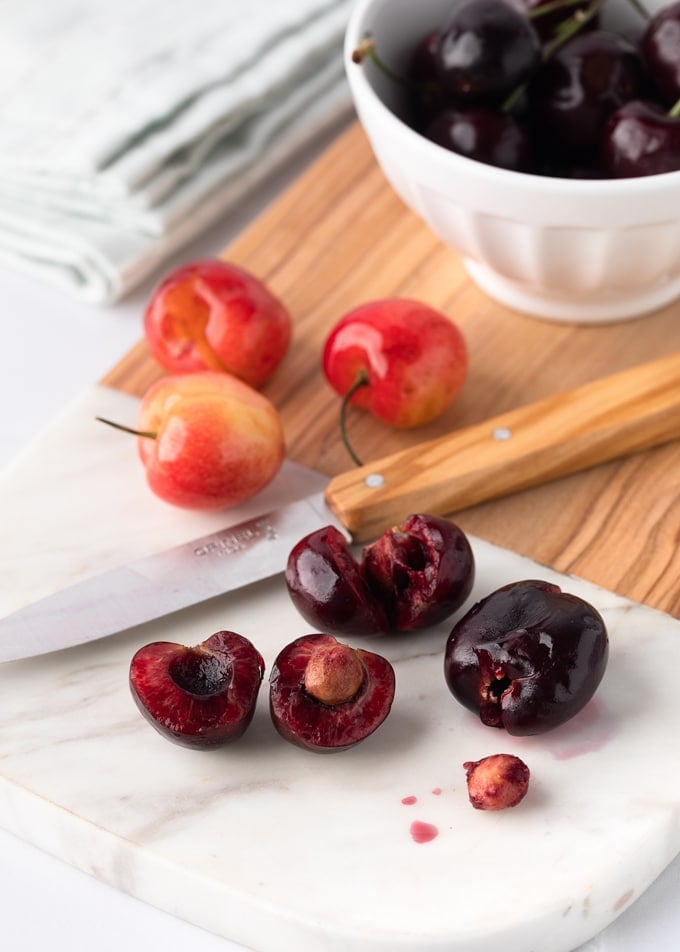
Don’t want to fashion a pitting tool? You can pit cherries with a paring knife, though I find it to be a bit messier and more time consuming than other methods.
After removing the stems, you can:
A. Cut the cherry lengthwise all the way around, keeping the blade of the knife against the pit. Twist the cherry apart to form two halves. (A similar method to cutting an avocado.) Carefully remove the pit with the tip of the paring knife or your fingertips.
B. Use the flat side of a chef’s knife to gently crush the cherry and loosen the pit. Then, make a slit in the side of the cherry with a paring knife and remove the pit with your fingertips.
Tip: Cherry juices can stain porous surfaces (such as wood and unsealed marble), as well as your fingertips. Be mindful of this when working with any of these techniques. I often wear kitchen gloves for easy cleanup.
Do you have a favorite technique for pitting cherries? Tell us in the comments below!


Thank you for covering the different methods of cherry pitting. I remove the stem and use my fingers to break into the cherries on the stem side with my thumb. Then I pinch out the stone and make sure I have at least two pieces of cherry before dropping it. I put off making preserves due to this daunting task. When I finally tried it on 750 grams of cherries it took all of 10 minutes. Wear old clothes, do this outside and wash you hands often, but don’t let this messy part hold you back from making cherry preserves. The first quart did not last a week. A little butter pecan ice cream and a lot of cherry preserve is how it all went.
I love pitting my tart cherries from our tree by using the looped end of a bobby pin. It’s the perfect size (nice and small) to enter through the stem area and pull out the pit.