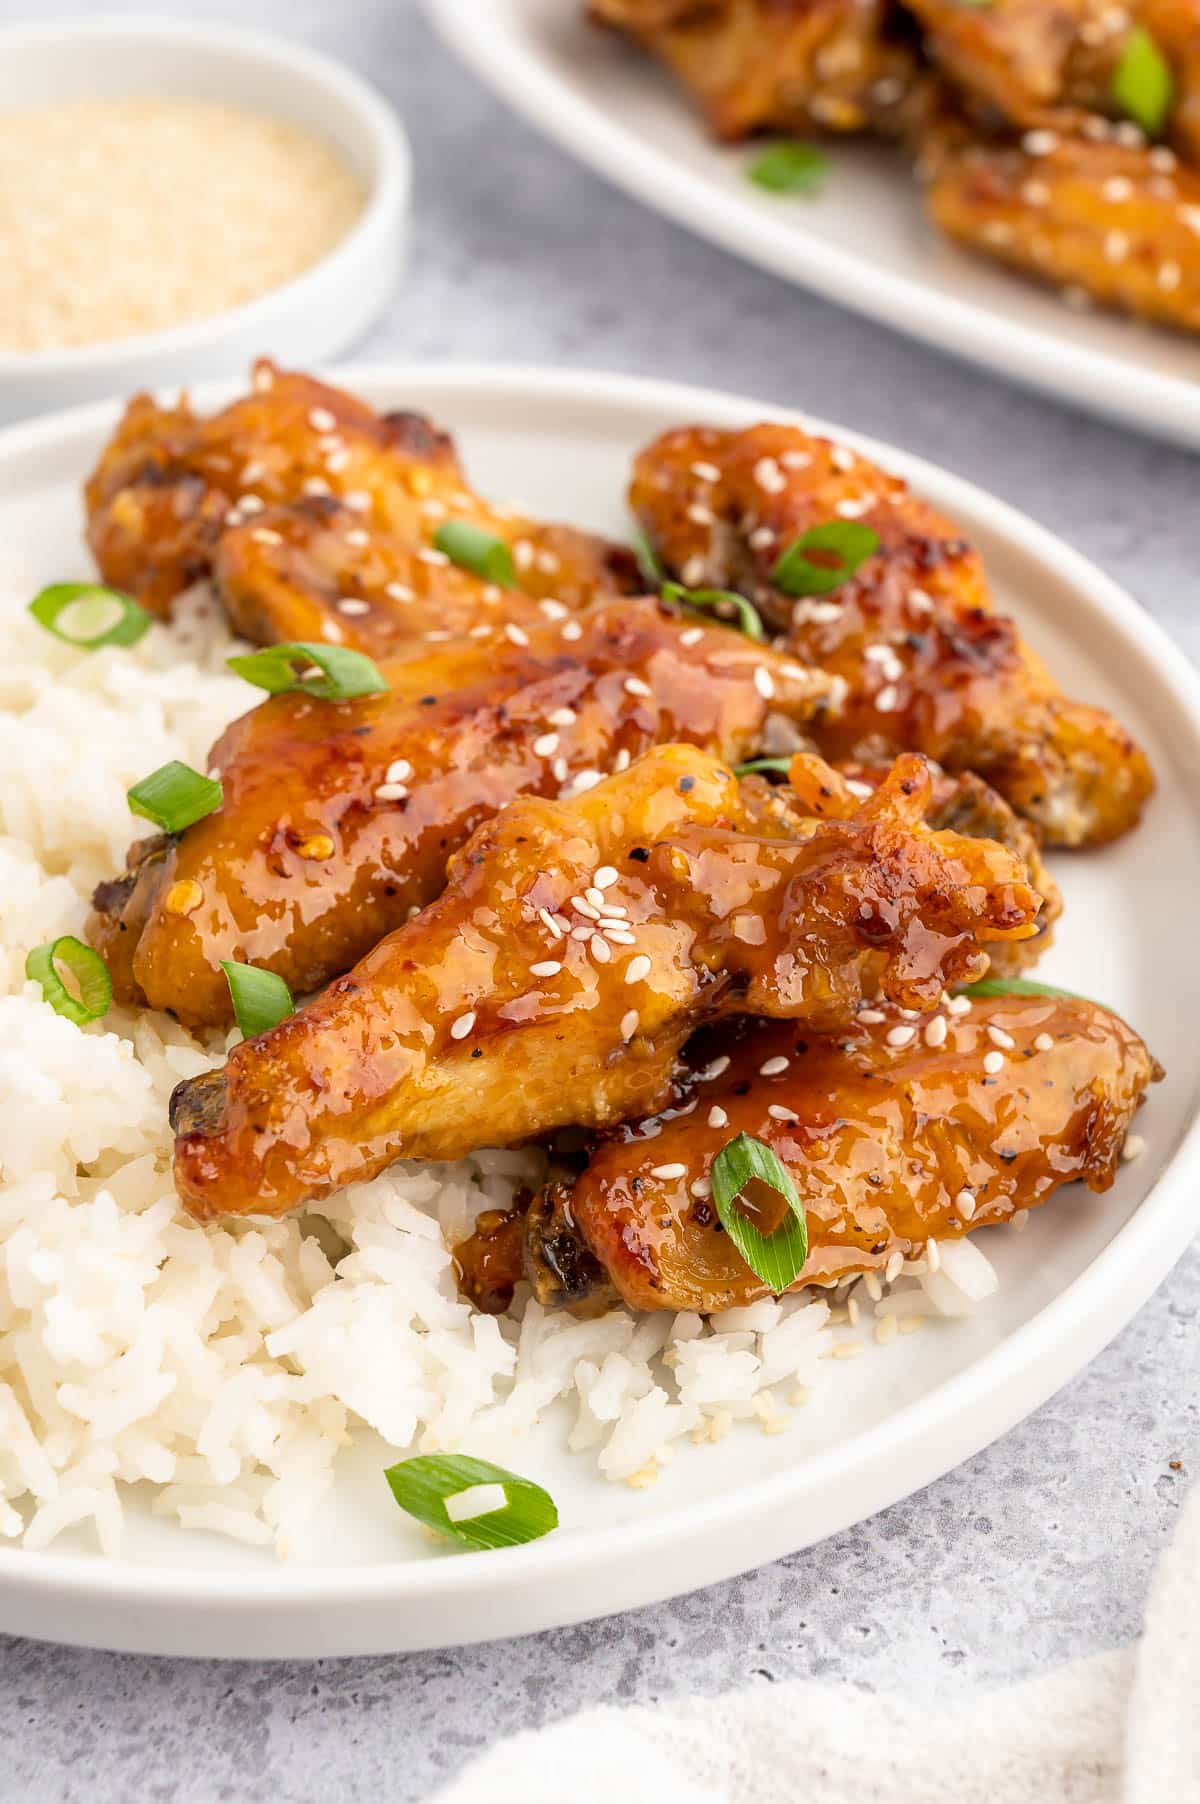
These Honey Garlic Chicken Wings are crispy, sticky-sweet, and loaded with sweet-salty-zesty flavors. Serve them for dinner with rice and veggies, or add them to your appetizer menu for game day. Ready in an hour or less from prep to table using your oven or air fryer.

This post contains affiliate links. As an Amazon Associate, I earn a commission (at no additional cost to you) from qualifying purchases made by clicking these links. As always, all recommendations and opinions expressed are my own.
Why You’ll Love These Honey-Garlic Chicken Wings
- Irresistible Flavor. These wings offer a great combination of Asian-inspired flavors. With savory soy sauce and garlic, sticky honey, and a kick of heat from the ginger and red pepper flakes, the flavor of these wings is hard to beat.
- Easy Prep. Baking these chicken wings requires less hands-on cooking time than deep frying. Once you pop them in the oven, you can work on other apps or sides while they’re cooking. Plus, using a lined baking sheet makes cleanup a breeze!
- Lighter Option: Baking or air frying the chicken wings instead of deep-frying them makes this recipe a lighter choice. They’re juicy on the inside and crisp up nicely on the outside, without being greasy.
- Versatility. Whether you’re hosting a game day party, a casual gathering with friends, or simply craving a delicious and easy weeknight dinner, these wings fit the bill. They make for a fantastic appetizer or a flavorful main course when served with a side of rice, salad, potatoes, or roasted vegetables.

Ingredients You’ll Need
- Chicken Wings. You’ll need about 2-1/2 pounds of split, raw chicken wings (drumettes and flats). These are often labeled “party wings” at the market. If your butcher counter only sells whole wings, you can split them yourself by cutting them at the joint and removing the wing tip. (See: How to Cut Whole Wings Into Flats and Drumettes from The Kitchn.)
- Cornstarch. Creates a super light breading, helping the chicken wings become light and crispy. You can also substitute tapioca starch.
- Garlic Powder, Salt, and Pepper. For seasoning the cornstarch wing coating. We use Diamond Crystal Kosher Salt {affiliate link} or fine sea salt, and freshly ground black pepper.
- Oil. For brushing the wings before baking or air frying. Use any variety of neutral-flavored oil with a relatively high smoke point. We like to use vegetable oil, peanut oil, or light olive oil.
- Honey. The base for the sticky, sweet-savory wing glaze.
- Soy Sauce. Use Japanese-style shoyu (such as Kikkoman, widely available at most U.S. grocery stores), reduced-sodium soy sauce (my preference), or Tamari (often gluten-free). For another gluten-free or lower sodium alternative, you can substitute coconut aminos {affiliate link}.
- Water.
- Fresh Garlic. To infuse the wing sauce with garlicky goodness.
- Ginger. Fresh ginger root adds warm spice to the wing sauce. I like to grate it on a fine Microplane {affiliate link} for the best flavor and texture. You can also substitute powdered ginger. Since the potency of powdered spices can vary, start with 1/8 teaspoon and add additional to taste.
- Crushed Red Pepper Flakes. Optional, to give the wing sauce an extra pop of heat.
- Toasted Sesame Seeds and Scallions. For garnishing the wings on your serving platter.
How to Make Honey Garlic Chicken Wings
These wings are cooked in two steps. Initially, you’ll bake them with a seasoned cornstarch coating to cook them through and make them crispy. Then, you’ll toss the wings in the honey-garlic sauce and cook them a bit more to caramelize the sauce.
1. Prep the Wings
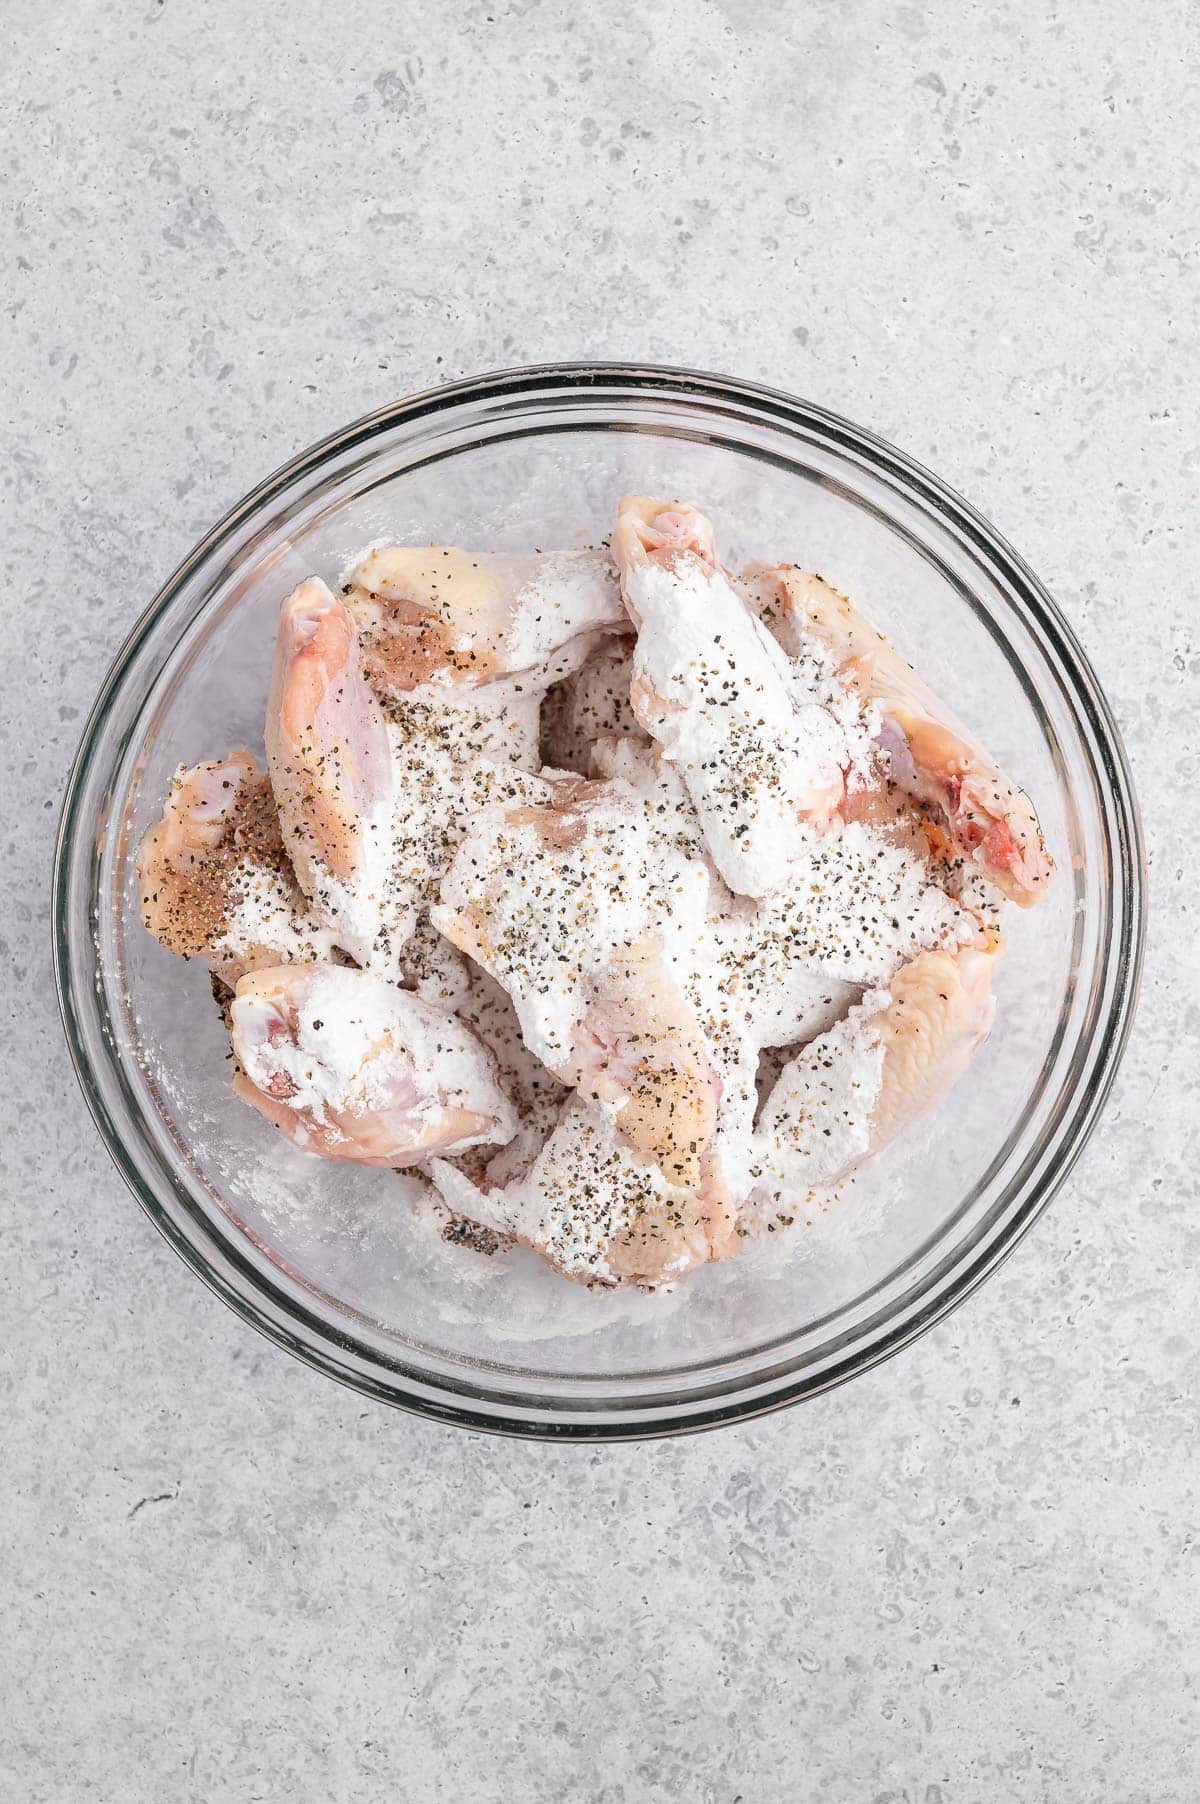
To ensure that the wings crisp up and brown nicely during the first cooking stage, pat them dry with a paper towel. Next, place the wings in a bowl or a gallon-size disposable plastic zip-top bag.
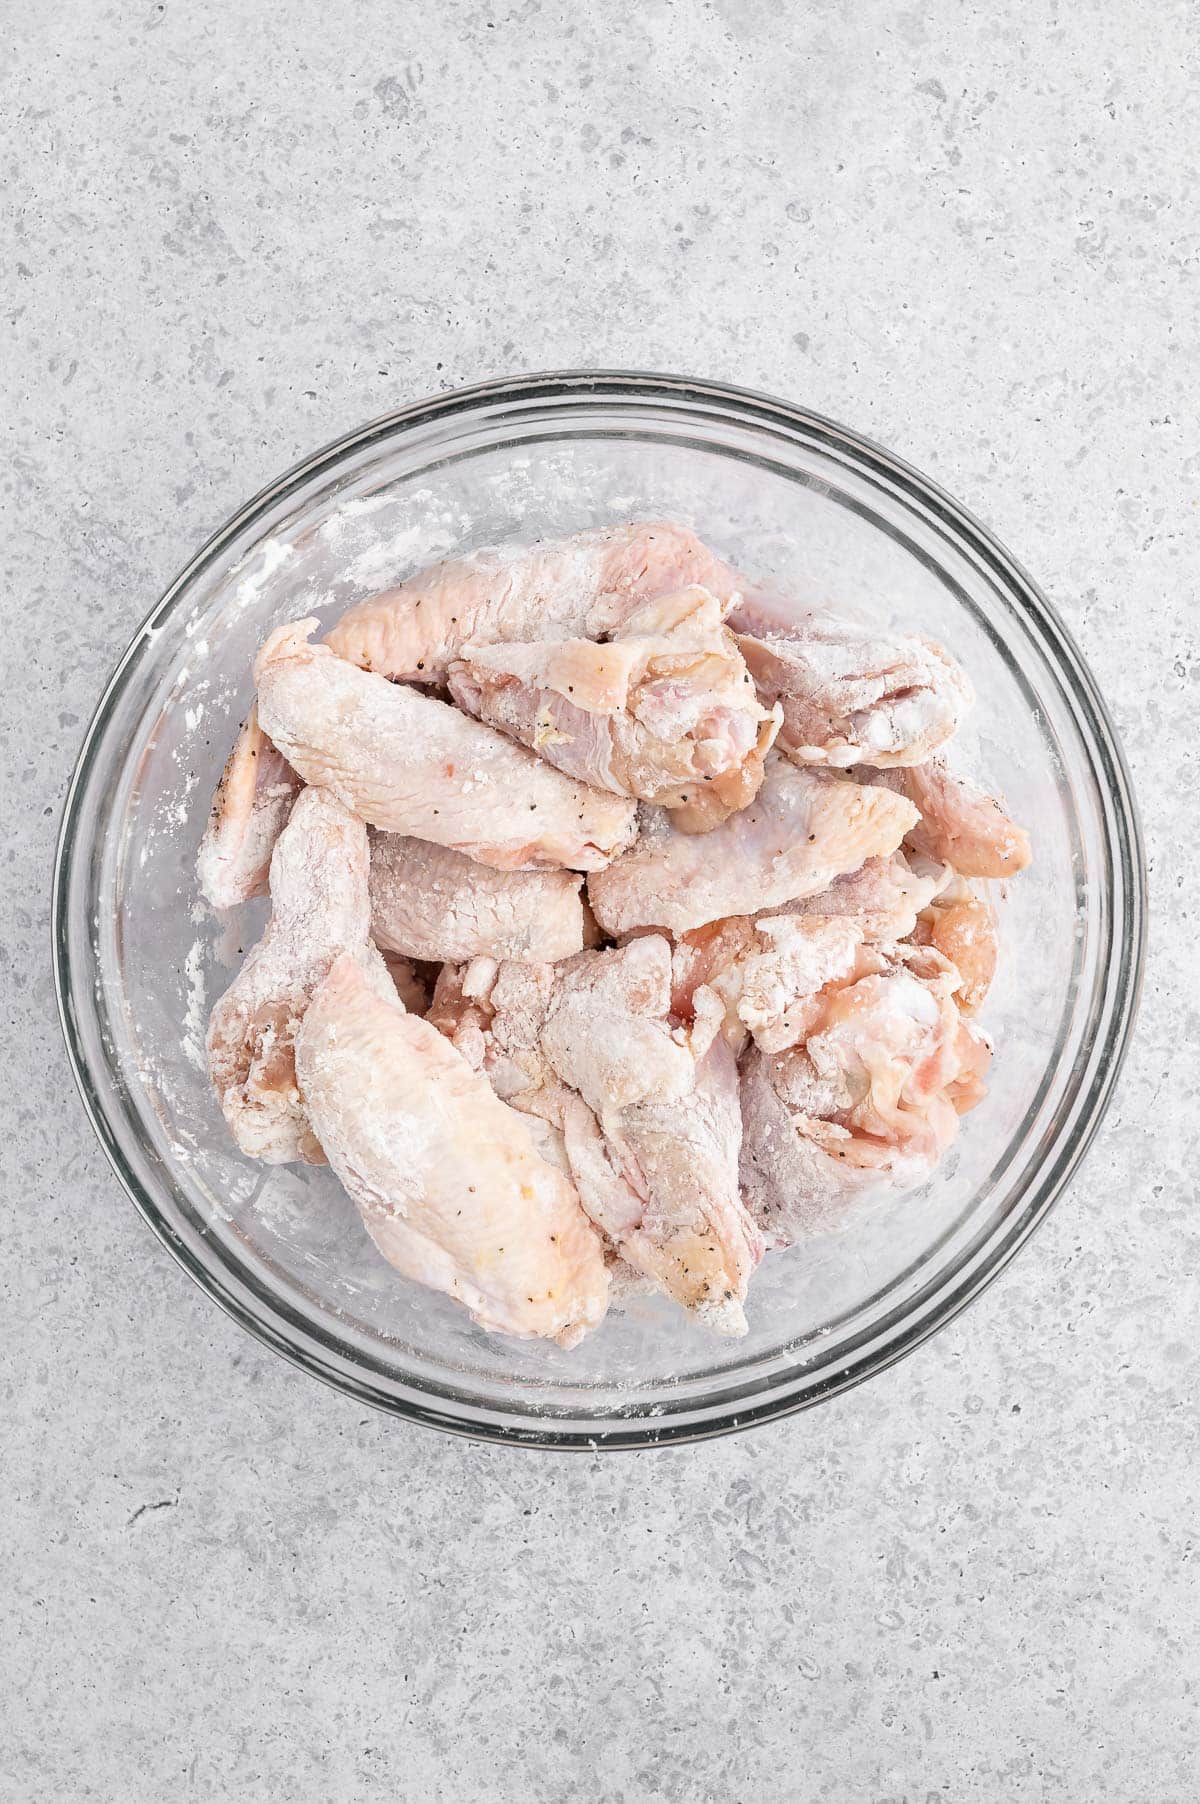
Sprinkle the wings with cornstarch, garlic powder, salt, and pepper. If you’re using a bowl, use a rubber spatula to coat the wings evenly with the starch and seasonings. If using a bag, seal it and shake well until the wings are fully coated.
(While the bowl method creates better photos, I personally prefer the bag method for its easy cleanup and even distribution of the coating.)
2. Bake the Wings
Preheat your oven to 425°F with the racks in the upper-middle and lower-middle positions. Line two rimmed half sheet pans {affiliate link} with foil and a piece of parchment paper.
Using a combination of parchment and foil ensures easy cleanup. The parchment prevents the wings from sticking to the foil, and the foil prevents chicken juices from soaking through the parchment onto the pan.
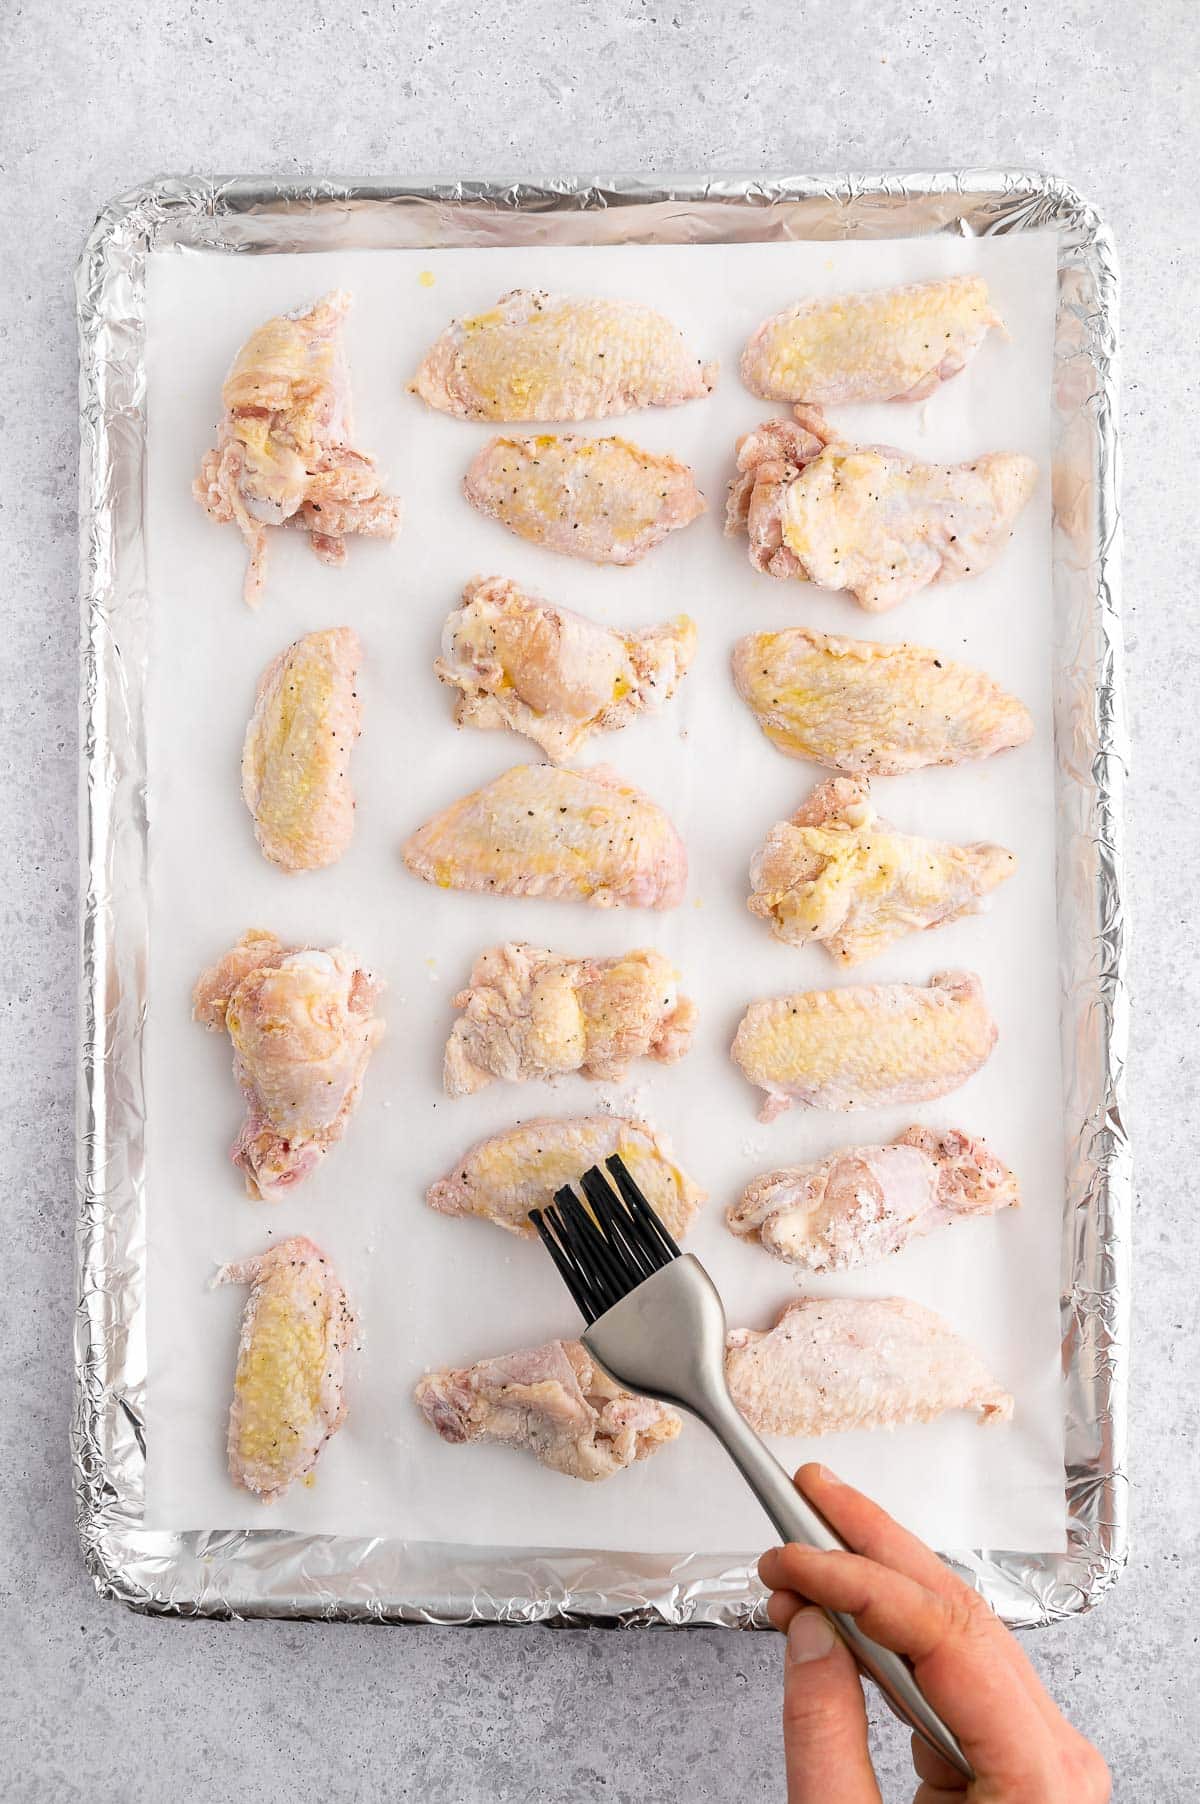
Divide the prepped wings between the sheet pans, arranging them in a single layer with some space between each wing. Ample spacing allows for airflow, ensuring even cooking and crispiness.
Lightly brush the tops of the wings with oil. The bottoms will brown from the released fat as the chicken cooks.
Bake the wings for 35-45 minutes. The total time will depend on the size of the wing pieces you’re using. Halfway through the cooking time, flip the wings over on the sheet pans and rotate the pans in the oven.
What’s the safe internal cooking temperature for chicken wings? Wings are safe to eat above 165°F, but this actually isn’t the best temperature for the best flavor and texture. For juicy wings that are fall-off-the-bone tender, you’ll want the final temperature to come up to at least 175°F, but 185-200°F wings are even better!

Make the Wing Sauce
While the wings are baking, prepare the sweet-savory sauce to glaze them. In a saucepan, whisk together honey, water, soy sauce, garlic, ginger, cornstarch, and red pepper flakes (if using).
Bring the mixture to a low boil over medium to medium-high heat. Once it starts bubbling, reduce the heat to maintain a simmer and cook for about 8 minutes, stirring often. Using a small rubber spatula to stir helps clear the glaze from the sides of the saucepan.
When the glaze is ready, it will be thick enough to coat the back of a spoon. Be careful not to overcook the glaze, which will cause it to harden up too much as it cools.

Glaze and Finish the Wings
Carefully transfer the baked wings into a large bowl. (Use tongs, they’ll be very hot!) Pour the sauce over the wings and use the tongs to gently toss them to coat.
Return the wings to the lined baking sheets in a single layer. Brush the tops with some of the sauce that’s left behind in the bowl.
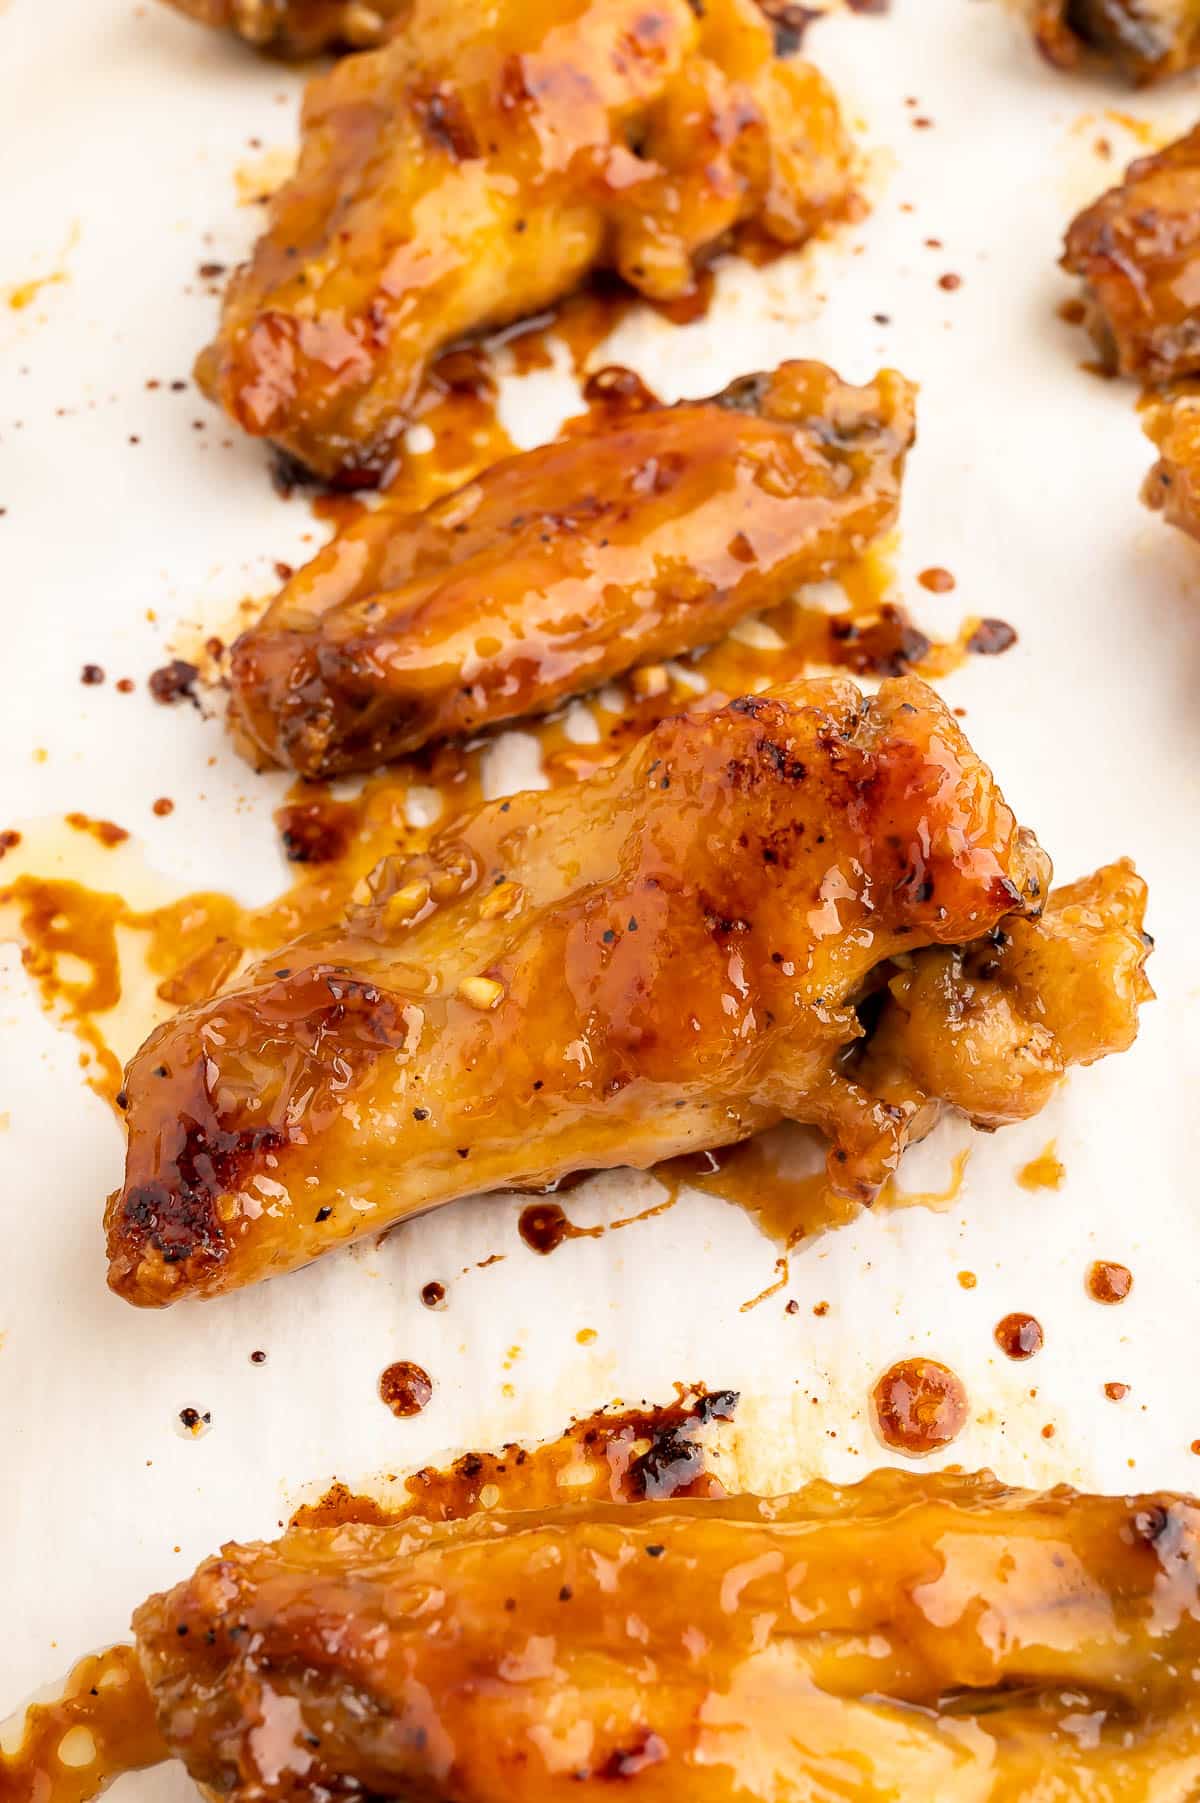
Continue baking for 8-10 minutes, flipping the wings halfway through and basting with the remaining sauce in the bowl. When they’re ready, the honey-garlic sauce will be bubbly and caramelized. Watch them closely to ensure that the sugars don’t burn.

Using an Air Fryer to Make This Recipe
Honey-Garlic Chicken Wings turn out great in the air fryer, but there are a few pros and cons to consider. On the positive side, the wings tend to come out crispier in the smaller convection space of the air fryer compared to the oven, and they also cook for less time.
The downside, however, is that unless you have a very large air fryer, you’ll need to cook this recipe in batches to avoid overcrowding the wings. This negates the benefit of a shorter cooking time when making a full batch.
Cleanup can also be messier, especially if you’re using a traditional basket-style air fryer. Using disposable parchment liners {affiliate link}, especially after glazing the wings, can help with this. I don’t recommend using a toaster oven-style air fryer or any model with exposed heating elements under the basket, as the glaze may drip and burn onto them.
For testing purposes, I used the Air Crisp function on my 8-quart Ninja Foodi {affiliate link}, which has a nonstick crisper basket inside a ceramic-coated pot to catch drips. Without using a disposable liner, the caramelized glaze cleaned up well with a bit of soaking time, though it required more effort compared to the lined baking sheets used in the oven.
To make the wings in the air fryer, cook them at 390°F, for approximately 22 minutes (flipping after 12 minutes) for the first phase, and just 3-4 minutes after tossing and brushing them with the honey-garlic sauce.
Note: Air fryer times and temperatures can vary by brand and model. Keep a close eye on your first batch of wings, and adjust the cooking times accordingly for the specific air fryer you own.
Serving and Storing the Wings
To serve, pile the wings onto a big platter and sprinkle with toasted sesame seeds and thinly sliced scallions. Serve these sticky wings hot, and don’t forget the napkins or moist towelettes! {affiliate link}
You can serve Honey Garlic Chicken Wings with rice and stir-fried veggies for a fun and easy family dinner, or serve them as a party appetizer that everyone will love.
Generally, 4-6 wings per person is a good estimate for an appetizer portion. Consider planning on more for hearty appetites or if the wings are the main attraction on your menu.
We like these wings the best the day they’re made, but leftovers can be stored and reheated for a second meal or snack. To store the wings, refrigerate them in an airtight container for 3-4 days.
To reheat the wings, bake or air fry them in a single layer at 350°F until hot (internal temperature 165°F). This will take 10-15 minutes in the oven and 3-5 minutes in a lined or nonstick air fryer. Keep an eye on the wings when reheating so the sauce doesn’t get too dark.
More of Our Favorite Chicken Recipes
Honey Garlic Chicken Wings
Ingredients
For the Wings
- 2-1/2 pounds split chicken wings (wings and drumettes, often labeled "party wings")
- 1/4 cup cornstarch
- 1 teaspoon kosher or fine sea salt
- 1/2 teaspoon freshly-ground black pepper
- 1/2 teaspoon garlic powder
- 2 tablespoons vegetable oil (or other high-heat, neutral flavored oil)
For the Sauce
- 1/2 cup honey
- 1/4 cup water
- 1/4 cup soy sauce (I use reduced sodium)
- 4 large garlic cloves , minced (about 1 tablespoon)
- 1/2 tablespoon finely-grated fresh ginger (I use a microplane)
- 1 teaspoon cornstarch
- 1/4 teaspoon crushed red pepper flakes (optional, for a spicy kick)
For Serving
- 1/2 tablespoon toasted sesame seeds
- 1 scallion , thinly sliced
Instructions
Prep the Wings
- Use a paper towel to pat the wings very dry. Place them in a large bowl or gallon-size disposable zip-top bag. Sprinkle the starch, salt, pepper, and garlic powder over the wings and stir with a rubber spatula until they are all evenly coated. Or, if using a zip-top bag, seal and shake to coat (my preferred method).
Bake the Wings
- Preheat oven to 425°F with racks in the upper-middle and lower-middle positions. Line 2 half-sheet pans with foil. Place parchment paper over the foil and set aside.
- Divide the wings between the lined sheet pans, leaving room between each wing so they can crisp. Brush the tops of the wings lightly with oil. Place the sheet pans in the oven and bake for 35-45 minutes, until golden. Halfway through cooking, rotate the pans in the oven and use tongs to flip the wings.
Make the Sauce
- While the chicken is baking, combine the sauce ingredients in a saucepan and bring to a low boil over medium to medium-high heat.
- Reduce heat and simmer for about 8 minutes, or until the sauce is thick enough to coat the back of a spoon. Stir the sauce frequently. (I like to use a small rubber spatula to clear the sides of the saucepan.)
Glaze and Finish the Wings
- Use tongs to carefully remove wings from the baking sheets and transfer them to a large bowl. (Don't turn off the oven, as you'll be cooking the wings again after glazing them.)
- Toss the wings with the sauce to fully coat. Return the wings to the lined sheet pans and baste the tops with any sauce remaining in the bowl.
- Bake the glazed wings for 5 minutes. Flip them, baste them again with any sauce remaining in the bowl, and continue baking for 4-5 minutes longer, until the glaze is caramelized. Watch them closely so the sugars don't burn.
- Transfer the wings to a large platter. Sprinkle with toasted sesame seeds and scallions. Serve hot with plenty of napkins!
Notes
- Internal Temperature of Cooked Wings: Chicken wings are safe to eat when the internal temperature reaches 165°F, but their texture is best in the 185-200°F range.
- Storage: Refrigerate leftovers in an airtight container for 3-4 days. Reheat in the oven or air fryer at 350°F. This will take 10-15 minutes on a parchment-lined baking sheet in the oven and 3-5 minutes in a lined air fryer basket. Watch the wings when reheating to monitor for burning. Reheated wings should reach an internal temperature of at least 165°F.
Air Frying the Wings:
Please read the “Air Fryer” section in the article above for important considerations before using this method. Air fryer times and temperatures can vary by model. I do not recommend using an air fryer with exposed heating elements under the cooking space (such as a toaster oven-style model), especially after adding the glaze to the wings.- Preheat your air fryer to 390°F. Spray the bottom of the basket with nonstick cooking spray, or use a disposable liner that fits your model.
- Brush the tops of the wings with oil, as in the baked wing instructions. Place them into the air fryer basket in a single layer without crowding them. Depending on the size of your air fryer, you might need to do this in 2-3 batches.
- Air fry the wings for 12 minutes. Flip them, and continue cooking for another 10 minutes on the second side, until golden.
- Follow the instructions in the recipe card above for tossing the wings with the sauce and brushing the tops. Return the wings to the air fryer in a single layer for 3-4 minutes, until the sauce is bubbly and caramelized. Keep a close eye on the wings to ensure they don’t burn.
Nutrition Estimate
Nutrition information is automatically calculated, so should only be used as an approximation.
About our recipes
Please note that our recipes have been developed using the US Customary measurement system and have not been tested for high altitude/elevation cooking and baking.


