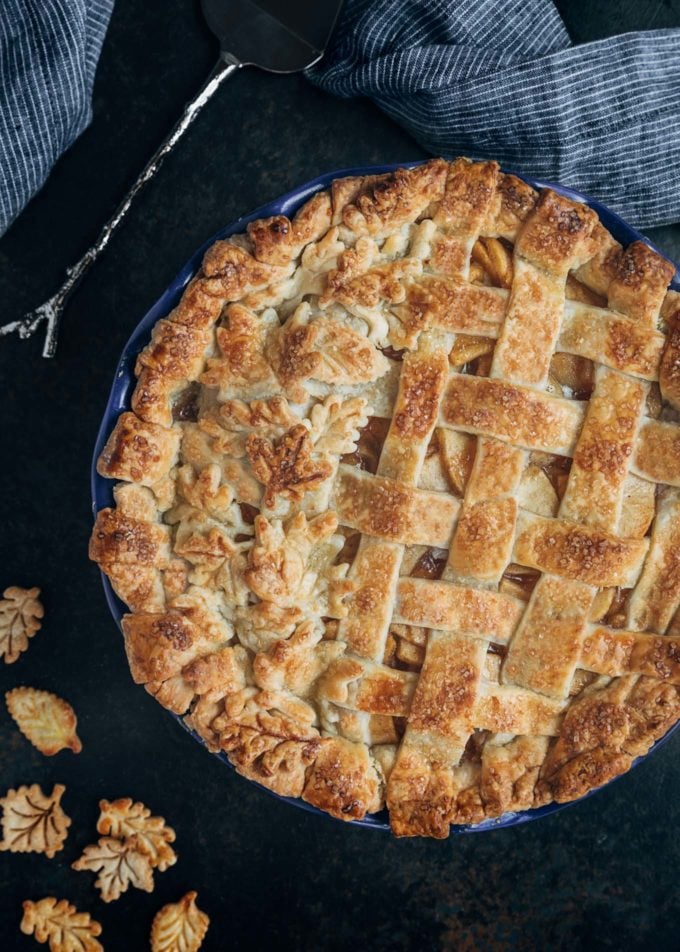
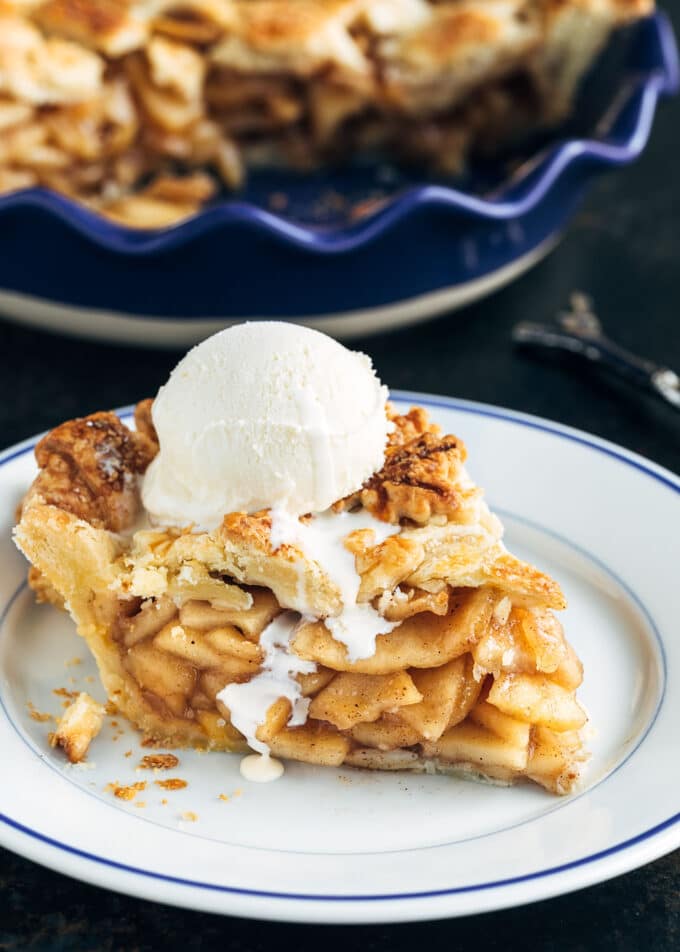
Pre-cooking the filling makes this Homemade Apple Pie foolproof. Pair it with an all-butter crust and a scoop of vanilla ice cream for a dessert that begs to be enjoyed with seconds!
Visiting from Pinterest? This post was updated with new photos in November, 2018. New look, same reader-favorite recipe!
I used to have the most difficult time making consistently good apple pies. It seems a simple enough process, right? Toss apple slices, sugar, a thickener, and spices into a pie crust and bake.
Except, sometimes, my apples threw more juice than I anticipated and the pie was a giant mess of liquid when I served it. Other times, the beautiful mound of apples simply refused to cook through in the oven. (There are few snacks more refreshing than a crisp apple, but not in my pie, thank-you-very-much.)
Then, there were the pies that looked beautiful when pulled out of the oven, with fully-cooked apples (score!). I’d slice it and my excitement would quickly turn to disappointment as I found a gigantic gap between the top crust and filling.
I’m not a big fan of surprises when cooking and baking for guests. The holidays can be busy enough without adding unpredictable pies to the mix!
I started researching alternative pie-making methods about a decade ago and found a simple technique that has become our favorite homemade apple pie: par-cooking the filling.
Pre-Cooked Filling for Foolproof Apple Pie
I first read about par-cooked apple pie filling in Joy of Cooking, and have since come across several recipes that utilize a similar method.
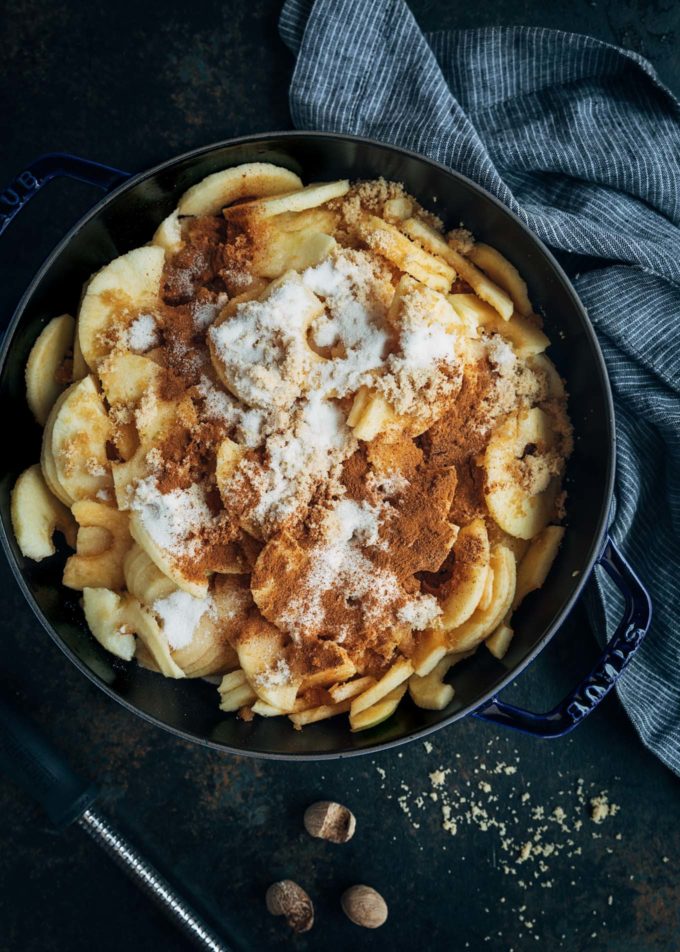
The premise is the same in each: simmer apple slices on the stove with sugar and spices until tender (but not falling apart) and their released juices thicken. Then, just cool the filling to room temperature, fill the pie crust, and bake until golden.
It’s that easy. And, frankly, foolproof. No more undercooked apples! No more gap in the crust! Say goodbye to overly-juicy pies! (How did this not occur to me sooner?)
The Best Apples for Apple Pie
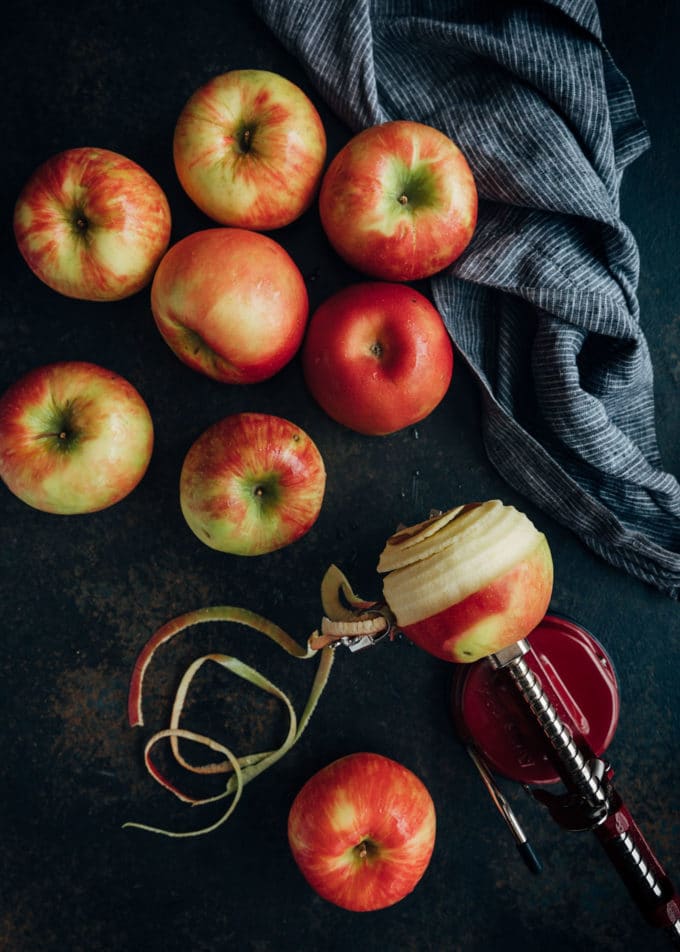
Particularly when par-cooking the filling, you want to choose an apple that isn’t going to quickly break down into applesauce. There are several different varieties of apples to choose from that will retain their shape.
I prefer my apple pie to be on the sweeter side, so I tend to shy away from Granny Smith. My favorite combination of apples is sweet “Jonathan” with sweet-tart “Cameo,” both of which I’m able to find at my local orchard in the fall. I also love using Fuji apples.
As the apples are cooking on the stove, I add a bit of apple cider to the pot. It ups the flavor ante a bit and brings a nice depth to the fruit’s natural glaze.
Complement this with Saigon cinnamon, freshly-grated Grenada nutmeg, a little brown and white sugar, and an all-butter crust, and you have a truly gorgeous apple pie. It smells so good, your nose will be practically pressed up against the oven door while it’s baking.
Have a few extra apples in your orchard haul after making your pie? Try these pretty Apple Rose Puffs from Homemade and Yummy for an easy and elegant addition to your dessert table!
What Type of Pie Plate Should I Use?
As much as I love the aesthetics of my stoneware pie plates, they aren’t always my favorite for baking apple pie.
I’ve found that it really depends on the particular pan and brand. Some stoneware seems to take longer to heat up and produce a well-browned bottom crust in a pie that doesn’t go through a blind baking process.
Since the color of the bottom crust is impossible to judge before you cut into the pie (unless you’re using a glass pie plate, of course), I typically add about 10-15 minutes to the baking time when using stoneware.
Be sure to watch the top crust and over it with foil so it doesn’t brown too much while the bottom is hard at work baking.
In terms of stoneware brands, I love my Emile Henry pie plates. They’re beautiful and perform well. For metal, I adore my Williams-Sonoma Gold Touch pie plates (nonstick). I’ve gotten some gorgeous crusts out of those. And, for glass, I haven’t found one I like better than the classic Pyrex. (PS: None of this is an ad, just sharing my favorites!)
If a perfectly browned bottom crust really sets your heart aflutter (as it does mine), I’d recommend starting with a metal pie plate and going from there to see which type of pan you like best for apple pie.
Serving Homemade Apple Pie
If you’re an apple pie purist, this pie is incredible to enjoy on its own, just slightly warm. It’s also a prime candidate for the à la mode treatment. I love French Vanilla or Vanilla Bean ice cream.
A dollop of bourbon-spiked whipped cream is also a good choice. You could also drizzle the pie (and/or ice cream) with a bit of my Apple Cider Caramel for a decadent finishing touch.
No matter how it’s served, this apple pie is sure to be a sweet (and stress-free) ending to any holiday meal!
Complete dessert with a wine pairing! Hugh Preece, Sommelier and Italian Wine Ambassador – Vinitaly Academy, suggests enjoying:
G.D. Vajra – Moscato d’Asti DOCG, Piedmont, Italy
“Beautiful soft color with green reflections, Aromatics of yellow and exotic fruits, herbs, and spice, Delicate and persistent bubbles on the palate, baked melon, lime sorbet and biscuit, well-balanced, flexible Moscato. Creamy and lightly mouthwatering finish.”
More Thanksgiving Pie Week Recipes

Homemade Apple Pie
Ingredients
- 1 recipe all-butter pie crust
- 4 pounds mixed sweet and sweet-tart apples (I love Cameo and Jonathan, peeled, cored, and cut into 1/4-inch thick slices)
- 2 tablespoons cornstarch
- 3 tablespoons apple cider , divided
- 1/2 cup light brown sugar , lightly-packed
- 1/4 cup granulated sugar
- 1 teaspoon ground cinnamon
- 1/4 teaspoon ground nutmeg
- 1/4 teaspoon salt
- 2 tablespoons unsalted butter , chilled and cut into 1/2-inch dice
- 1 egg beaten with 1 tablespoon cool water (egg wash)
- extra granulated sugar or turbinado sugar , for sprinkling over the pie
Instructions
Prepare the crusts
- Roll out two disks of pie dough to 12-inch diameters (about 1/8-inch thick). Fit one crust into a 9- or 10-inch pie plate and trim overhang flush with the plate's edge. (Be careful not to stretch the dough when fitting it into the plate.)
- Keep the second crust flat. Refrigerate both crusts for 30 minutes. Remove from the refrigerator 5 minutes before filling and baking.
Make the filling
- In a small bowl, combine 1 tablespoon apple cider with 2 tablespoons cornstarch, stirring until dissolved. Set aside.
- In a large, heavy-bottomed pot, combine apple slices, remaining 2 tablespoons apple cider, brown sugar, granulated sugar, cinnamon, nutmeg, and salt. Cover and cook over medium-low heat, gently stirring occasionally, until apples are soft, but do not lose their shape, about 15 minutes.
- Stir in cornstarch/apple cider mixture and continue cooking, uncovered, until juices are thick and clear, about 5 minutes. Remove from heat and let cool to room temperature.
Fill and bake the pie
- Preheat oven to 400 degrees F with rack in lower-middle position. Place a baking sheet on the rack.
- Pour cooled pie filling into the lined pie plate. Sprinkle with 2 tablespoons chilled, diced butter.
- For a traditional crust, top pie with second rolled dough round (roll the dough around a rolling pin or fold it into quarters for easy moving). Trim the top layer of dough to a 1/2-inch overhang, tuck under the bottom dough, and crimp or flute as desired to seal. Cut 3-5 slits in the center of the filled pie to vent. If desired, decorate with seasonal crust cutouts.
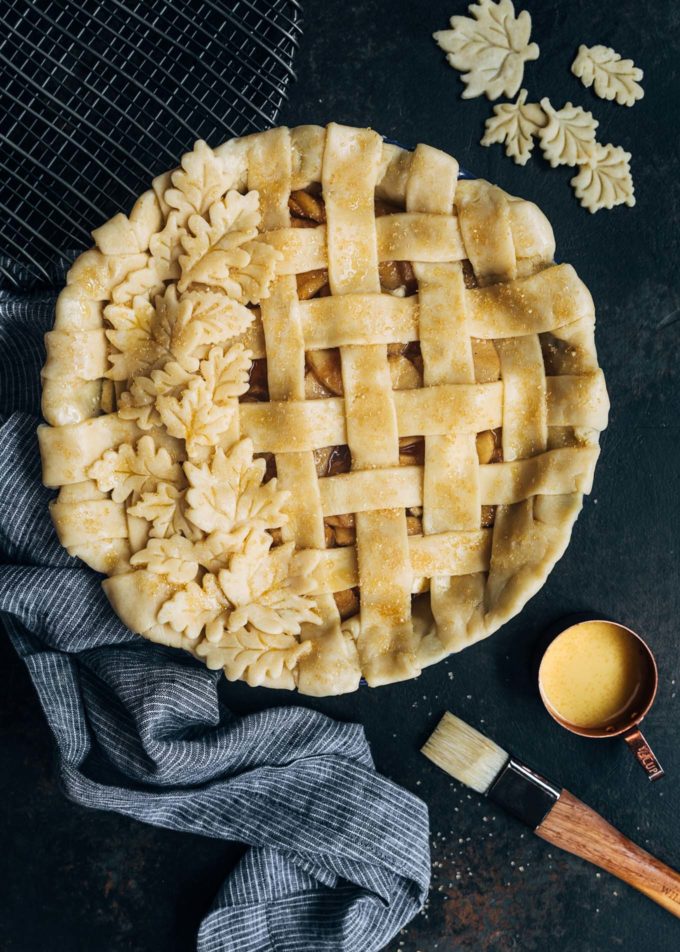
- Lightly brush the top of the pie with egg wash and sprinkle with granulated or turbinado sugar.
- Place on preheated baking sheet and bake at 400 degrees F for 20 minutes. Reduce heat to 325 degrees F and continue baking until the filling is bubbling and the crust is deep golden brown, about 30-40 minutes longer (add about 10 minutes for stoneware pie plates). Keep a close eye on the pie and cover the top and/or edges of the pie with foil if it's browning too quickly.
- Let pie cool on a wire rack to room temperature, at least 3 hours. Slice and serve.
Video
Notes
In Case of Especially Juicy Apples:
Some apple varieties produce more juices than others when cooked. If your apples are particularly juicy and there seems to be a lot of liquid in the pot after thickening and cooling, use a slotted spoon to transfer the cooked apples to the lined pie plate. Then, pour about 1/2 cup of the thickened juices over the apples.To make a lattice crust:
- Chill one round of rolled dough (1/8-inch thick) until firm and cut into 3/4- to 1-inch wide strips using a pastry cutter or knife.
- Starting with the longest strip in the center and picking up every other strip in the dough round, lay 5-7 strips across the top of the pie, about 1/2-inch apart. Fold every other strip on the pie halfway back on itself.
- Starting in the center, place the longest remaining strip of dough perpendicular to the strips you just placed. This piece of dough will lay over the strips that haven't been folded back. Lay the folded strips over the perpendicular strip.
- Now, fold back the strips that weren't folded back before. Place another perpendicular strip and lay the newly-folded strips over it. Repeat until you reach the edge of the pie, then continue on the other side of the pie, working from the center outward.
- Trim the edges of the strips with a 1-inch overhang and tuck under the bottom crust. Crimp or flute as you would a solid top pie crust.
Nutrition Estimate
Nutrition information is automatically calculated, so should only be used as an approximation.
About our recipes
Please note that our recipes have been developed using the US Customary measurement system and have not been tested for high altitude/elevation cooking and baking.






Will make this again!
Who doesn’t love apple pie. I mean the classic NEVER goes out of style. I still remember my baba’s pie…so good. You can never go wrong with this, loved by ALL!! With or without ice cream. I would even eat it for breakfast (shhh… don’t tell anyone).
OMG, I made this pie for Thanksgiving and it has to be the best pie ever. I’m now a star in the family for bringing the most favorite dessert. My husband said “don’t you ever lose that recipe” !!