Everything you need to know about how to make a cheese board for chic and effortless entertaining. Don’t miss my complimentary printable shopping guide for your trip to the market!
Cheese Board 101
In this article (click headings to jump)
What You’ll Need to Make a Cheese Board
How Much Cheese Should I Buy?
What Types of Cheese Should I Buy?
Arranging a Beautiful Cheese Board
Top Cheese Board Making Tips
How to Make A Cheese Board: What You’ll Need
What Kind of Board Should I Use?
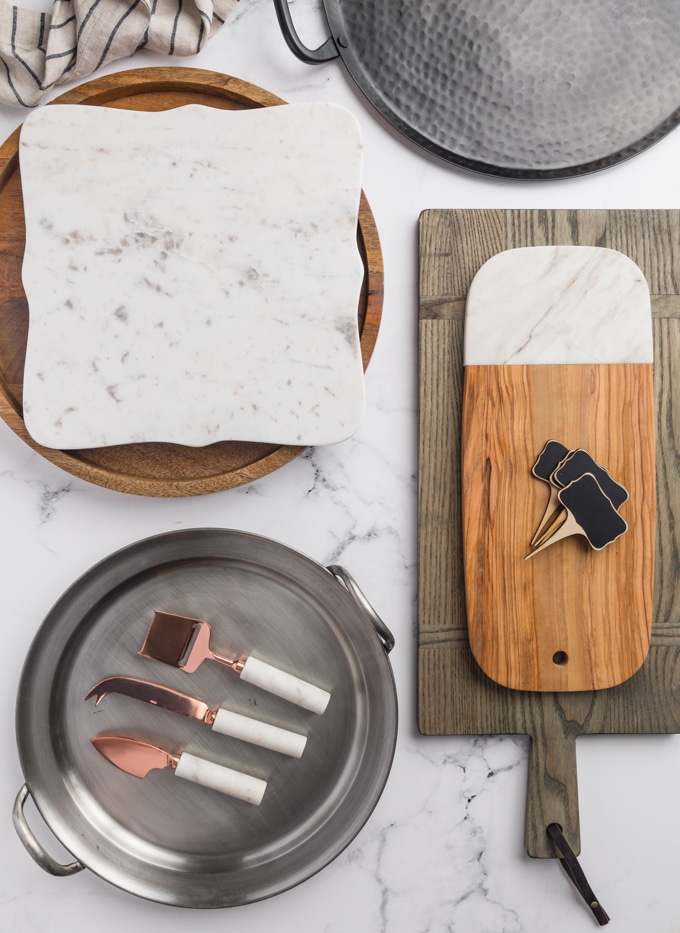
You can use a variety of plates, platters, and boards to build a cheese display. Here are a few of my favorites:
- Marble slabs or pastry boards
- Slate boards
- Wood boards (cutting boards, paddles, free-form artisan boards)
- Rimmed or handled trays
- Metal trays and platters (pewter, hammered iron, silver)
- Ceramic serving platters
What Other Serving Pieces Will I Need?
- Cheese knives
- Cheese tags (optional)
- Small bowls for accompaniments
How much cheese should I buy?
When shopping for a cheese board, I usually choose 3-5 different cheese varieties. (Give or take; sometimes I’ll throw in an extra or two – my friends love cheese!)
I’ve never displayed more than 7 cheeses on a board for a large party. It’s best not to overwhelm your guests’ taste buds with too many choices, so they can fully appreciate the flavors and textures of each.
Questions to ask when planning your cheese board:
- What is my budget? Cheeses and accompaniments can get pricey. It’s good to have a general idea of how much you want to spend before heading to the store. You can make a great cheese board on any budget!
- How many guests am I serving? Are they big cheese lovers? If so, you might want to round up your quantities.
- What is the occasion? Is the cheese board the centerpiece for a holiday cocktail party? A light hors d’ouevre before a big meal? An after-dinner dessert plate?
- What other foods am I serving? If you’re making a lot of other hors d’oeuvres, for example, you’ll need a smaller cheese plate than if it’s the main attraction.
Cheese Quantities by Course
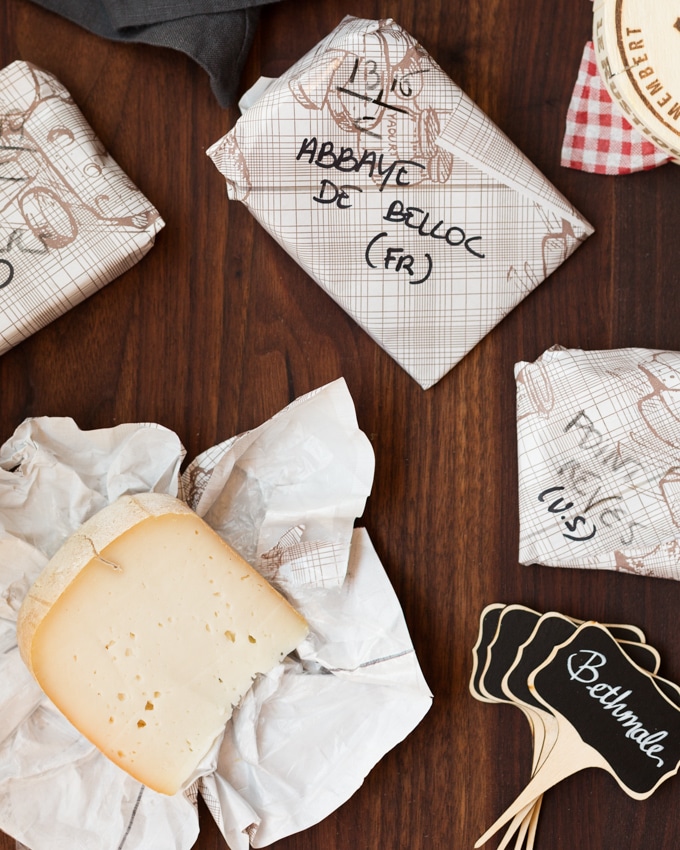
As a general rule of thumb, these ranges will help you shop for the right amount of cheese for your needs.
- Hors d’oeuvre board with charcuterie (or a board served alongside a lot of other appetizers): 1-1/2 to 2 ounces of each cheese per guest.
- Hors d’oeuvre board without charcuterie: 2 to 4 ounces of each cheese per guest.
- Cheese course after dinner (dessert cheese plate): 1 to 1-1/2 ounces of each cheese per guest.
Adjust based on appetites and how many cheeses you’re serving. If your board has 3 cheeses, aim for the higher ends of the ranges.
When serving 5 cheeses or more, you’ll be safe toward the lower ends. (A little extra cheese is never a bad thing in my experience, so I always round up.)
If your cheese board will be the main event at a party, or standing in for a meal, double the quantities.
What Types of Cheeses Should I Buy?
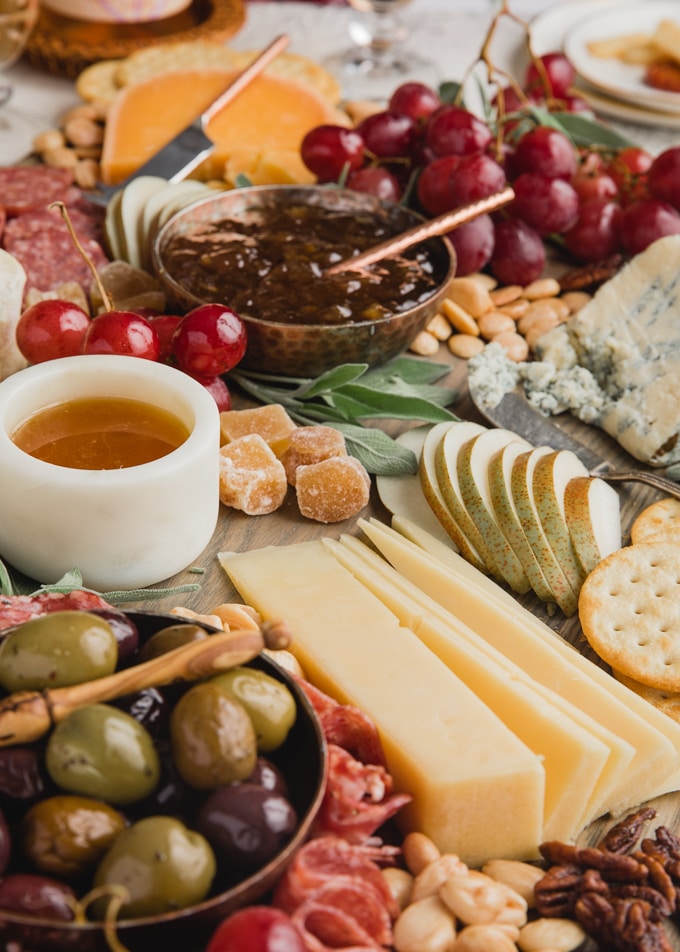
Your cheese choices can vary by style, milk (cow, goat, sheep, etc.), and country of origin. If you have a gourmet cheese case at your local market, or even better, a specialty shop with a cheesemonger, this is a great time to explore those resources.
Taste before you buy! Getting to know your local cheesemonger is fun, and you’ll get to taste interesting cheeses for your board that you and your guests might not have had before.
I like to anchor the board with at least one familiar cheese that will appeal to most, if not all guests, like Cheddar. From there, I work down my list of cheese styles, including a range of sharp and mild varieties.
Cheeses By Style (choose 3-5)*
- Hard/Aged Cheeses. Cheddar, Aged Gouda, Aged Asiago, Parmigiano Reggiano
- Semi-soft Cheeses. Swiss (Gruyère, Emmental, Jarlsberg), Fontina, Havarti, Young Gouda
- Blue Cheeses. Roquefort, Gorgonzola, Maytag Blue, Stilton, Danish Blue, Point Reyes
- Soft or Bloomy-rind Cheeses. Brie, Camembert, Humboldt Fog, Triple Crème (St. Andre, Pierre Robert, Brillat Savarin, Mt. Tam)
- Fresh Cheeses. Chèvre, Fromage Blanc, Mozzarella
*cheeses listed are examples of widely available varieties of each style – this isn’t an exhaustive list.
Tip: Within these styles, you can also include washed rind cheeses, like Epoisses (soft) and Taleggio (semi-soft). These cheeses can be polarizing because of their “stinky” aromas, so I always consider the occasion and my guest list before including them.
Accompaniments (choose 3-5)
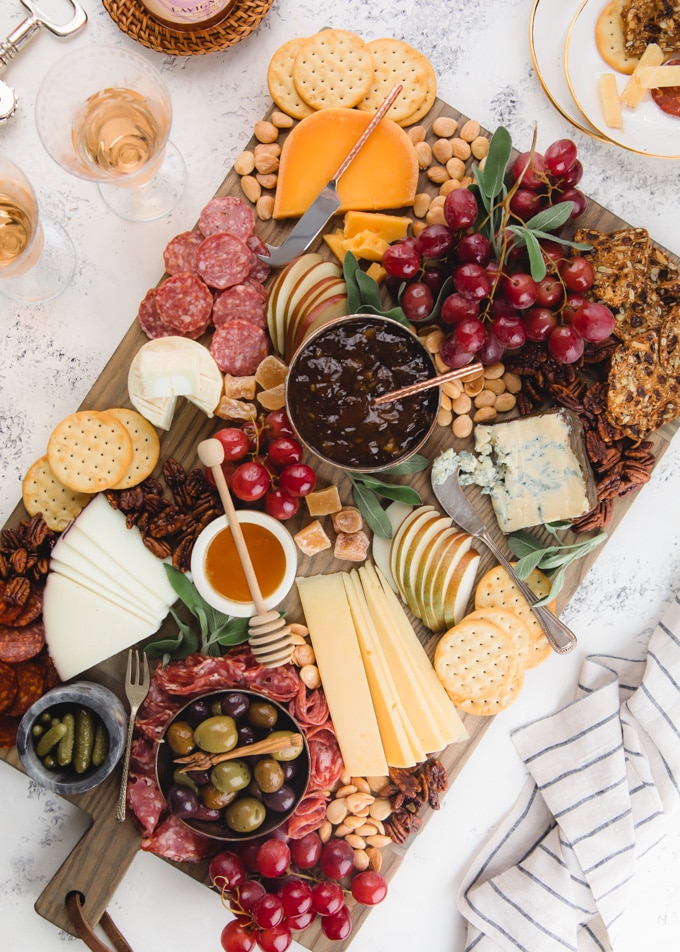
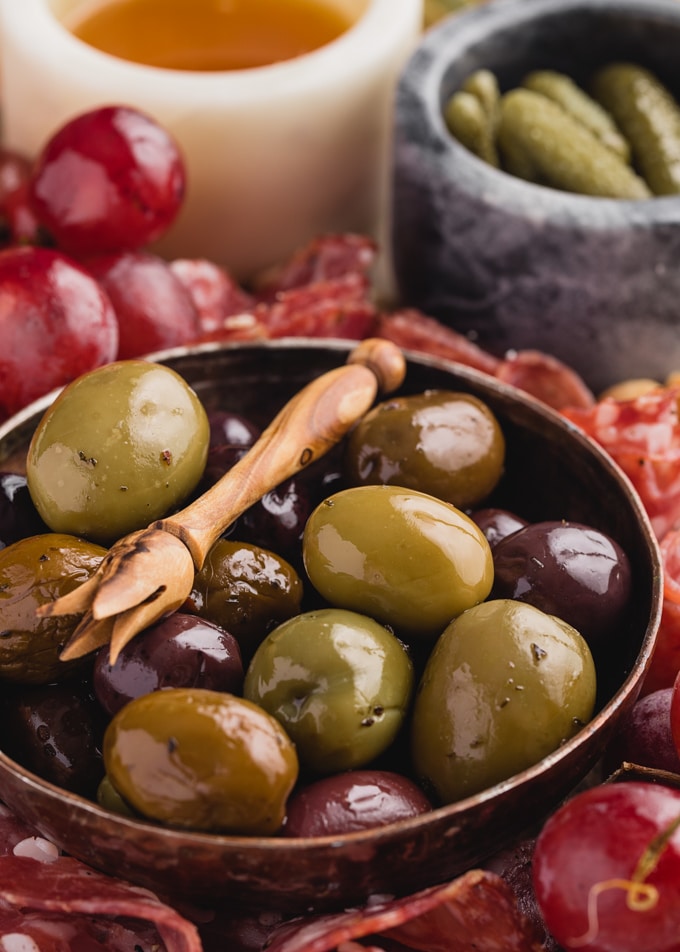
- Cured meats or sausages (2 ounces per person): saucisson sec, soppressata, salami, prosciutto, chorizo, summer sausage.
- Nuts: Marcona almonds, caramelized pecans, pistachios, assorted roasted nuts (cashews, walnuts, etc. – I like to stick with lightly-salted varieties instead of spiced so the aromas don’t compete with the cheeses.)
- Seasonal fruits: sliced apples, pears, grapes, figs
- Dried fruits: apricots, cherries, dates, cranberries
- Condiments: honey/honeycomb, jams, chutneys, or preserves (try a sweet-savory option, such as my Bacon Jam or Caramelized Onion and Pear Jam), mustard (if serving sausages), fruit paste.
- Savories: cornichons, olives, pickled/marinated vegetables
Tip: Want to “sugar frost” grapes? Brush clusters with pasteurized liquid egg whites and sprinkle with superfine sugar. Shake off excess and let dry at room temperature for 1-2 hours.
Crackers and Breads (choose 2-3)
- Neutral crackers, flatbreads, and breadsticks (such as olive oil and sea salt varieties)
- Whole wheat crackers
- Seeded crackers
- Fruit and nut crackers
- Sliced baguette (especially when serving fresh or spreadable cheeses)
Getting ready to shop for your cheese board supplies? Check out our 15 Favorite Crackers to Serve with Cheese before heading to the market!
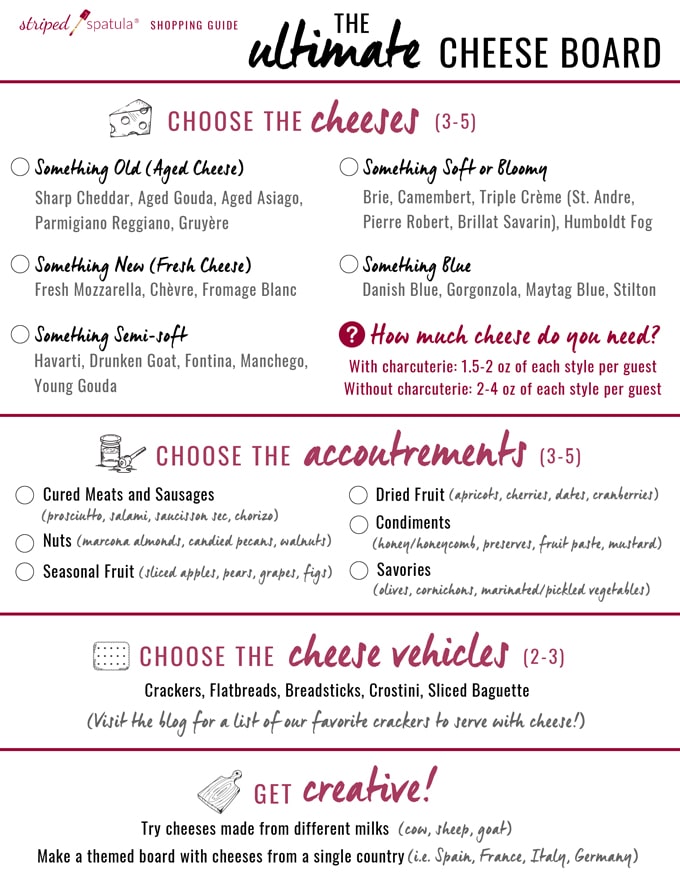
Printable Shopping Guide for the Ultimate Cheese Board
Click HERE or on the image below to download your complimentary shopping checklist. Either save the file onto your phone, or print it out to keep yourself organized at the market!
Arranging a Beautiful Cheese Board
Assembling a cheese board is a great time to be creative. Take all of these suggestions as guidelines, and let yourself have fun putting together a beautiful display for your guests.
Should I slice the cheeses or let my guests cut them?
When I’m building a board, I decide whether or not to pre-slice depending on the types of cheeses I’m serving, the size of the board, and the occasion.
If it’s a small board for only a few guests, I’ll often put out a knife for each cheese and let them slice their own. For a large party, where I need to keep my traffic flow moving, I’ll offer more pre-sliced options.
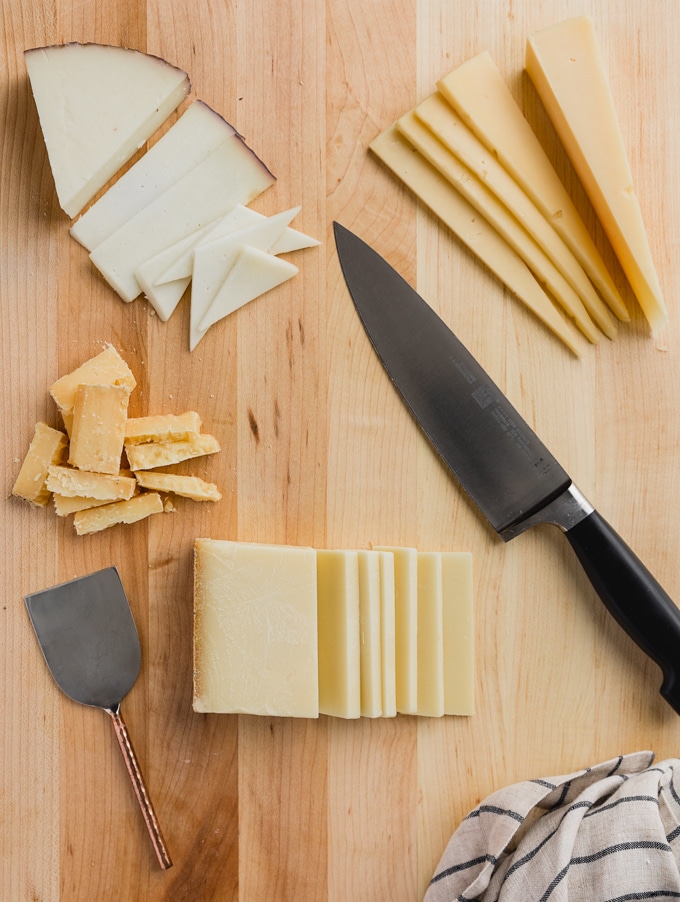
How to Slice Cheese for Visual Appeal
For the prettiest cheeseboard, it’s nice to cut different cheese styles into different shapes.
Aged cheeses, like sharp cheddars and hard Gouda, can be beautiful when presented in irregular pieces. As you cut them, they’ll naturally crumble, creating rustic edges.
Semi-soft cheeses are well-suited to cutting into strips, rectangles, and triangles. I like to follow the natural shape of the wedge or block in most cases, creating slices about 1/4-inch thick.
I like to present most soft, bloomy-rind, and washed-rind cheeses whole, with a small wedge removed. I’ll often place the cut piece on top of or next to the round.
Sometimes, guests can be shy about making the first cut in a cheese wheel when it’s totally intact. Giving them a head start both allows them to see the cheese’s texture and invites them to dig in.
Tip: While sliced cheeses are convenient, large wedges are also beautiful anchors on a board. Many times, I’ll partially slice a wedge, and display the pieces fanned alongside the unsliced block with a knife for guests to continue cutting when the slices have run out.
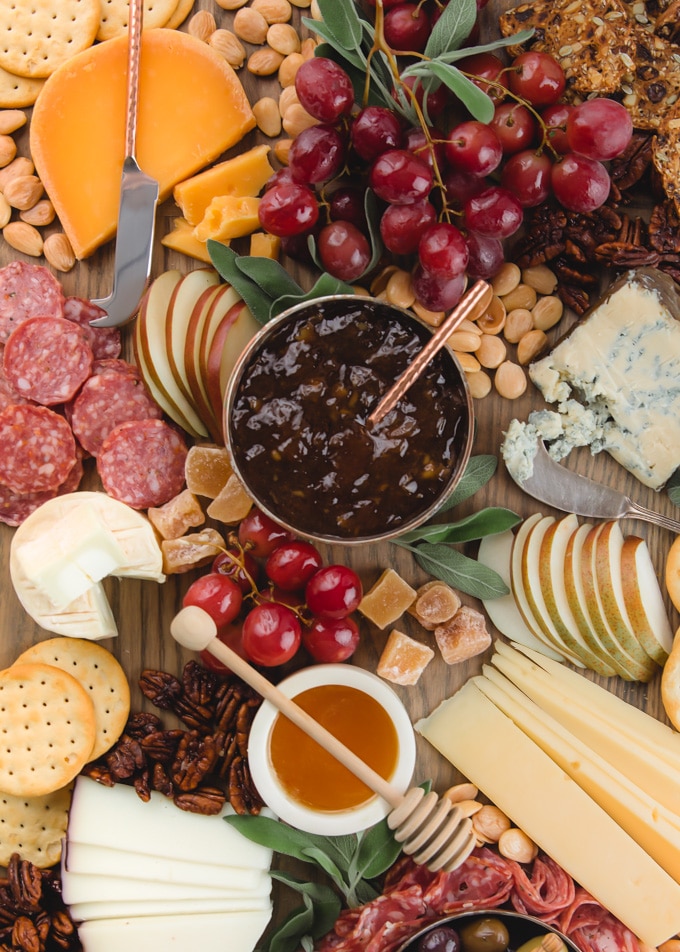
How to Assemble the Board
Most cheeses need to ripen at room temperature for the best flavor and texture, so remove them from the refrigerator and assemble the board about 1 hour prior to serving.
Start the board by arranging the cheeses: they’re the stars of the show! I always start with my aged cheese (cheddar, Parmesan, etc.) and move around the board clockwise through my semisoft, bloomy rind, and fresh selections.
Tip: if serving a washed-rind cheese, which can be especially pungent, consider presenting them on a separate plate next to the board so their aromas don’t overwhelm your other cheeses.
Next, place items you’re displaying in bowls, such as condiments, olives, and marinated vegetables.
Add the charcuterie. I like to start by making groupings of any sliced dried sausages between cheeses. I also tuck rolled or folded slices of salami and/or prosciutto into blank spaces.
Round out the board. Place my fruit, nuts, and crackers, filling in the board’s nooks and crannies. Leave a little breathing room around the cheeses, especially if guests are slicing them on their own.
Garnish. A few fig leaves or fresh herb sprigs all make for a pretty finishing touch.
Tip: While I like to add a few crackers directly to the platter for visual appeal, I’ll usually need more than I can fit. I always serve a separate bread and cracker basket alongside the cheese board.
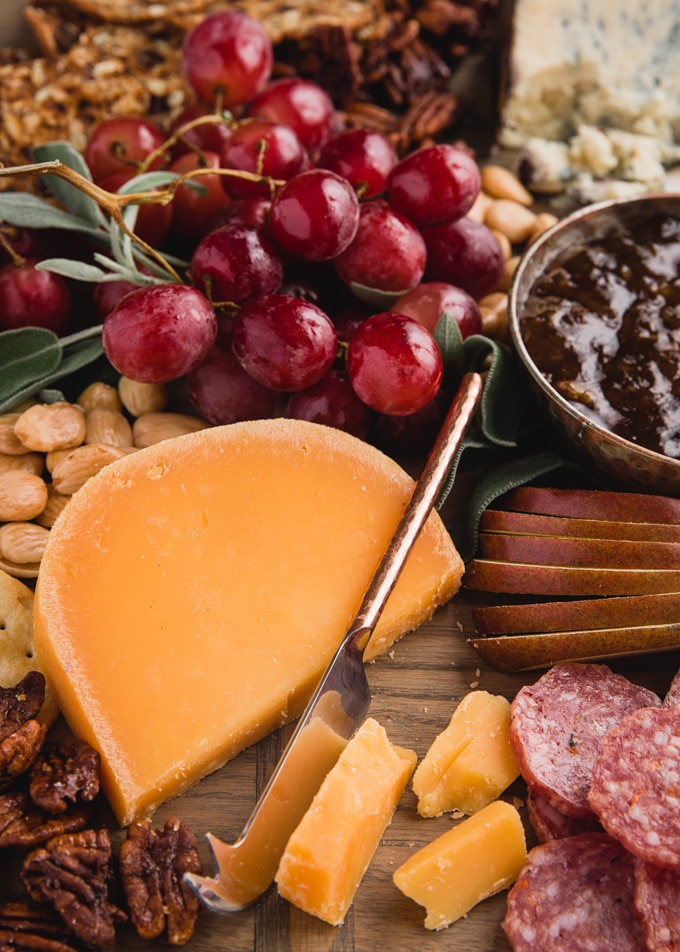
Top Tips for Making a Great Cheese Board
- For a standard hors d’oeuvre cheese board with charcuterie, plan on 1-1/2 to 2 ounces of cheese per guest. Increase to 2 to 4 ounces without charcuterie.
- Separate very aromatic cheeses to a second plate so they don’t overpower more delicate flavors.
- Cheeses should be removed from the refrigerator 1 hour prior to serving for the best textures and flavors.
- If not fully slicing cheeses for display, provide a separate knife for each variety.
- For a busy gathering, small cheese tags are a great way to label your cheeses so guests will know their choices without your attention.
- Have fun and be creative! Try themed boards to fit your gathering, such as French, Mediterranean, or holiday-inspired selections.
CRAVING MORE? Subscribe to my newsletter and join me on Facebook, Pinterest, and Instagram for the latest recipes and news.


