

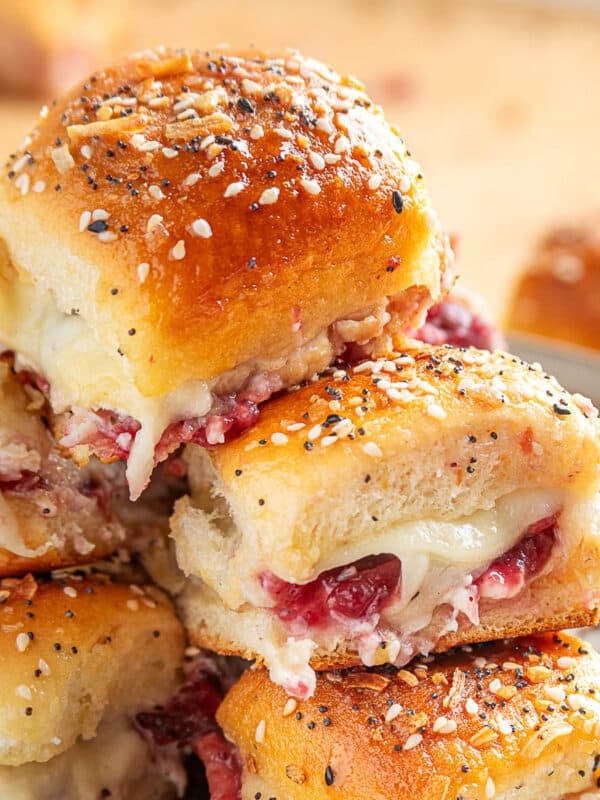
These Baked Ham and Cheese Sliders are sure to be a hit at your next Game Day party! Thinly sliced Black Forest ham is layered onto sweet Hawaiian slider buns with cheddar, Swiss, and a touch of tangy Dijon-mayo spread. Baked with a buttery poppy seed sauce until toasty, these sliders will be the MVP of your spread.

Why We Love These Baked Ham and Cheese Sliders
- Easy to Make: These sliders are simple to whip up with ingredients you might already have on hand. (This recipe is one of my favorite ways to use up extra deli meat in the fridge at the end of the week!) It’s ideal for those days when you’re looking for something warm and homemade but are short on time.
- Great for a Crowd: Planning to feed a group of hungry friends or family for Game Day or another casual gathering? These sliders are a crowd-pleaser and can be easily scaled up to make larger batches. They’re the kind of nosh that disappears quickly!
- Customize as You Like: Get creative with these sliders! Swap in different meats and cheeses, or play around with the spread to suit your taste. Whether it’s swapping turkey for ham or experimenting with different cheese combos, these sliders are your canvas.
- Packed with Flavor: Expect a burst of cheesy, savory goodness with each bite. The combination of ham, melted cheese, Dijon-mayo spread, and a rich poppyseed sauce makes these sliders irresistibly delicious. They’re the ultimate casual comfort food.

Key Ingredients and Shopping Notes
- King’s Hawaiian Rolls. Known for their slightly sweet flavor and soft, fluffy texture, these rolls are the perfect canvas for baked sliders. You’ll need a 12-count package of Original Sweet Hawaiian Rolls for this recipe. If you prefer a roll that isn’t sweet, you can substitute King’s Hawaiian Savory Butter Rolls {affiliate link}.
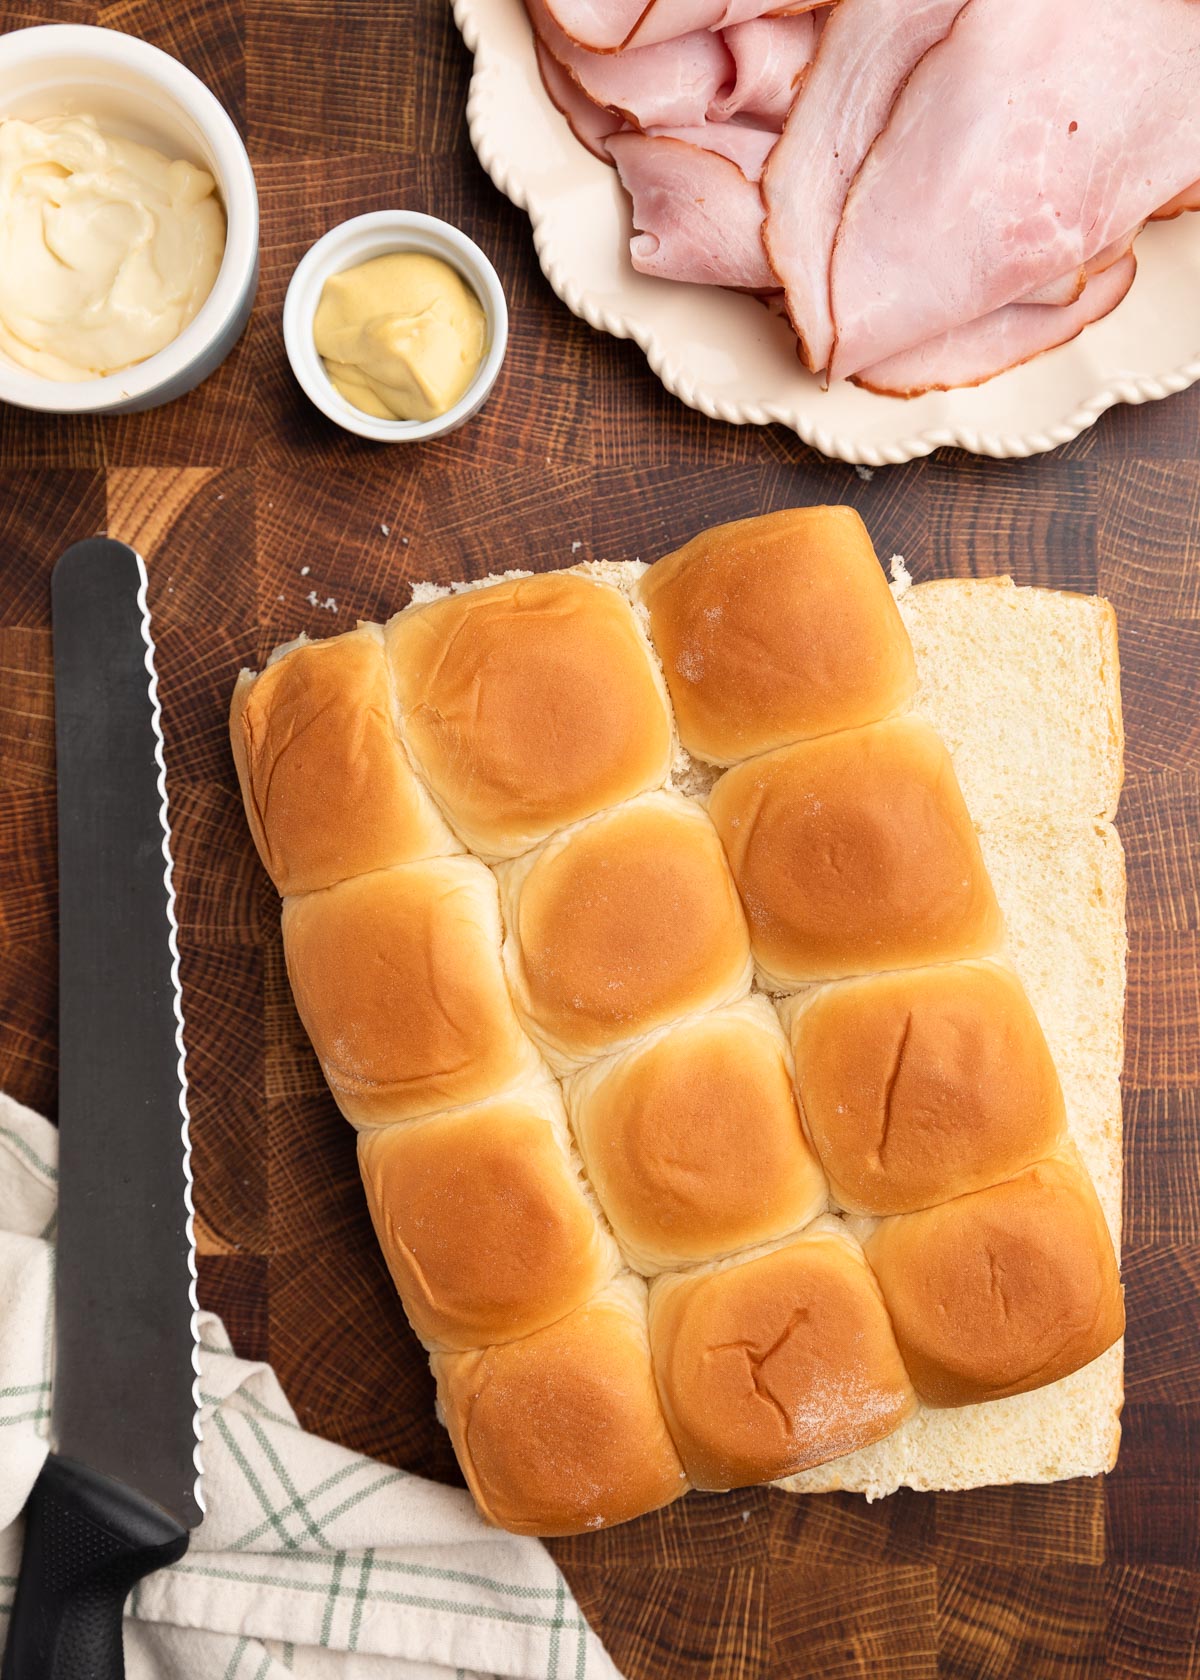
- Ham. I like to use thinly sliced Black Forest Ham from the deli counter. You can also use other ham varieties, such as Virginia, Maple/Honey, or hot ham for a punch of heat. If you have leftover holiday ham (such as my Honey Mustard Glazed Ham), it’s also great in these sliders.
- Cheese. My family likes these sandwiches made with a mixture of sliced cheddar and Swiss. If you prefer, you can use just one of either variety, or substitute other cheeses, such as pepperjack, havarti, or gouda. Ask for the cheese to be sliced thinly for easy melting.
- Mayonnaise. For making the sandwich spread. Use a good-quality mayo, such as Hellmann’s Real Mayonnaise or Duke’s Real Mayonnaise {affiliate links}.
- Dijon Mustard. Adds a delicious spice and tang to the sliders. I use Maille Dijon Originale and Edmond Fallot Moutarde de Dijon in my kitchen {affiliate links}. For a sweeter spread, try substituting Honey Dijon {affiliate link}.
- Butter. For making the sauce to top the sliders. Since ham styles vary in saltiness, I use unsalted butter and add a pinch of kosher salt only if needed.
- Poppy Seeds. Add a nutty flavor and crunchy texture to the top of the slider buns, reminiscent of a seeded deli roll.
- Worcestershire Sauce. Deepens the flavor of the butter sauce with its salty, tangy, and savory notes.
- Onion Powder. Adds a sweet, savory onion flavor to the butter sauce. You can also substitute dried, minced onion for additional texture.

How to Make Baked Ham and Cheese Sliders
Step 1: Prep the Rolls
Prep the Hawaiian rolls by slicing them in half to separate the tops from the bottoms. Use a sharp serrated knife for the cleanest slice; I love my Mercer Culinary Millenia 10-inch Bread Knife {affiliate link}, pictured here.
The tops should hold together in a single layer, but if one or two happens to separate, don’t worry. Just nestle them in when you add the top layer back onto the sliders; the melted cheese will hold them in place.
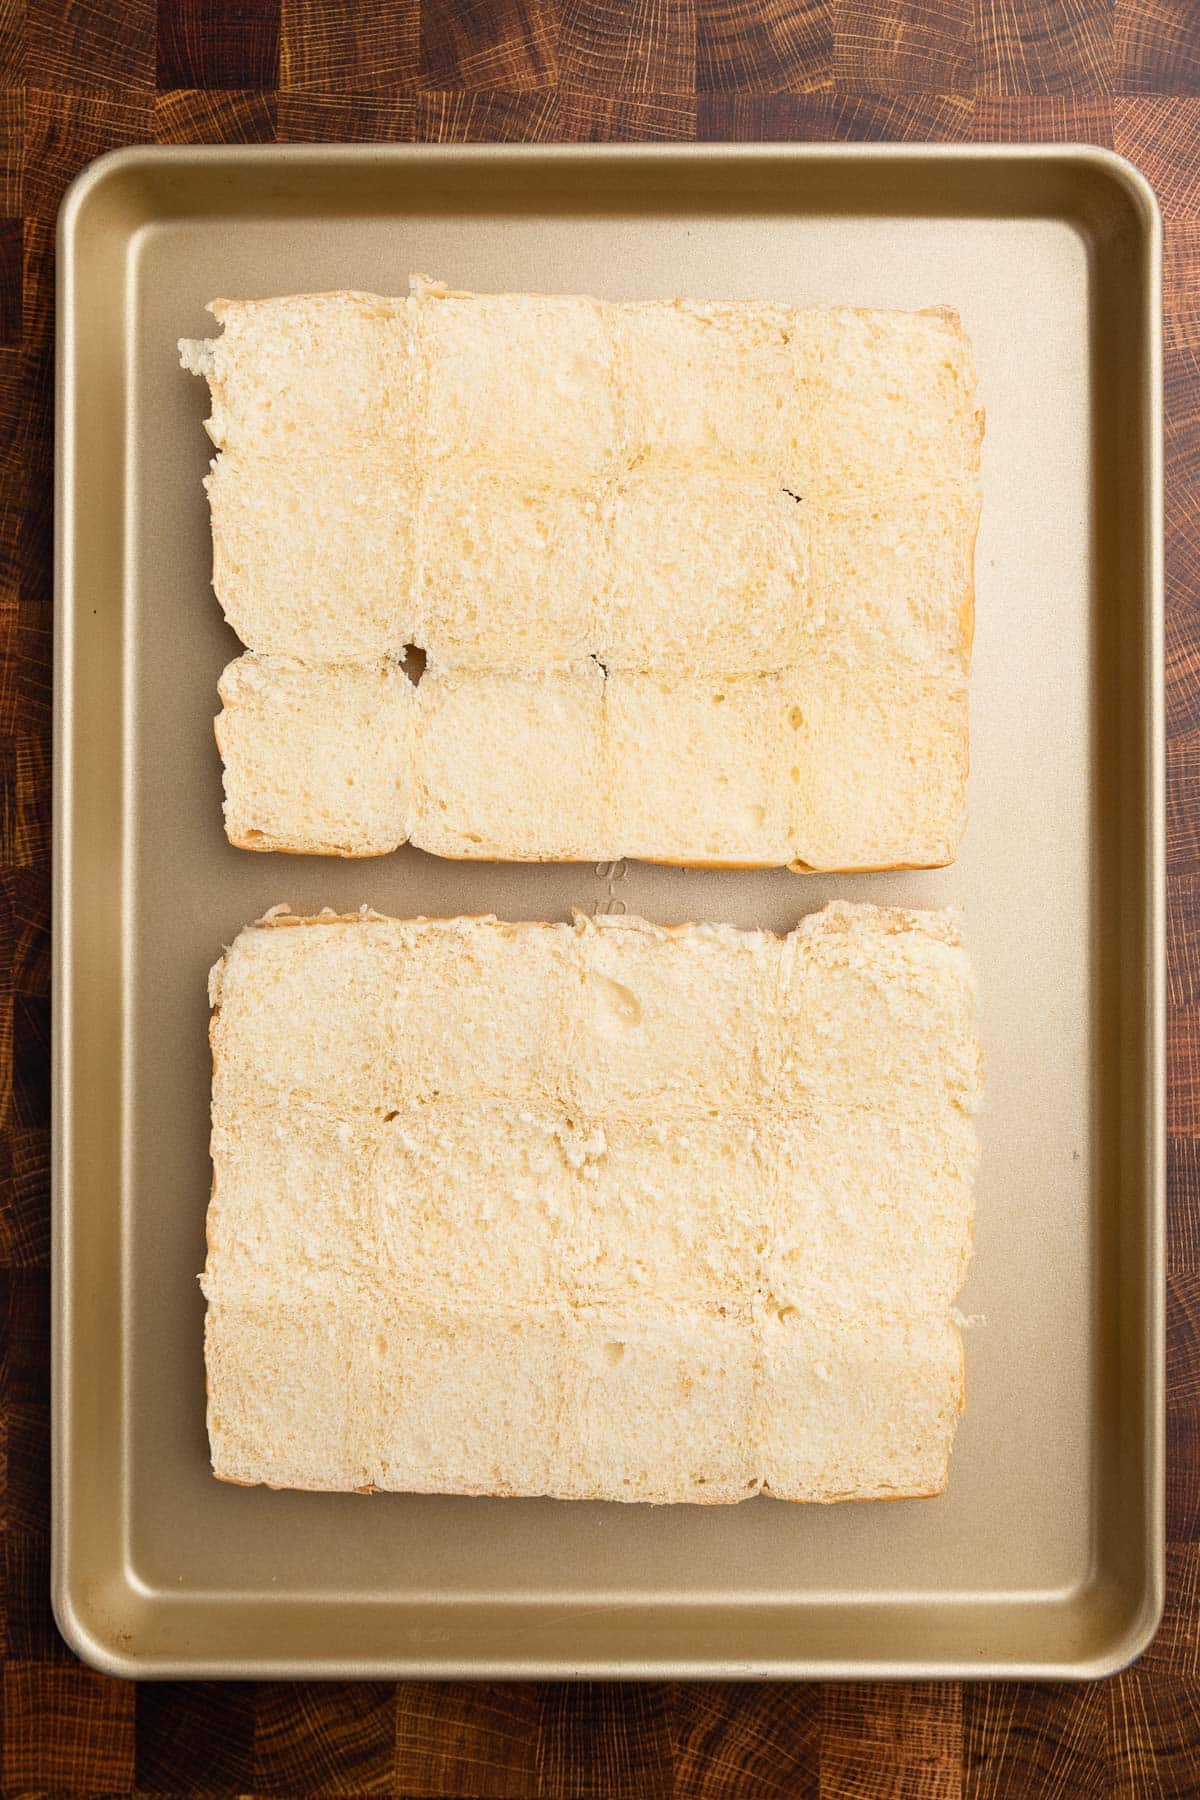
To keep my sliders from becoming too soggy, I lightly toast the cut sides of the rolls before layering them with the fillings.
To toast the rolls, place them on a baking sheet with their cut sides up. Preheat the broiler, and place your oven rack in the second position from the top. Broil the rolls for 1-2 minutes, until lightly golden.
Watch the rolls closely, and do not walk away from the oven! This is one time when you don’t want to multitask in the kitchen. In a matter of seconds, the sliders can go from toasted to totally burned.
Step 2: Prepare the Baking Dish
Lightly spray a rectangular glass or ceramic baking dish with cooking spray, then place the bottom half of the toasted rolls in it. The dish should measure at least 10.5×7.5-inches, but a standard 13×9-inch also works well.
The baking dish pictured in this post is an Emile Henry ceramic baker I’ve had for years. It’s similar to this Emile Henry Ultime Collection Rectangular Baking Dish {affilliate link}, in white.
If you’re using a pan with a darker-colored finish, note that you’ll need to reduce the oven temperature by 25 degrees when baking the sliders to ensure that the bottoms don’t over-bake.
Step 3: Make the Dijon-Mayo Spread and Assemble the Sliders

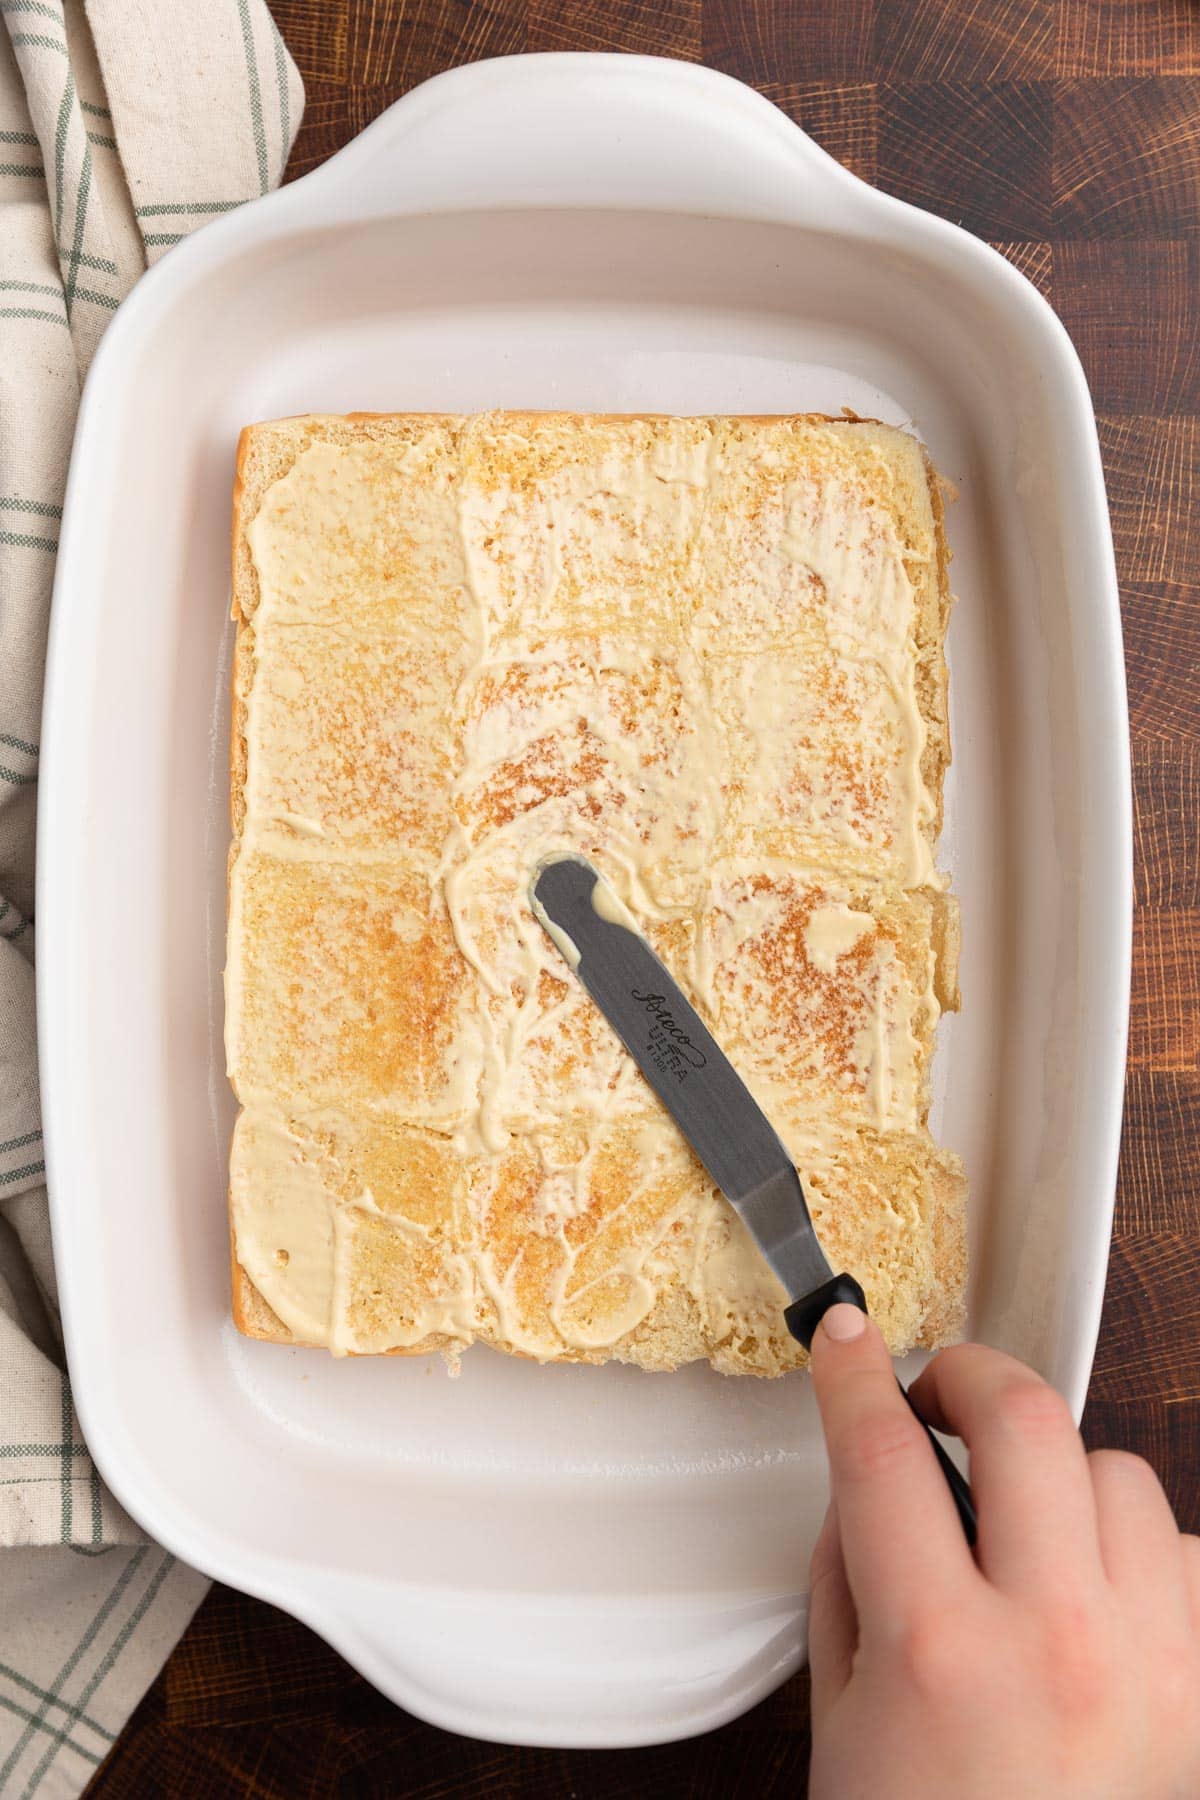
Make the Dijon-mayo spread by stirring the mayonnaise and mustard together in a small bowl. Spread a little more than half of the mayonnaise mixture on the bottom half of the toasted rolls.
To assemble the sliders, layer the cheddar cheese over the mayo-spread rolls, followed by the ham, and then the Swiss cheese. Spread the toasted side of the roll tops with the remaining Dijon-mayo in a thin layer and place them over the Swiss.

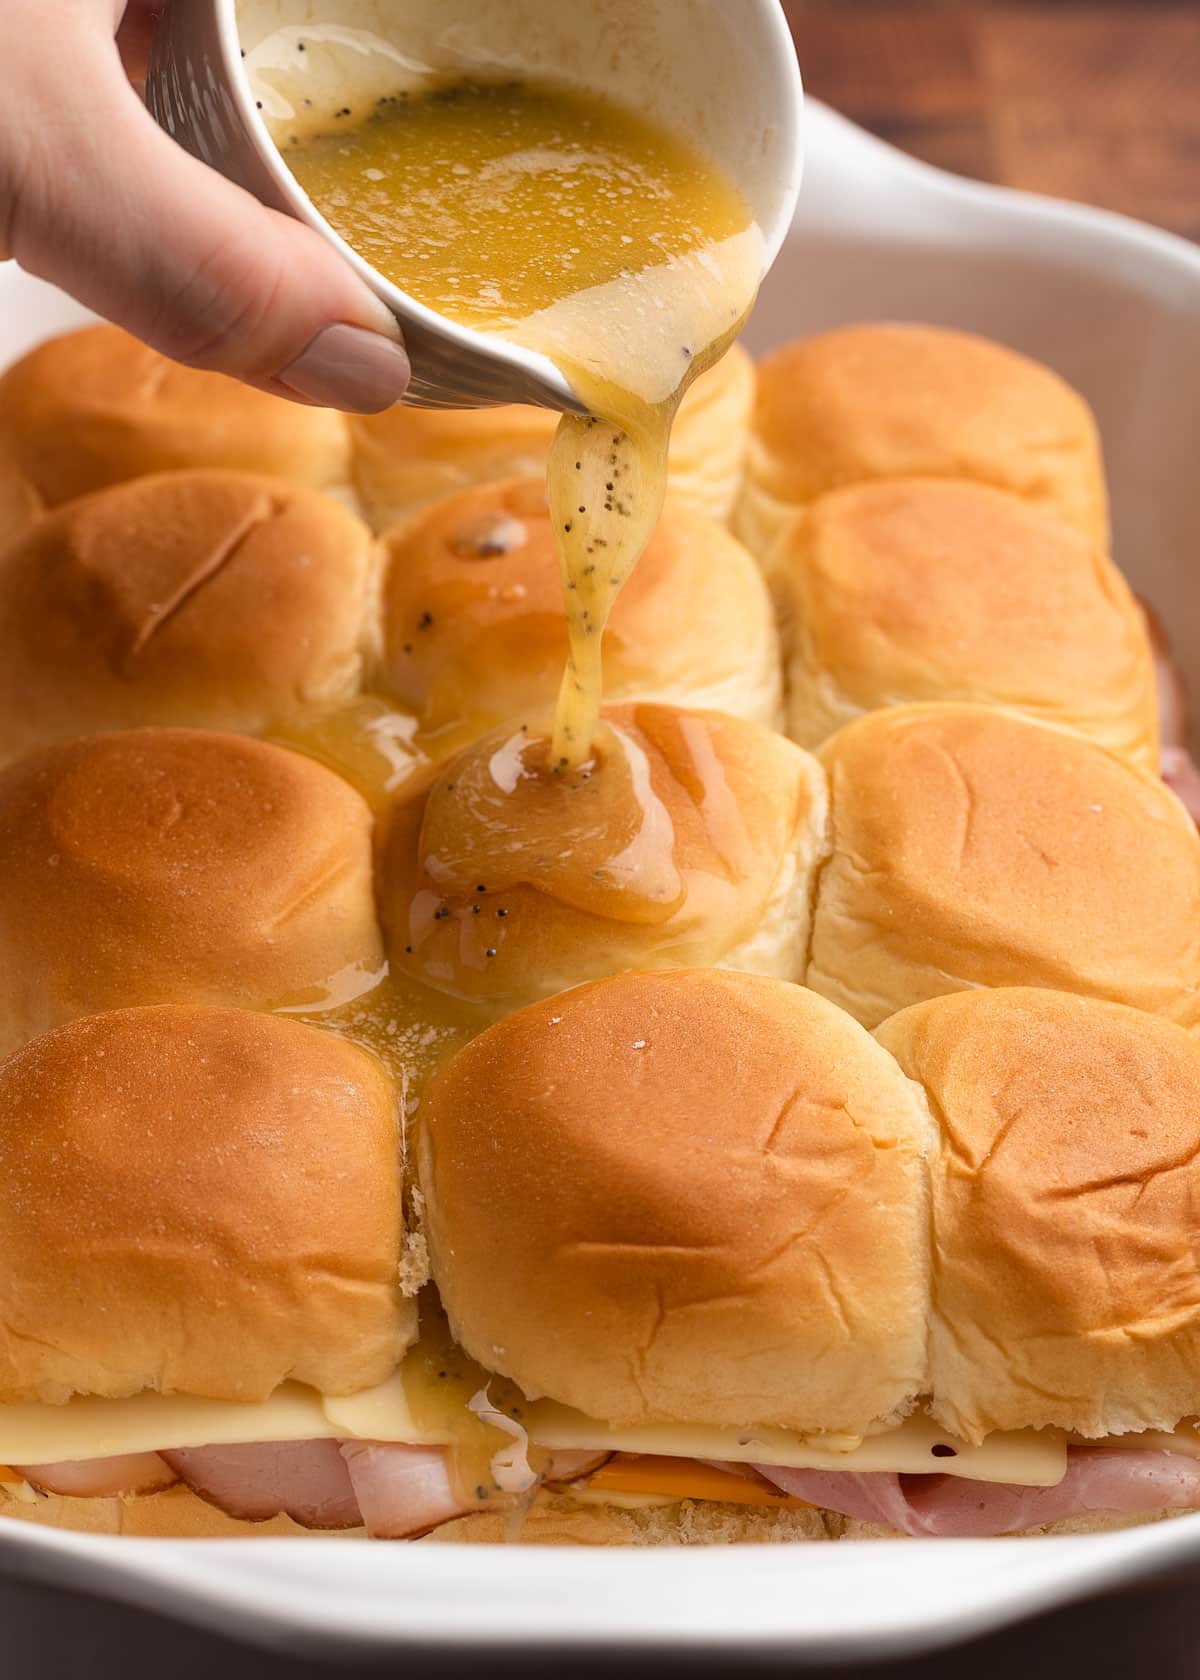
Make the butter sauce by stirring together the melted butter, Worcestershire sauce, poppy seeds, onion powder, and a pinch of kosher salt (optional) in a small bowl. Drizzle or spoon this mixture over the tops of the buns, letting it seep into the crevices.
I like to use a small basting brush to distribute the poppy seeds and butter more evenly across the tops and sides of the buns. It might look like you have a lot of butter sauce, but it will absorb into the bread to make a perfectly buttery, toasty slider in the oven.
Step 4: Bake the Sliders
To achieve perfectly baked sliders, where the inside is deliciously warm and the tops are just the right amount of golden crispiness, I use a simple two-stage baking method.
Start by covering your pan of sliders with foil and bake them at 350 degrees F for 20 minutes. This insulates the pan, ensuring that the slider layers heat evenly, melting the cheese beautifully without burning the buns.
After that, take off the foil and let them bake for another 5 to 10 minutes. Keep an eye on them during this final stretch as ovens and pans vary–you’re aiming for that irresistible golden-brown finish on the rolls.

Serving Ham and Cheese Sliders
Let the sliders stand for a couple of minutes before slicing the rolls into individual servings. For the cleanest cut, I like to use the same serrated bread knife I linked earlier in the post.
You can either cut the sliders right in the pan or on a cutting board. I like to use a cake lifter {affiliate link} to help me transfer the sliders to a cutting board in one slab.
These Baked Ham and Cheese Sliders can either be served as a meal or as an appetizer. For a meal, pair them with classic favorites like crunchy potato chips, golden french fries, deli-style potato salad, or Homemade Cole Slaw. If you’re leaning towards lighter fare, a crisp green salad complements the sliders perfectly, balancing their richness.
Remember, these sliders are best enjoyed warm, so encourage your guests to dive in as soon as they’re served!

Recipe FAQ’s
- Can I prep these sliders ahead? Yes. You can assemble them up to a few hours ahead, without the butter sauce. Store them covered in the refrigerator, and let them stand at room temperature for about 20 minutes before baking to take the chill off. Then, brush with the butter sauce and proceed with the recipe as written.
- How many people does this recipe serve? It depends on the occasion and your guests’ appetites. If you’re serving them as a main dish, plan on 3 sliders per person, or 4 for heartier appetites. If they’re a part of your Game Day spread and you’re serving other dishes, dips, and snacks, plan on 1 to 2 sliders per person.
- Can I substitute another type of deli meat for the ham? Yes, the ham can be swapped out if needed. For the best flavor, choose smoked meat, such as turkey or chicken breast.
- Can I store and reheat leftovers? Yes, with the caveat that the texture and flavor are significantly better the day they’re made! Extra sliders can be stored in an airtight container in the fridge for 2-3 days. Reheat them in a foil-covered baking dish in a 350F oven for 5-10 minutes, until warmed through. Remove the foil and bake for a few extra minutes to re-crisp the tops.

More Slider Recipes
More Game Day Appetizers and Snacks
- Honey Garlic Chicken Wings
- Cheesy Garlic Pull Apart Bread
- Pigs in a Blanket
- Ham and Cheese Puff Pastry Slab Pie
- Cajun-Spiced Mixed Nuts
CRAVING MORE? Subscribe to my newsletter and join me on Facebook, Pinterest, and Instagram for the latest recipes and news.

Baked Ham and Cheese Sliders
Ingredients
- 1 package King's Hawaiian Original Sweet Rolls (12-count)
- 3 tablespoons mayonnaise
- 2 tablespoons Dijon mustard
- ½ pound thinly-sliced deli ham (such as Black Forest)
- ¼ pound deli-sliced sharp cheddar cheese
- ¼ pound deli-sliced Swiss cheese
- 4 tablespoons unsalted butter , melted
- 1 teaspoon Worcestershire sauce
- 1-1/2 teaspoons poppy seeds
- ½ teaspoon onion powder
- pinch kosher salt , if needed
Instructions
- To make the slider spread, stir together mayonnaise and 2 tablespoons Dijon mustard in a small bowl. Set aside.
- Using a serrated bread knife, slice the slider buns in half to separate the tops from the bottoms. Place them, cut side up, on a baking sheet.
- Preheat your oven's broiler to high with the rack in the second position down from the top (this should be about 6 inches from the broiler element). Broil the rolls on the cut-sides only for 1-2 minutes, until lightly toasted. Watch them closely and do not walk away from the oven, as they can burn quickly! Broiling times may vary by oven.
- Preheat the oven to 350 degrees F with the rack in the middle position. Lightly spray a glass or light-colored ceramic baking dish with cooking spray. (If using a pan with a darker interior, reduce the oven temperature to 325 degrees F.)
- Place the bottom half of the toasted rolls in the prepared baking dish. Spread a little more than half of the Dijon-mayo mixture onto the rolls in the baking dish.
- Assemble the sliders by layering the cheeses and meat in the following order: cheddar cheese, ham, Swiss cheese. Spread the remaining Dijon-mayo onto toasted side of the top half of the rolls and place them over the Swiss cheese layer.
- In a small bowl, combine the melted butter, Worcestershire sauce, poppy seeds, onion powder, and a pinch of salt (if using). Pour over the sliders, using a basting brush or pastry brush to distribute the butter and poppy seeds evenly over the tops and sides. It's ok if some of the butter pools around the sliders in the baking dish.
- Cover with foil and let stand for 5 minutes. Bake for 20 minutes, until the sliders are heated through and the cheese is melted. Remove the foil and continue baking for 5-10 minutes, until the tops of the rolls are golden and crispy. Watch them carefully during the last stage of baking so they don't get too dark.
- Let the sliders stand for a few minutes and cut the rolls into individual servings. Serve hot with potato chips, fries, or your favorite sandwich sides.
Nutrition Estimate
Nutrition information is automatically calculated, so should only be used as an approximation.
Please note that our recipes have been developed using the US Customary measurement system and have not been tested for high altitude/elevation cooking and baking.


We love these sandwiches so much! I make them for birthday parties, for potlucks, for hosting other events, etc. and EVERY time everyone raves about them and loves them! Really easy to prep as much as you can ahead of time and then just swipe on the sauce/butter topping and pop them into the oven when you’re ready. Thank you so much for this easy and tasty recipe! One of my favorites to feed a large group with less effort.
I had these last Easter and they were so delicious! Will they still be good if I make them the night before and then bake them in the afternoon the next day after church?
I would like to take these to a party. Can I bake and keep warm in an insulated carrier or will the condensation ruin the bread? Probably be in there for 45 minutes.
Hi Rachel, the slider tops will lose their crispiness in an insulated carrier. If you’ll have access to an oven when you arrive, a quick warm-up at 350°F for 5–10 minutes can refresh them. Just watch them so they don’t burn.
Can you bake this & then serve cold ? I’m looking for a boat snack/lunch
Hi Polly, these sliders should be enjoyed hot or warm shortly after baking.
Sooo good! A new family favourite
The sliders turned out perfect. Not a crumb was left. Absolutely delicious.
Mmmm…so good! Thank you for this recipe! Our family/friends just love this for “game night”!
I’ve made these twice now !! Fantastic game day snack. I did ham and cheese plus turkey and Swiss with cranberry mayo. Both were sooo tasty.
I’ve never toasted the insides, they came out wonderful! I also just used yellow mustard instead of Dijon.
Can disposable aluminum pans be used? (Baking in large quantity.) if so, what do you recommend the oven temperature be set to for baking them?
Hi Tracy, I’ve never tested these in disposable foil pans, but generally, no adjustment to oven temperature needs to be made when cooking with them.
Can these be assembled, then frozen to be cooked later?
Hi Kim, No, we don’t recommend freezing.
My mom has made these for years and frozen them then reheated them and they are still great! Love this recipe.
Hi DeAnna, thanks for commenting and sharing your family’s experience. Since this recipe contains mayonnaise, which typically separates and develops an unappetizing texture when frozen and thawed, we do not recommend freezing these sliders.