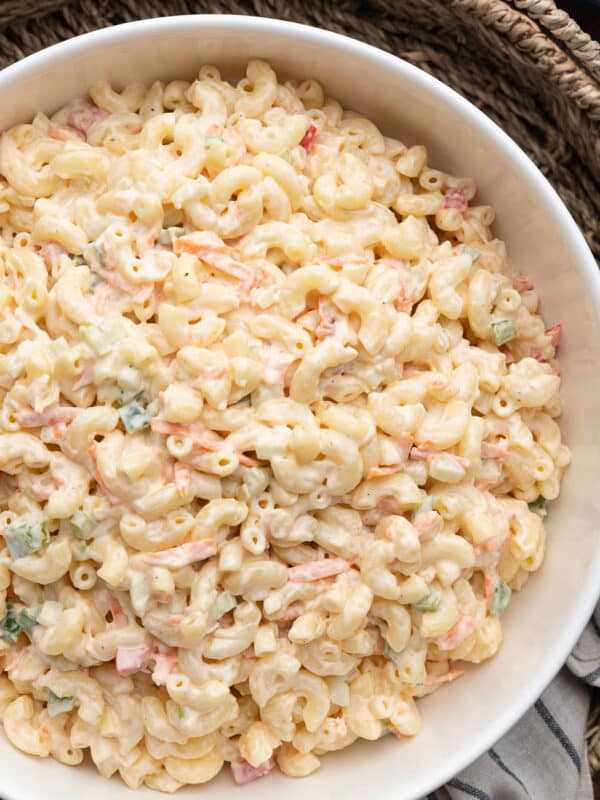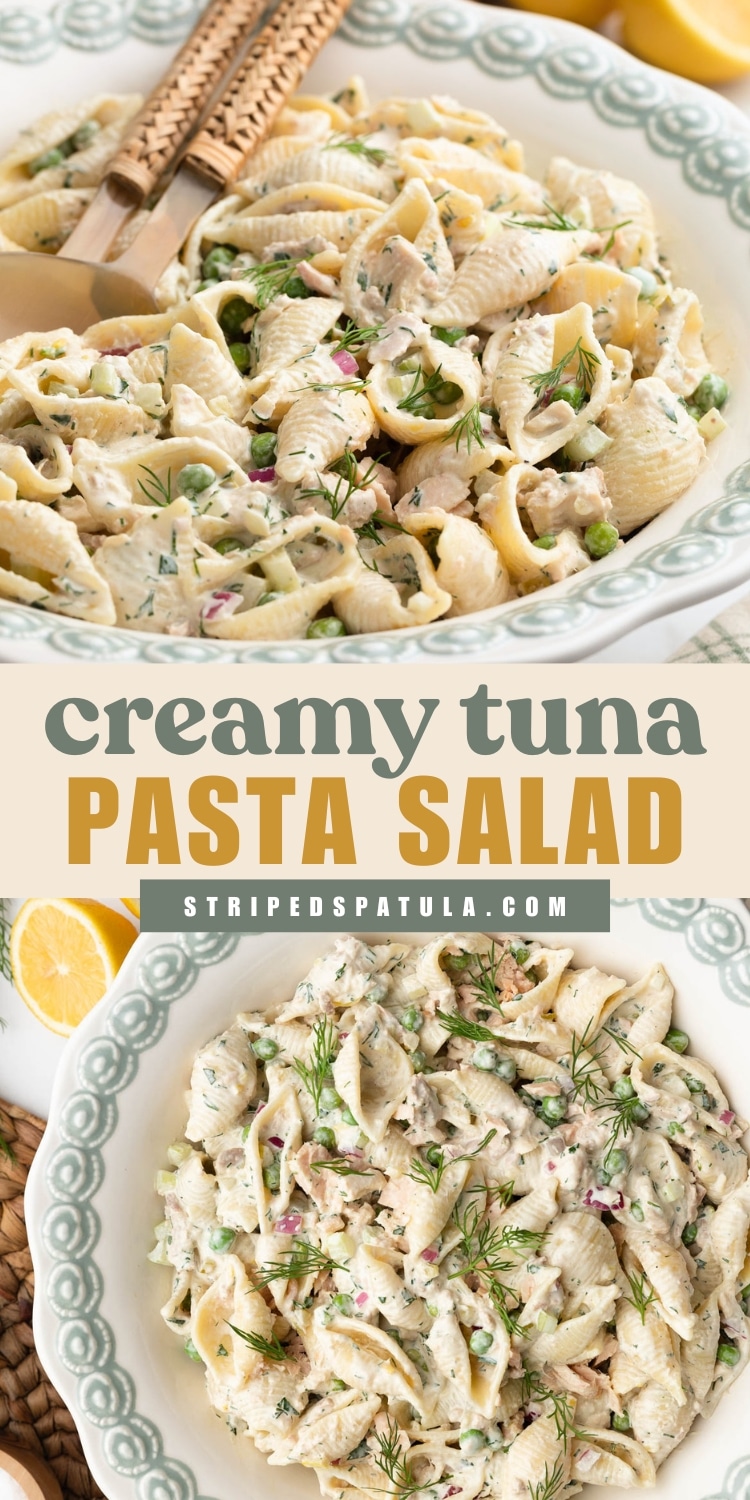
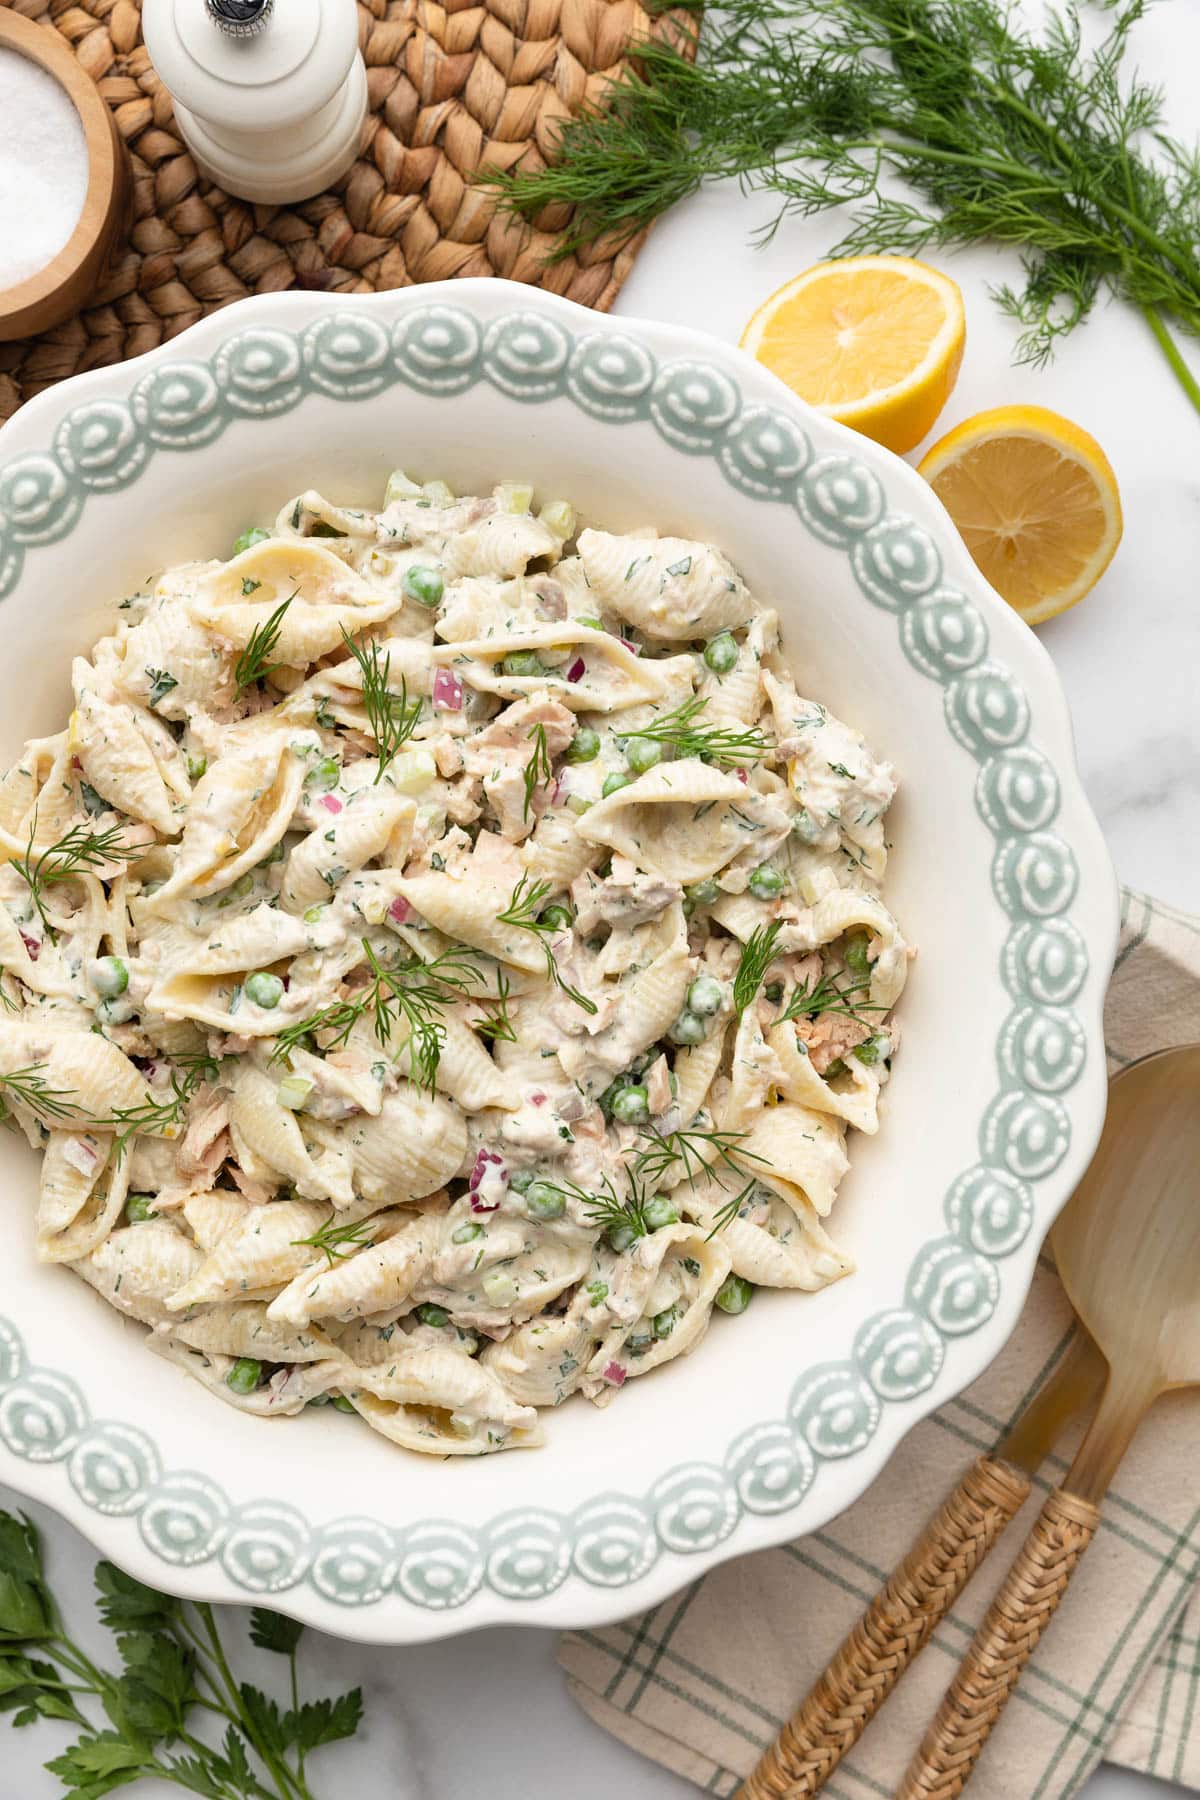
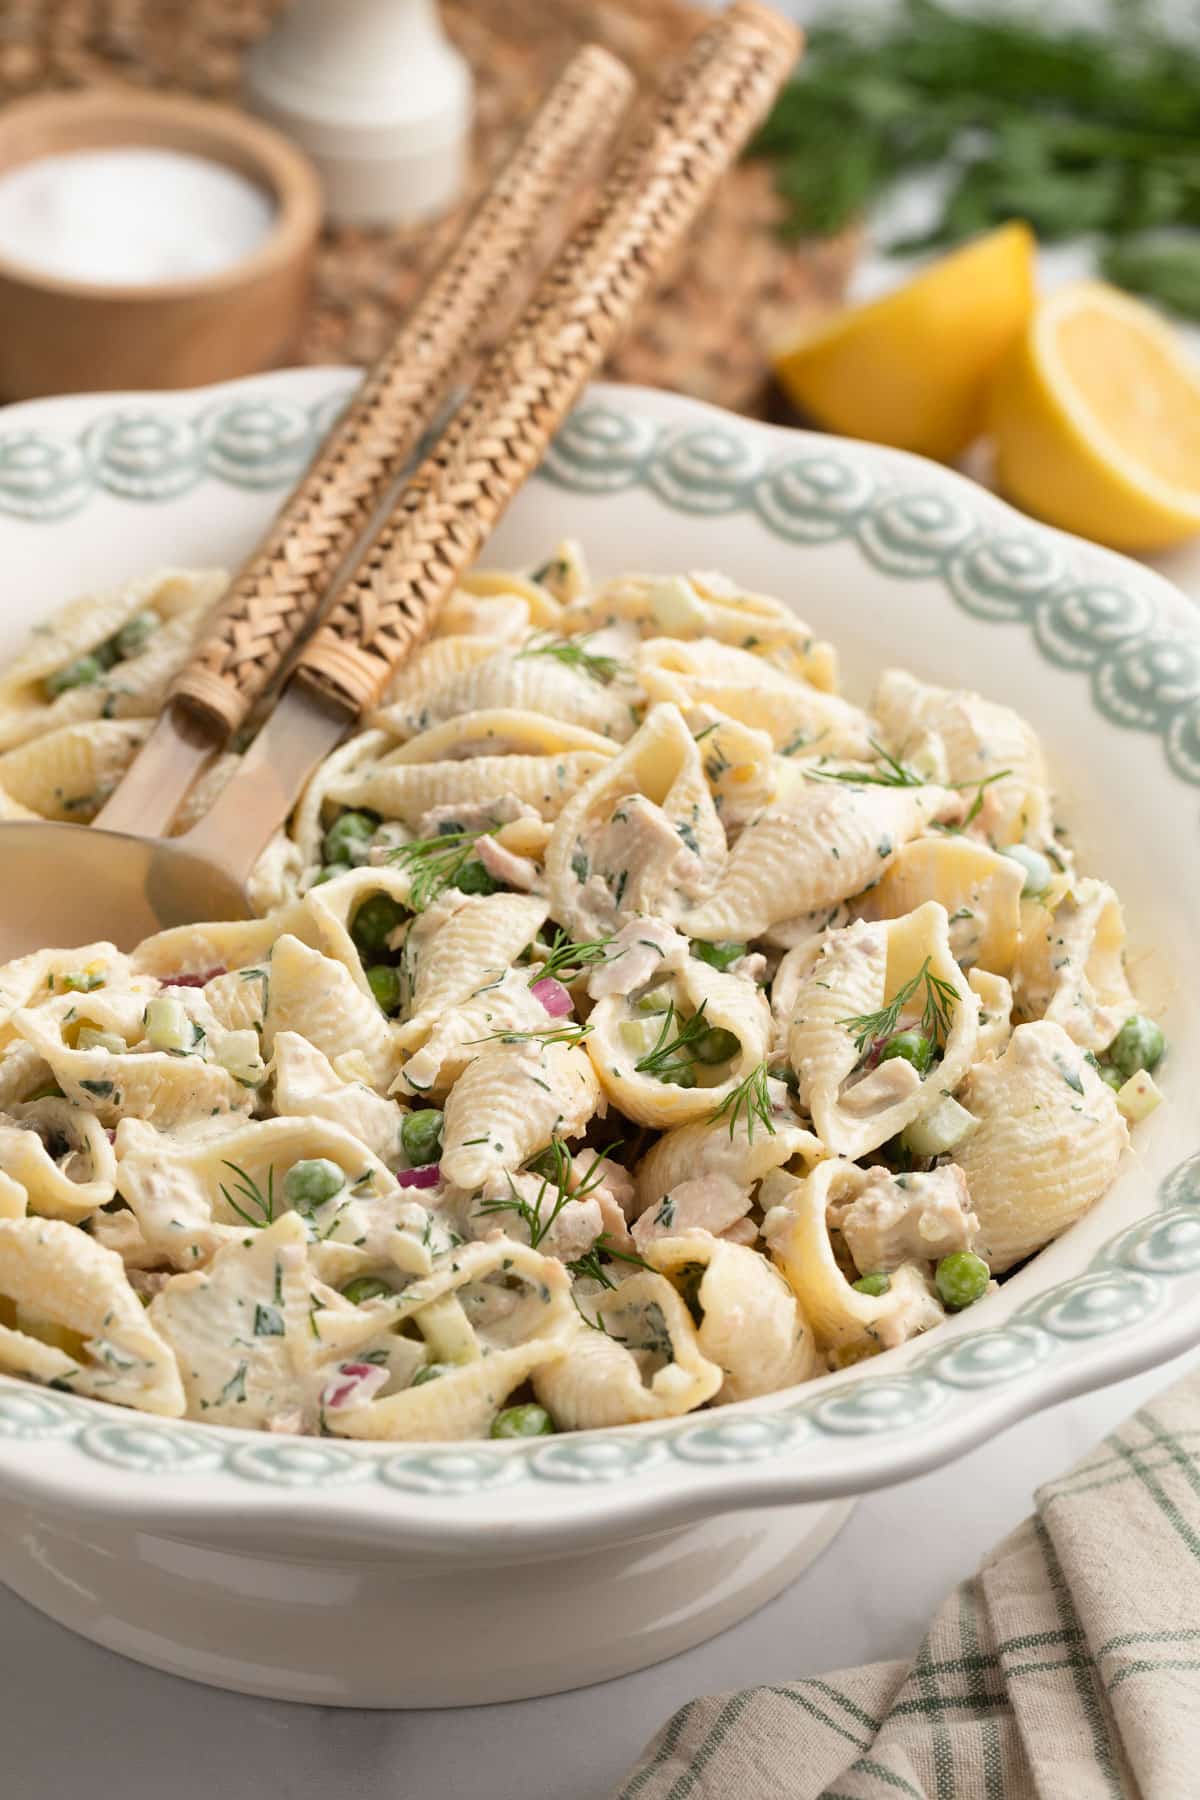
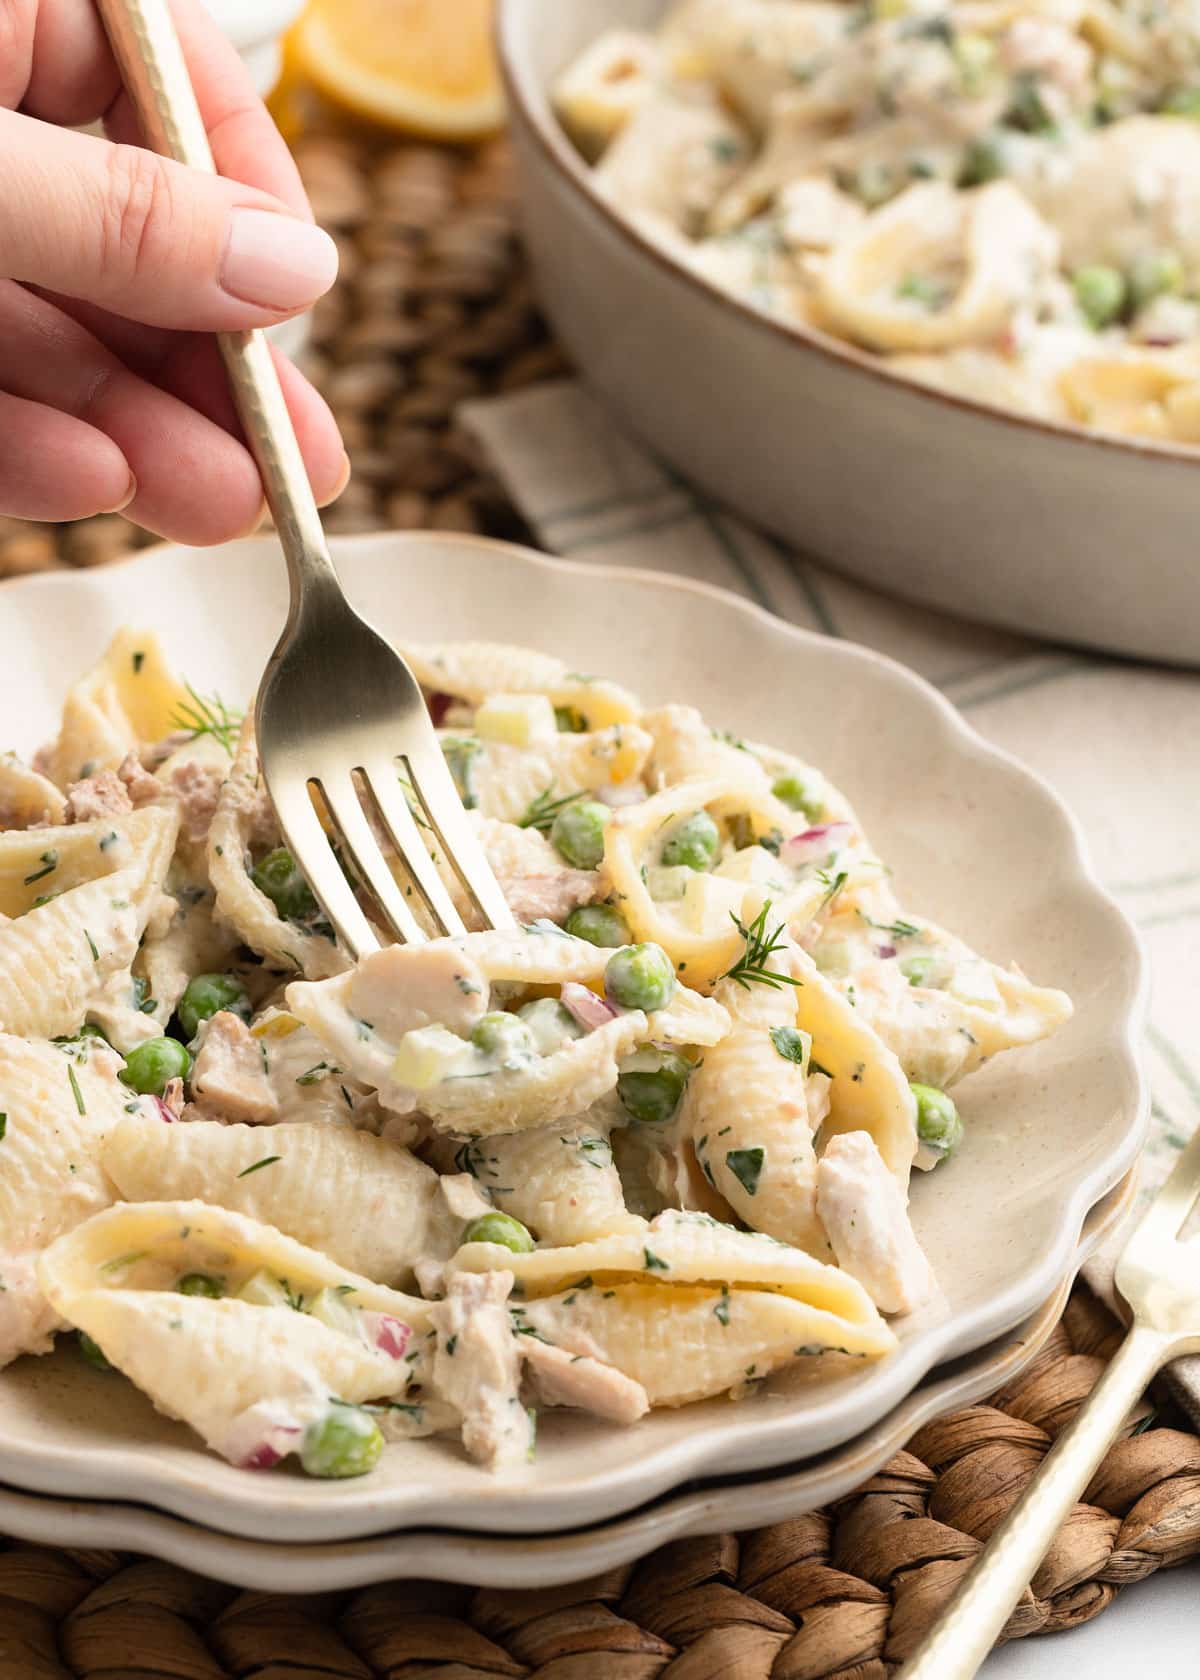
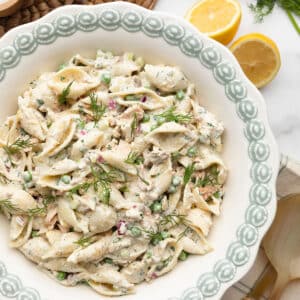
This bright, creamy Tuna Pasta Salad is a summer staple in my house. Shell pasta, tender peas, and flaky tuna come together in a tangy dressing with a pop of dill pickle relish and fresh herbs. It’s perfect for cookouts, picnics, and spring and summer lunches.
Looking for more ways to use canned tuna? You might also enjoy my Tuna Salad with Apples.
Before You Start Cooking
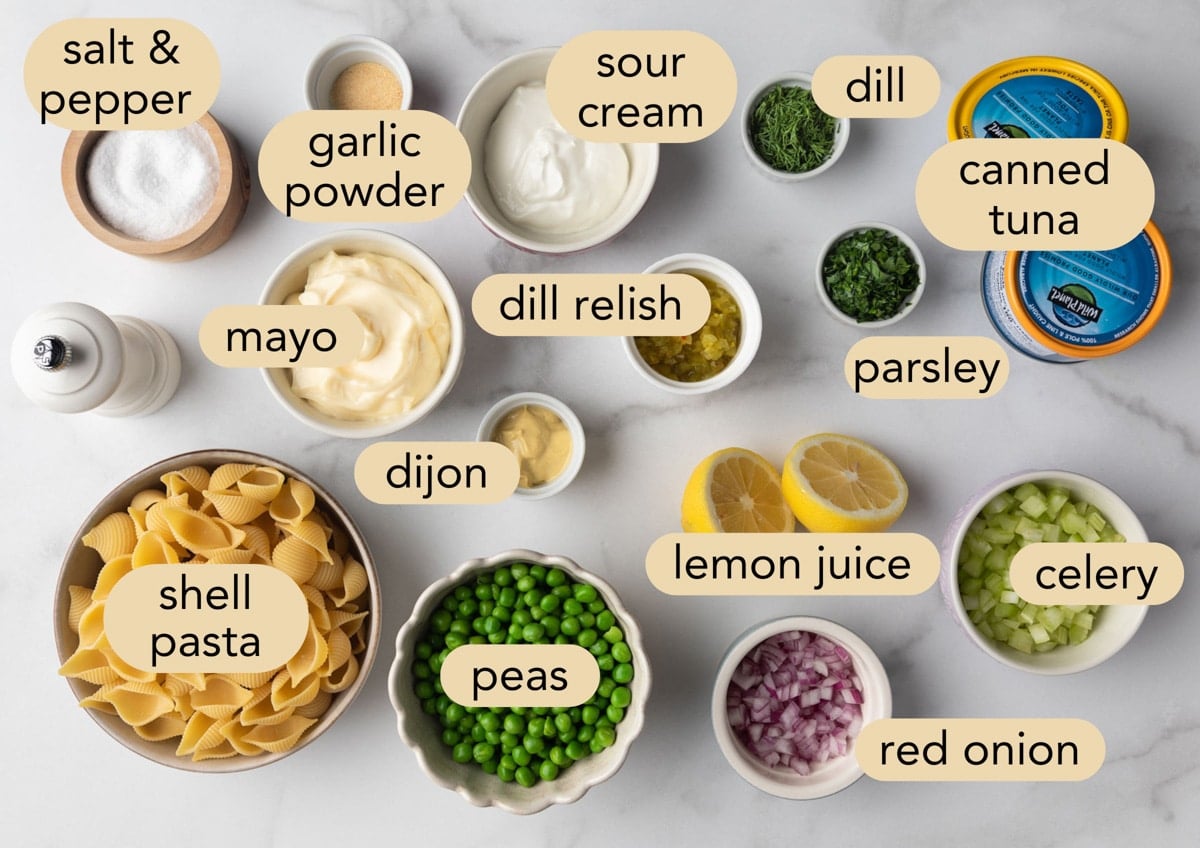
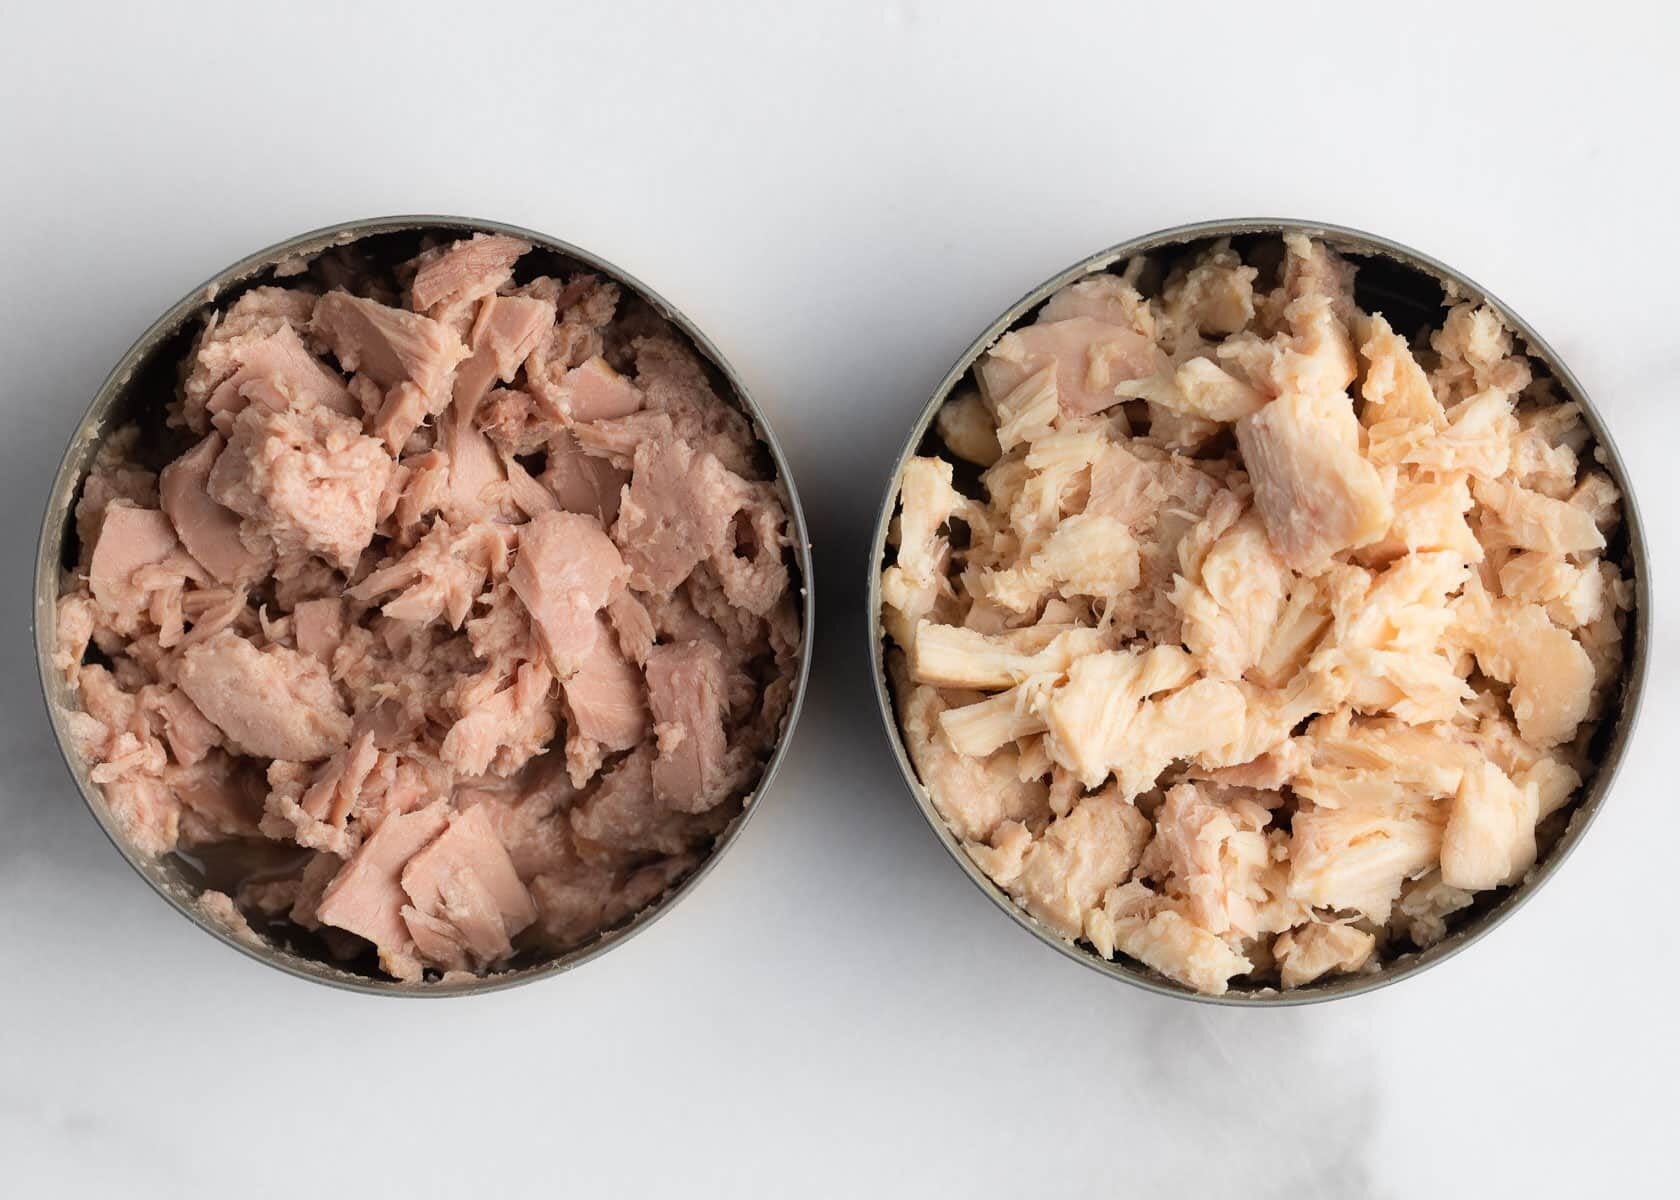
- Tuna. I like to use a mix of skipjack and wild albacore tuna, specifically Wild Planet, which is packed in the tuna’s natural juices rather than water or oil. The two varieties bring different things to the salad—skipjack is more flavorful, while albacore flakes into meatier chunks. You can use all of one variety if you prefer.
- Pasta. I love shell pasta here because the tuna and peas tuck right into the shells, delivering a flavorful bite with every forkful. Any short-cut pasta works, but shells or pipette are my favorites.
- Plan Ahead. This salad needs 2 to 4 hours in the fridge before serving for the flavors to come together.
How to Make Tuna Pasta Salad
Step 1: Cook the Peas and Pasta
I most often use store-bought frozen peas here, though fresh shelled peas work too. While it’s common to simply defrost frozen peas and toss them straight into a pasta salad, I always take an extra minute to blanch them. Here’s why:
Frozen Vegetables and Food Safety
You’ve probably noticed my recipes call for cooking frozen vegetables, even in cold dishes like salads. Why not just defrost and toss them in? Here’s why.
Freezing preserves food, but it doesn’t kill most bacteria — it only stops them from growing while frozen.
Check the label before eating frozen vegetables without cooking.
As the University of Maine Cooperative Extension explains, only frozen foods marked “ready to eat” are safe to eat straight from the package — and in my experience, most frozen vegetables at the grocery store are not labeled that way.
Although the risk is relatively low, recalls of frozen vegetables have happened. I always heat mine through and cool them before adding them to recipes that won’t be cooked further, like salads.
Blanch The Peas
I blanch the peas in the same pot I’ll use for the pasta, before the pasta goes in. Since frozen peas are already blanched before freezing, I keep the water unsalted so they don’t toughen.
Add the peas to rapidly boiling water and cook for 1 to 1½ minutes, just until they’re heated through.
Using a large fine-mesh skimmer, transfer them immediately to a bowl of ice water—this way you keep the hot water in the pot for the pasta. Let the peas sit for 2 to 3 minutes, then drain them well. The ice bath stops the cooking so they stay tender (not mushy) and locks in that vibrant green color.
Using fresh peas? Add shelled, washed peas to the boiling water and cook for 2 to 5 minutes, until they’re crisp-tender, then straight into the ice bath.
Cook the Pasta
Bring the water back to a rolling boil and salt it generously—this is your only chance to season the pasta itself. Cook it a bit past al dente, about 1 to 3 minutes beyond the package time.
Pasta salad is served cold, and cold pasta firms up; if you pull it at al dente, it’ll feel gummy once chilled. You’re looking for tender, not mushy.
Drain the pasta and rinse it well under cold running water. This cools it down quickly and washes off the surface starch that can make pasta salad sticky.

Step 2: Prep the Add-Ins and Make the Dressing
While the pasta cooks, mix the dressing and get your add-ins ready so everything is set to go when the pasta has cooled.
The Add-Ins
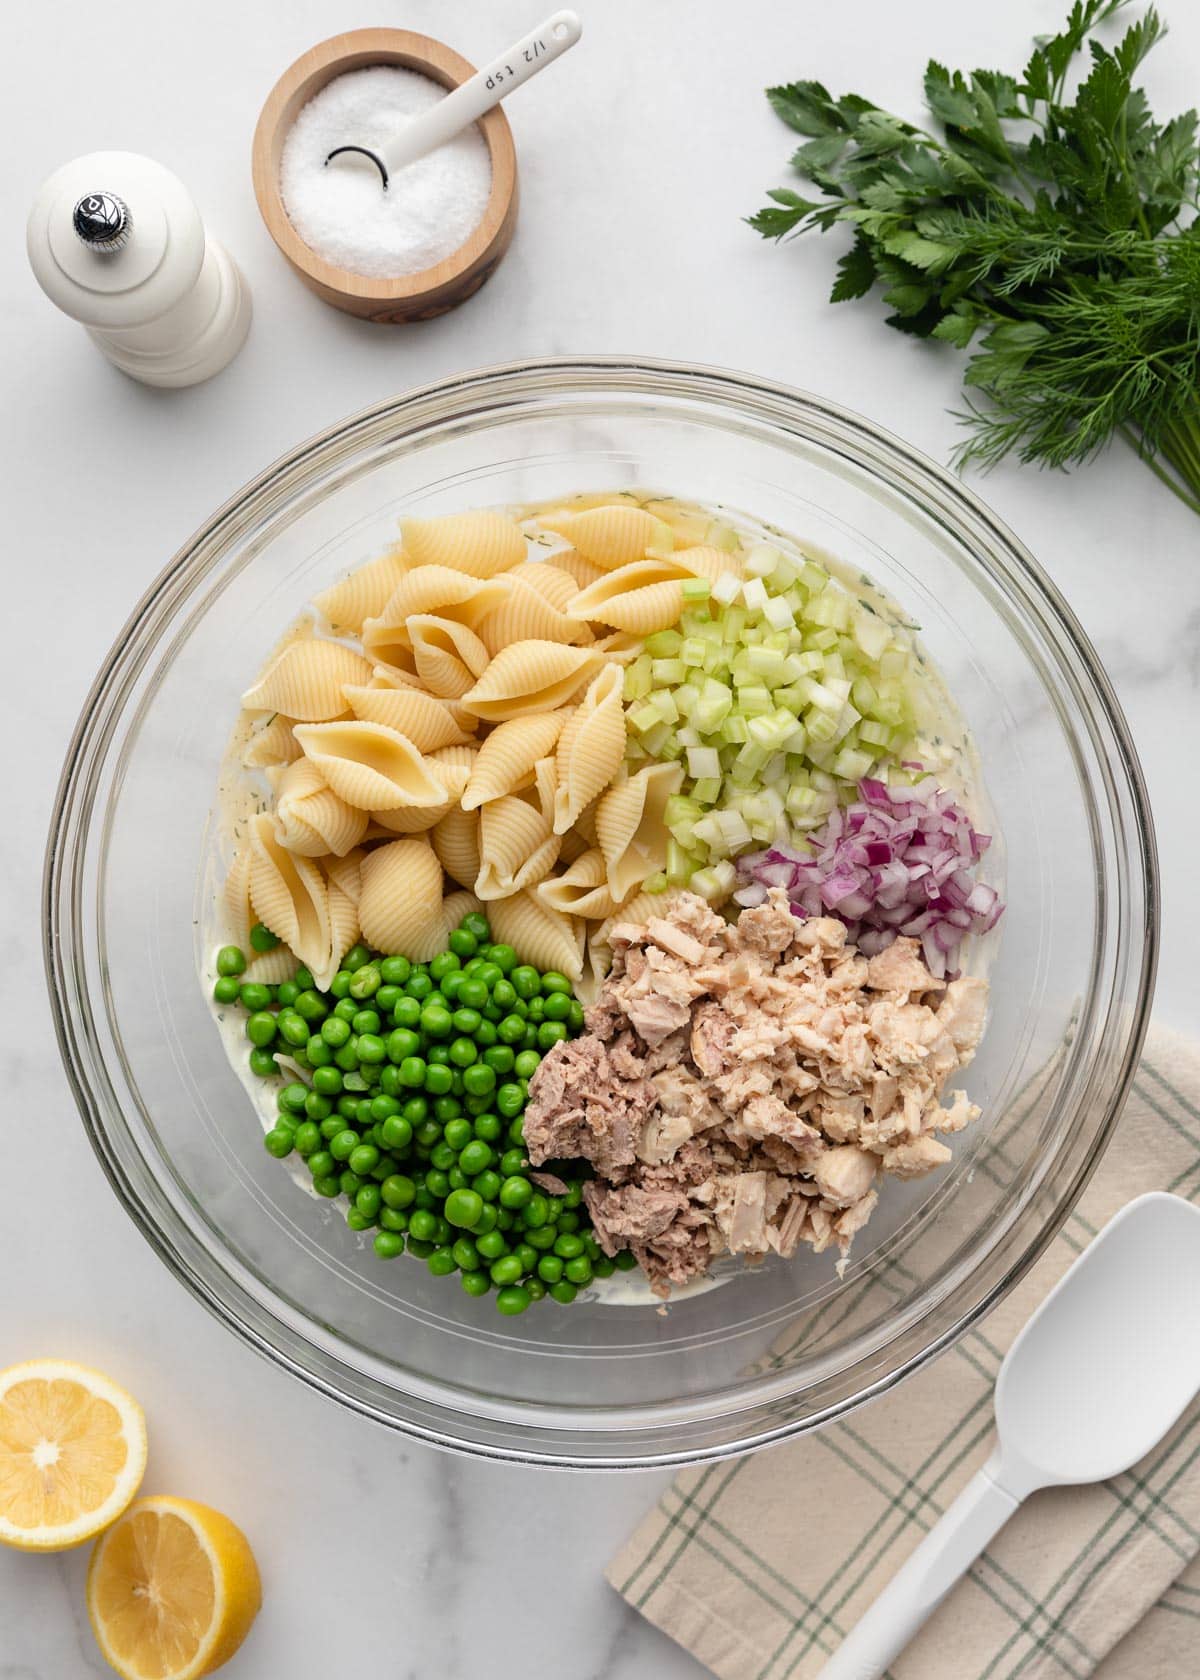
- Red onion. Dice finely. I like to soak it in ice water for 10 to 15 minutes to take the sharp edge off without losing the crunch, but this is optional. The longer it soaks, the milder it gets. Drain well before using.
- Celery. Dice finely. Peeling away the tough outer strings before dicing is optional, but I prefer the texture of peeled celery in recipes that aren’t cooked.
- Tuna. If using Wild Planet or another natural, juice-packed brand, flake it directly into the can into bite-sized chunks and let the juices reabsorb before adding to the salad. They’ll add moisture and great flavor to the dish. If you’re using water-packed tuna, drain it thoroughly first.
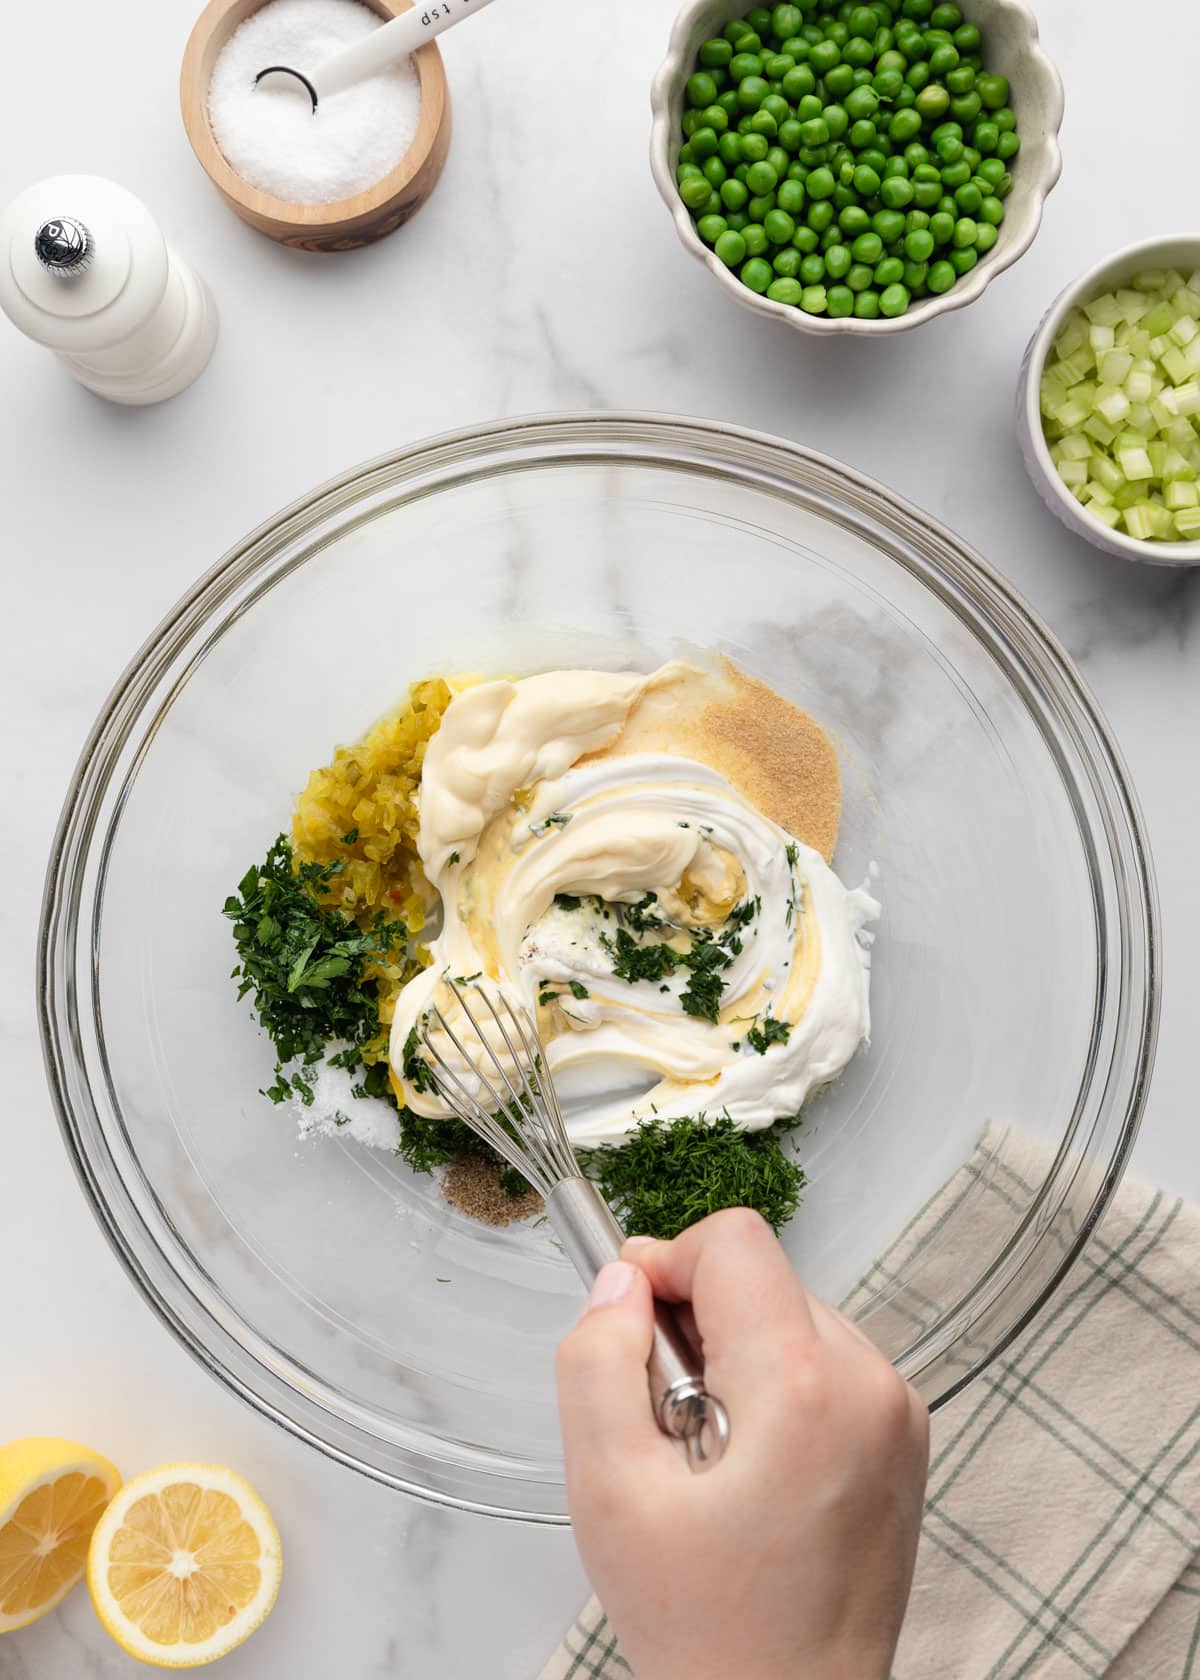
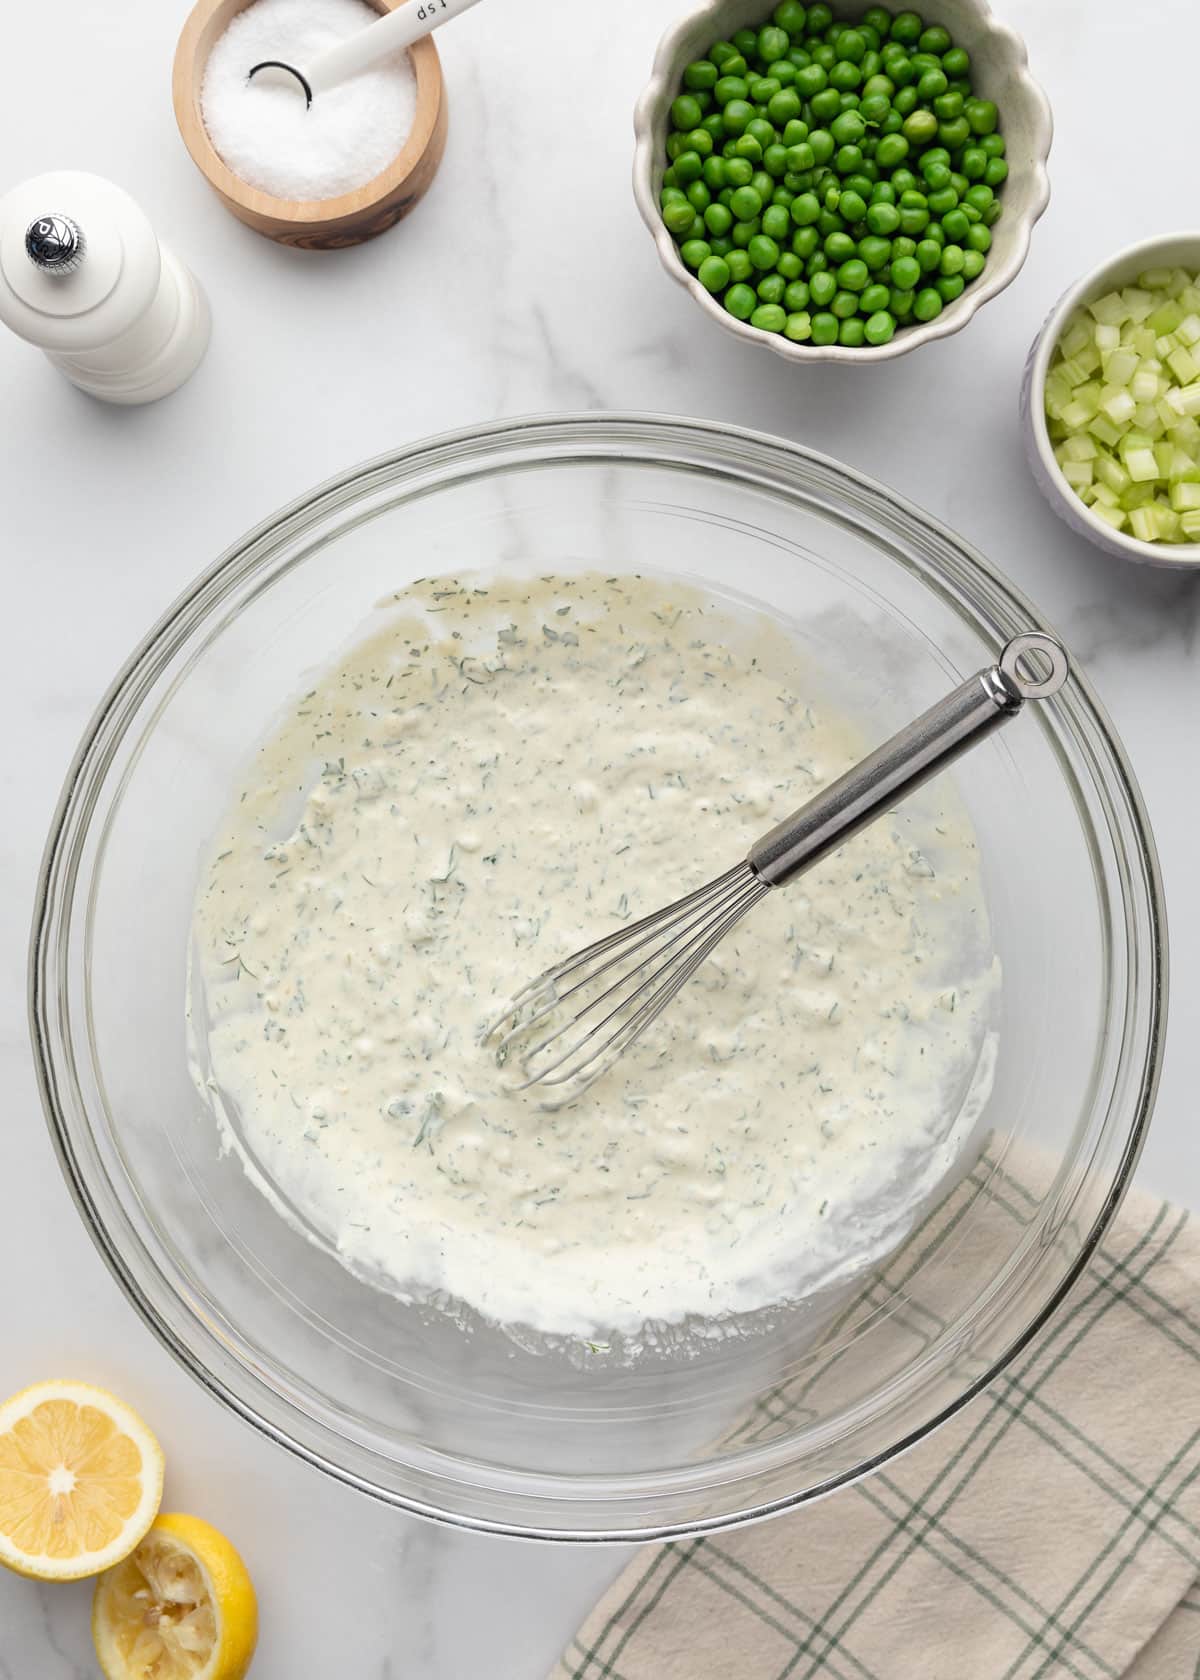
The Dressing
Whisk the following together in a large bowl until the dressing is smooth and well combined. (Be sure to use one big enough to hold the entire salad once it’s assembled.)
- Mayonnaise and sour cream. The creamy, tangy base. I use full-fat for both; Duke’s mayo and Daisy sour cream are my go-tos.
- Dijon mustard. Adds depth and a little bite. I use Maille.
- Dill pickle relish. Brings brightness and a briny punch. Prefer a sweeter salad? Swap in sweet pickle relish.
- Fresh lemon juice. Brightens the whole dish. You may need a little more or less, depending on how tangy your relish is.
- Fresh dill and flat-leaf parsley. Adjust the dill to taste, especially if your relish is already very dill-forward.
- Seasonings. Granulated garlic powder, kosher salt, and black pepper.
Step 3: Assemble and Chill
Add the pasta, red onion, celery, tuna, and peas to the bowl with the dressing. Using a rubber spatula, gently fold everything together until well combined.
Try not to over-mix so some of the tuna stays in satisfying chunks rather than completely breaking down into the dressing.
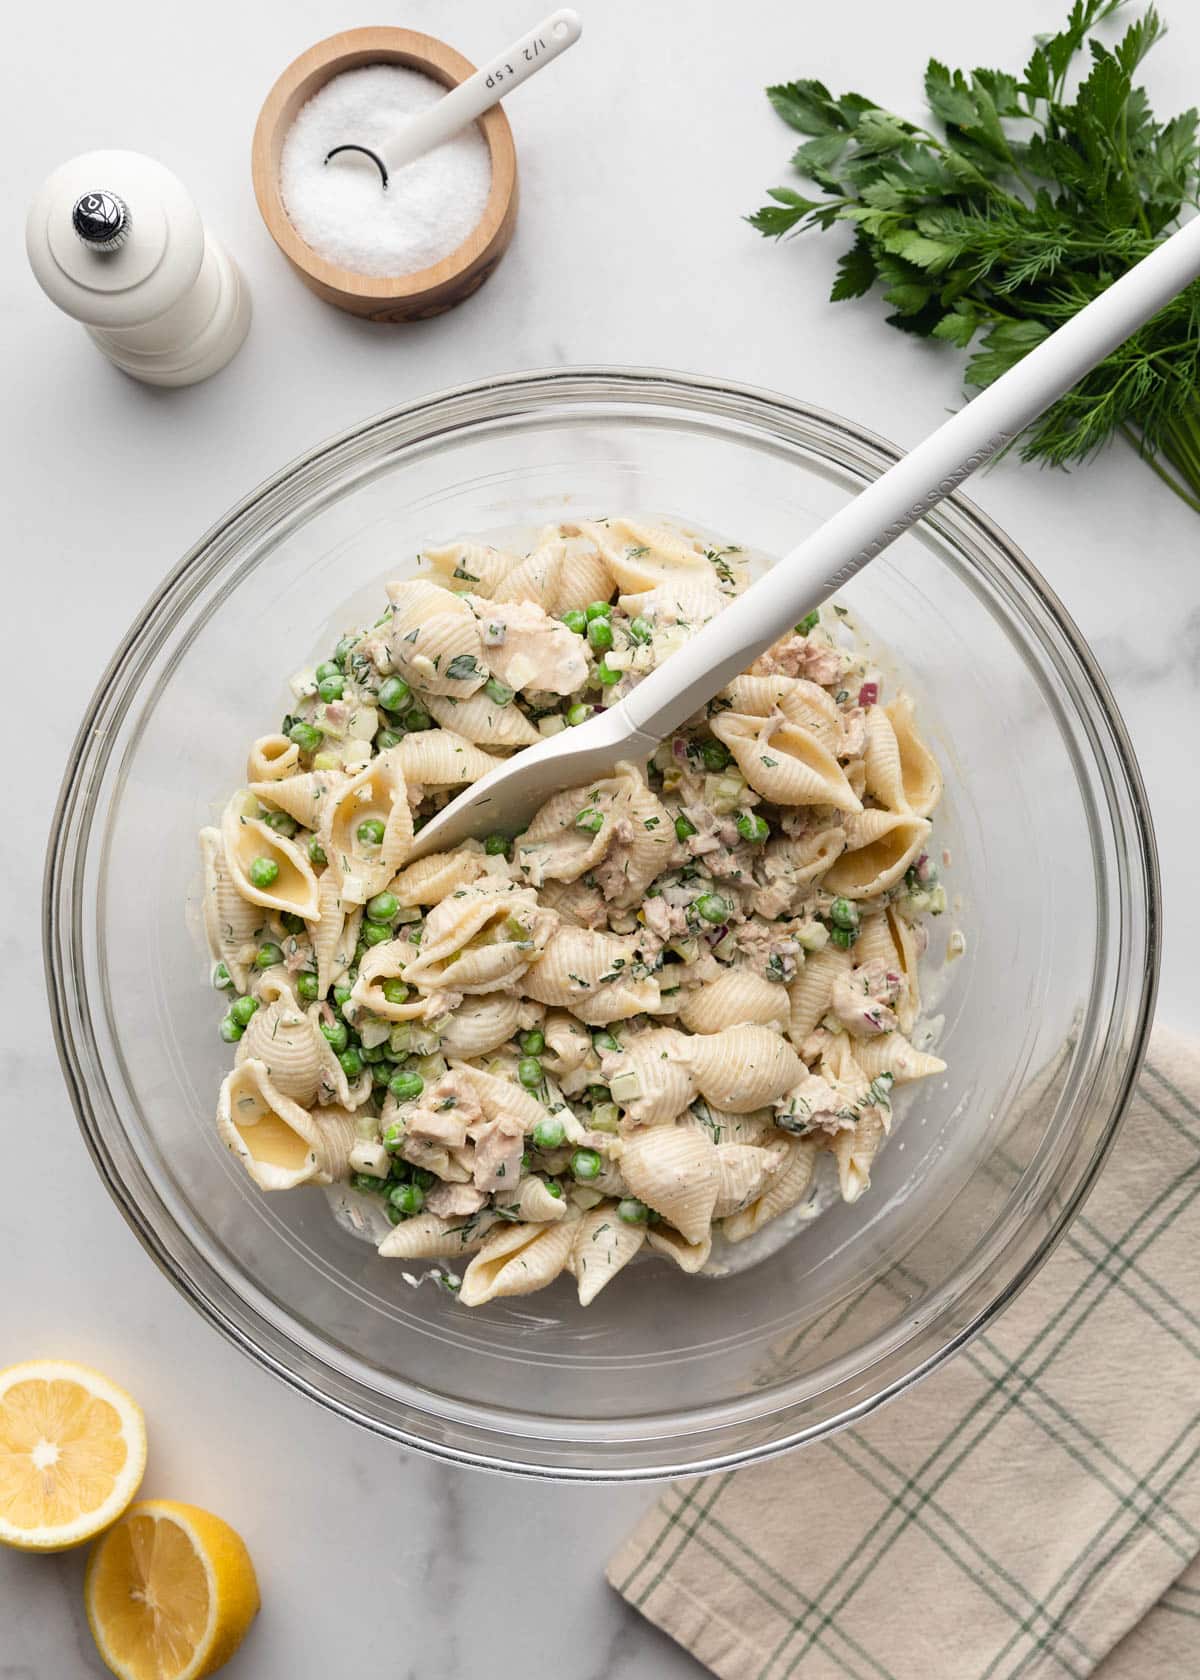
Once mixed, season the pasta salad to taste with salt and pepper. I usually end up adding a little extra salt, but it depends on how well you’ve salted your pasta water and the sodium in the tuna you’ve used.
Don’t worry if the salad tastes a little sharp or too tangy at this point. It’ll mellow out in the fridge.
Cover the bowl tightly and refrigerate for 2 to 4 hours. Once chilled and the flavors have had a chance to come together, give it a taste and adjust, adding a little more lemon juice, salt, or pepper if needed.
Serving Tuna Pasta Salad
Tuna Pasta Salad is hearty enough to serve as a main for lunch, or as a side at a cookout or picnic alongside burgers, grilled fare, or sandwiches.
For a pretty finishing touch, a light scatter of fresh dill or parsley over the top makes it look as good as it tastes.
Since this salad is made with mayonnaise and sour cream, keep it chilled until ready to serve. When bringing it to a cookout or picnic, I like to nest the serving bowl inside a larger bowl filled with ice so it stays cold on the table, or use an insulated, chilled serving bowl.
Storage and Make-Ahead Tips
Leftover Tuna Pasta Salad will keep in an airtight container in the refrigerator for up to 3 days. The flavor is great on the second and third days, but keep in mind the pasta will continue to absorb the dressing as it sits, so the texture won’t be quite as creamy.
A small spoonful of mayo or sour cream stirred in before serving can help refresh it, or just dig in “as-is”.
If you’re making this for a party, I recommend making this salad the same day for the best texture.
More Pasta Salad Recipes
- Orzo Salad with Feta
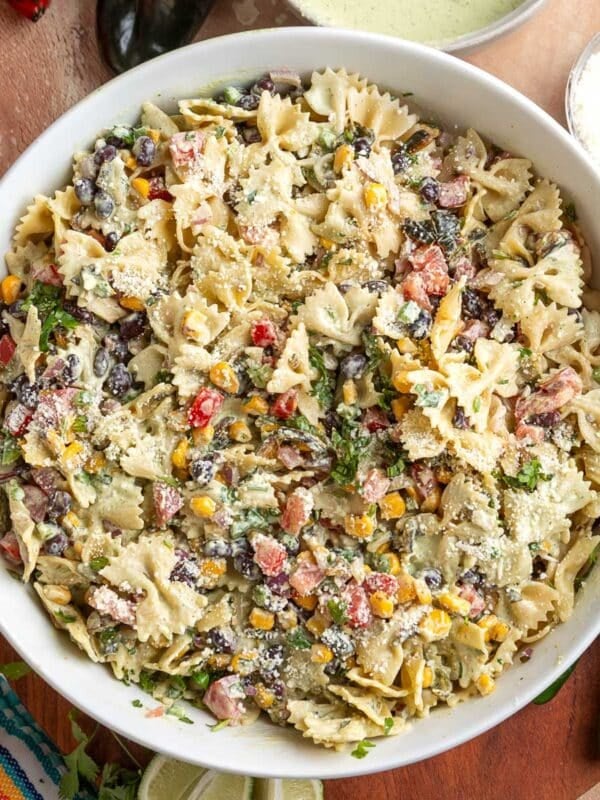
- Southwest Pasta Salad
- Sun-Dried Tomato Pasta Salad with Artichoke Hearts
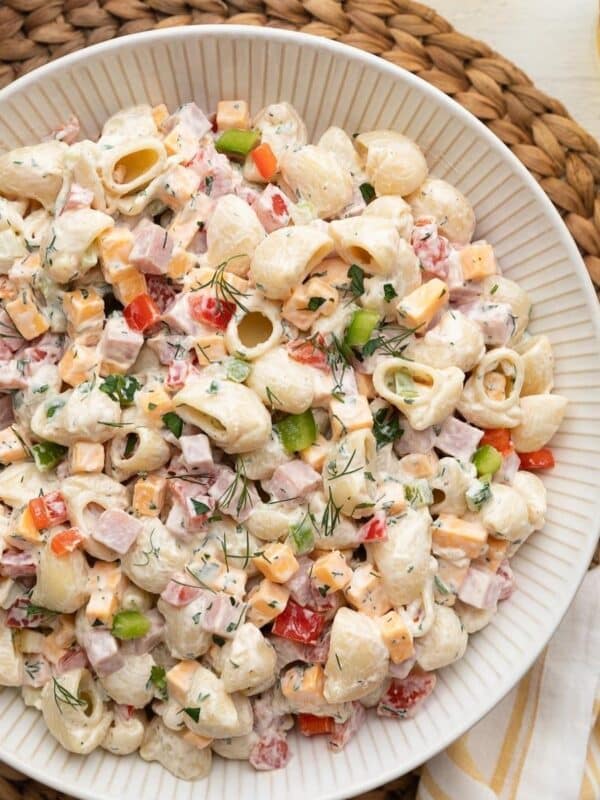
- Ham Pasta Salad
- Macaroni Salad
Tuna Pasta Salad
Ingredients
- 6 ounces frozen peas (about 1¼ cups, see Note 1)
- 8 ounces dried shell pasta
- ⅔ cup mayonnaise (I use Duke's)
- ⅓ cup sour cream (I use Daisy)
- 3 tablespoons dill relish (I use Vlasic)
- 1 tablespoon Dijon mustard (I use Maille)
- 2 tablespoons finely chopped flat-leaf parsley
- 1 to 2 tablespoons finely chopped fresh dill (see Note 2)
- 1 to 2 tablespoons freshly-squeezed lemon juice , additional to taste if needed (see Note 3)
- ½ teaspoon granulated garlic powder
- ½ cup small diced celery (see Note 4)
- ¼ cup small diced red onion (see Note 5)
- 1 (5 ounce) can Wild Planet albacore tuna , undrained (see Note 6)
- 1 (5 ounce) can Wild Planet skipjack tuna , undrained (see Note 6)
- Diamond Crystal kosher salt and freshly-ground black pepper
Instructions
Blanch the Peas and Cook the Pasta
- Bring a large pot of water (big enough to accommodate cooking the pasta) to a rolling boil. Add the frozen peas and cook for 1 to 1½ minutes, just until heated through.
- Using a fine-mesh skimmer, immediately transfer them to a bowl of ice water. Let sit for 2 to 3 minutes, then drain well. Set aside.
- Bring the water back to a rolling boil and generously salt it. Add the pasta and cook until tender but not mushy, about 1 to 3 minutes past the al dente time listed on the box (cooking time will vary by brand). Drain and rinse well under cold running water until cooled.
Make the Pasta Salad
- While the pasta cooks, whisk together the mayonnaise, sour cream, relish, Dijon, parsley, dill, lemon juice, garlic powder, ½ teaspoon kosher salt, and ¼ teaspoon pepper in a large bowl.
- Add the pasta, celery, red onion, tuna, and peas to the bowl with the dressing. Gently fold everything together with a rubber spatula until well combined.
- Season to taste with salt and pepper. If the salad tastes a bit too tangy at this point, know that the flavor will mellow in the fridge as the pasta soaks up some of the dressing.
- Cover and refrigerate for 2 to 4 hours. Before serving, taste again and adjust with additional lemon juice, salt, or pepper if needed. Serve chilled.
Notes
Nutrition Estimate
Nutrition information is automatically calculated, so should only be used as an approximation.
Please note that our recipes have been developed using the US Customary measurement system and have not been tested for high altitude/elevation cooking and baking.