There’s a reason Pea Salad with bacon and cheese has been showing up at Southern and Midwestern cookouts and potlucks for decades — it’s creamy, a little tangy, and always a crowd-pleaser. My recipe adds fresh dill to the dressing for a bright, herbaceous twist that makes it feel right at home on any summer spread.
Before You Start Cooking
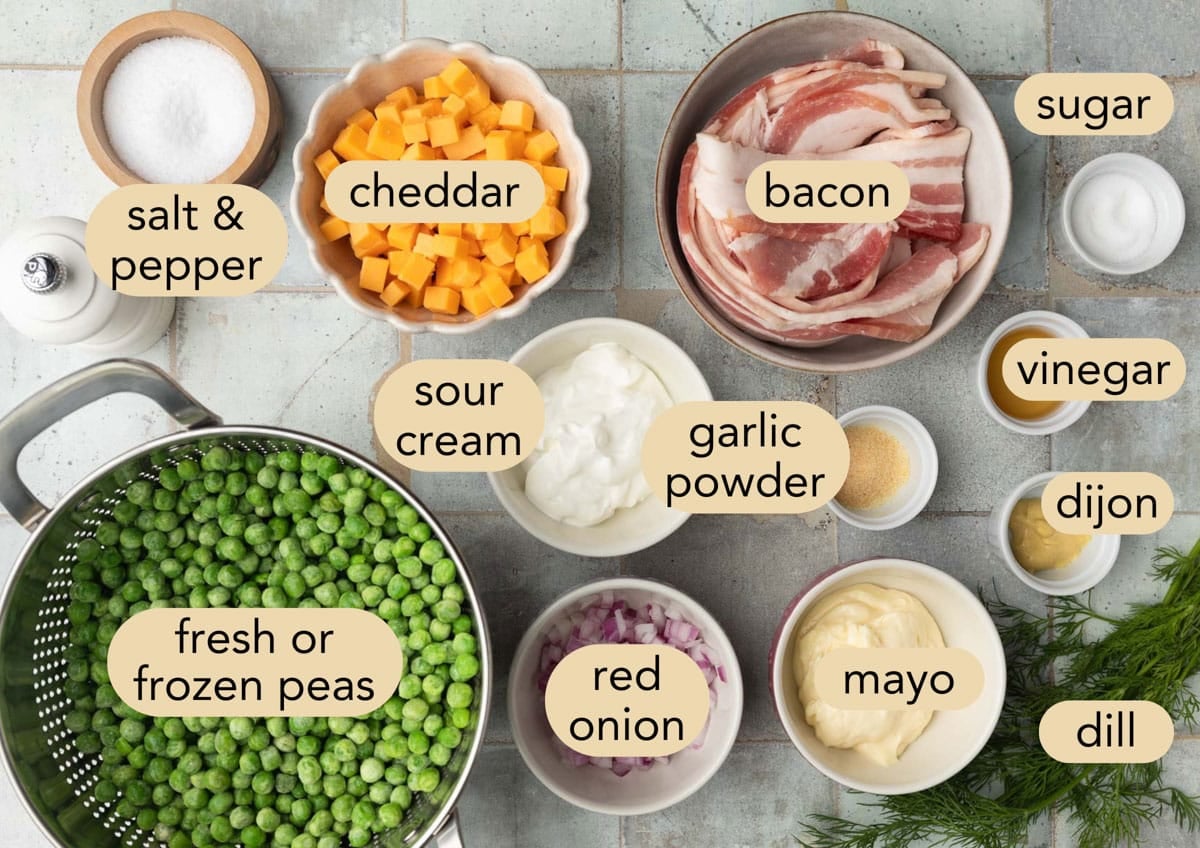
- Peas. I most often use frozen green peas — they’re convenient, consistently sweet, and available year-round. If you have access to fresh shelled peas, they’re also a great option when in season.
- Red onion. If you have a few extra minutes, soak the chopped red onion in ice water for 10 to 15 minutes before adding it to the salad. It mellows the sharp, pungent bite of raw onion while keeping it crisp. Drain it well before using.
- Reserve the dressing. When it’s time to assemble, you’ll only fold in part of the dressing before chilling — the rest gets stirred in just before serving. This is the key to keeping the salad at its creamiest texture after it’s been sitting in the fridge.
How To Make Creamy Pea Salad with Bacon and Cheddar
Most of the work to make this Pea Salad happens early: cook the bacon, blanch the peas, whisk the dressing, and then let the fridge do the rest.
Step 1: Cook the Bacon
Start by chopping your well-chilled bacon into bite-sized pieces. I like to use thick-cut hickory-smoked bacon for a meatier bite in the salad, but standard-cut works just as well if you have it on hand or prefer it.
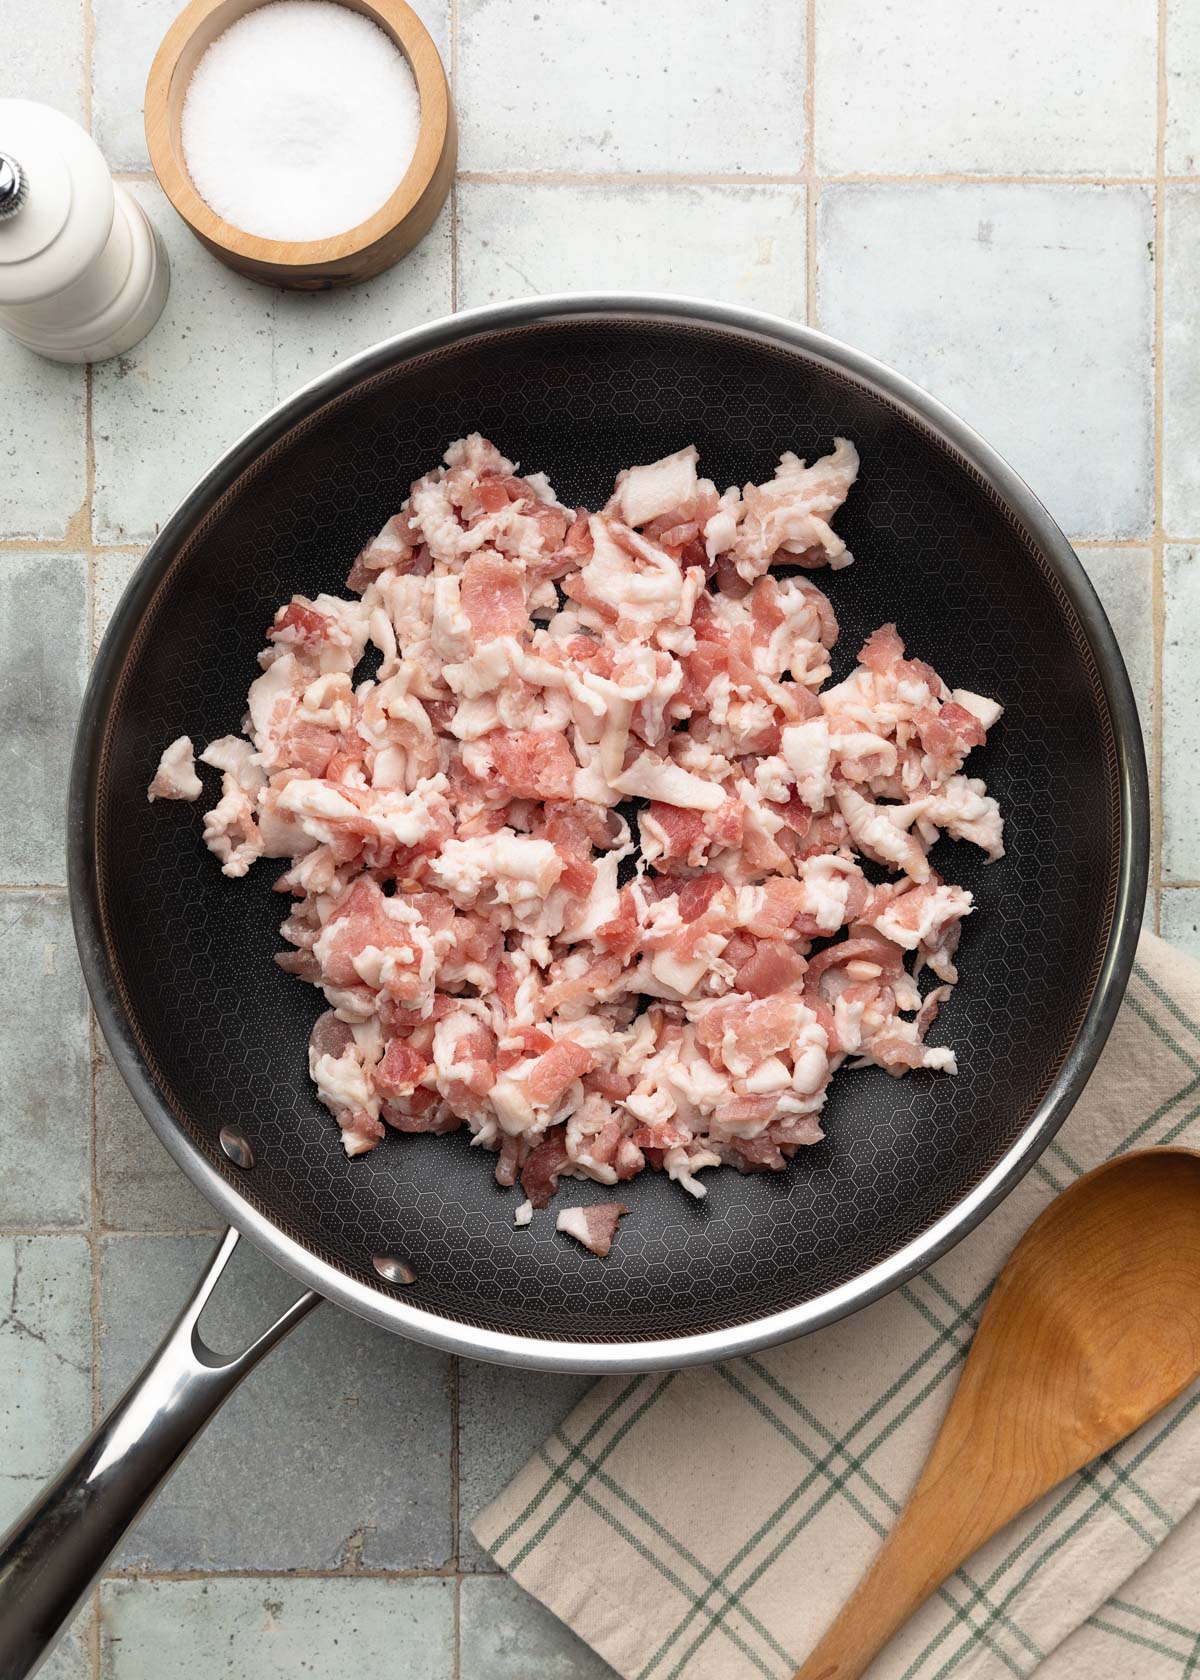
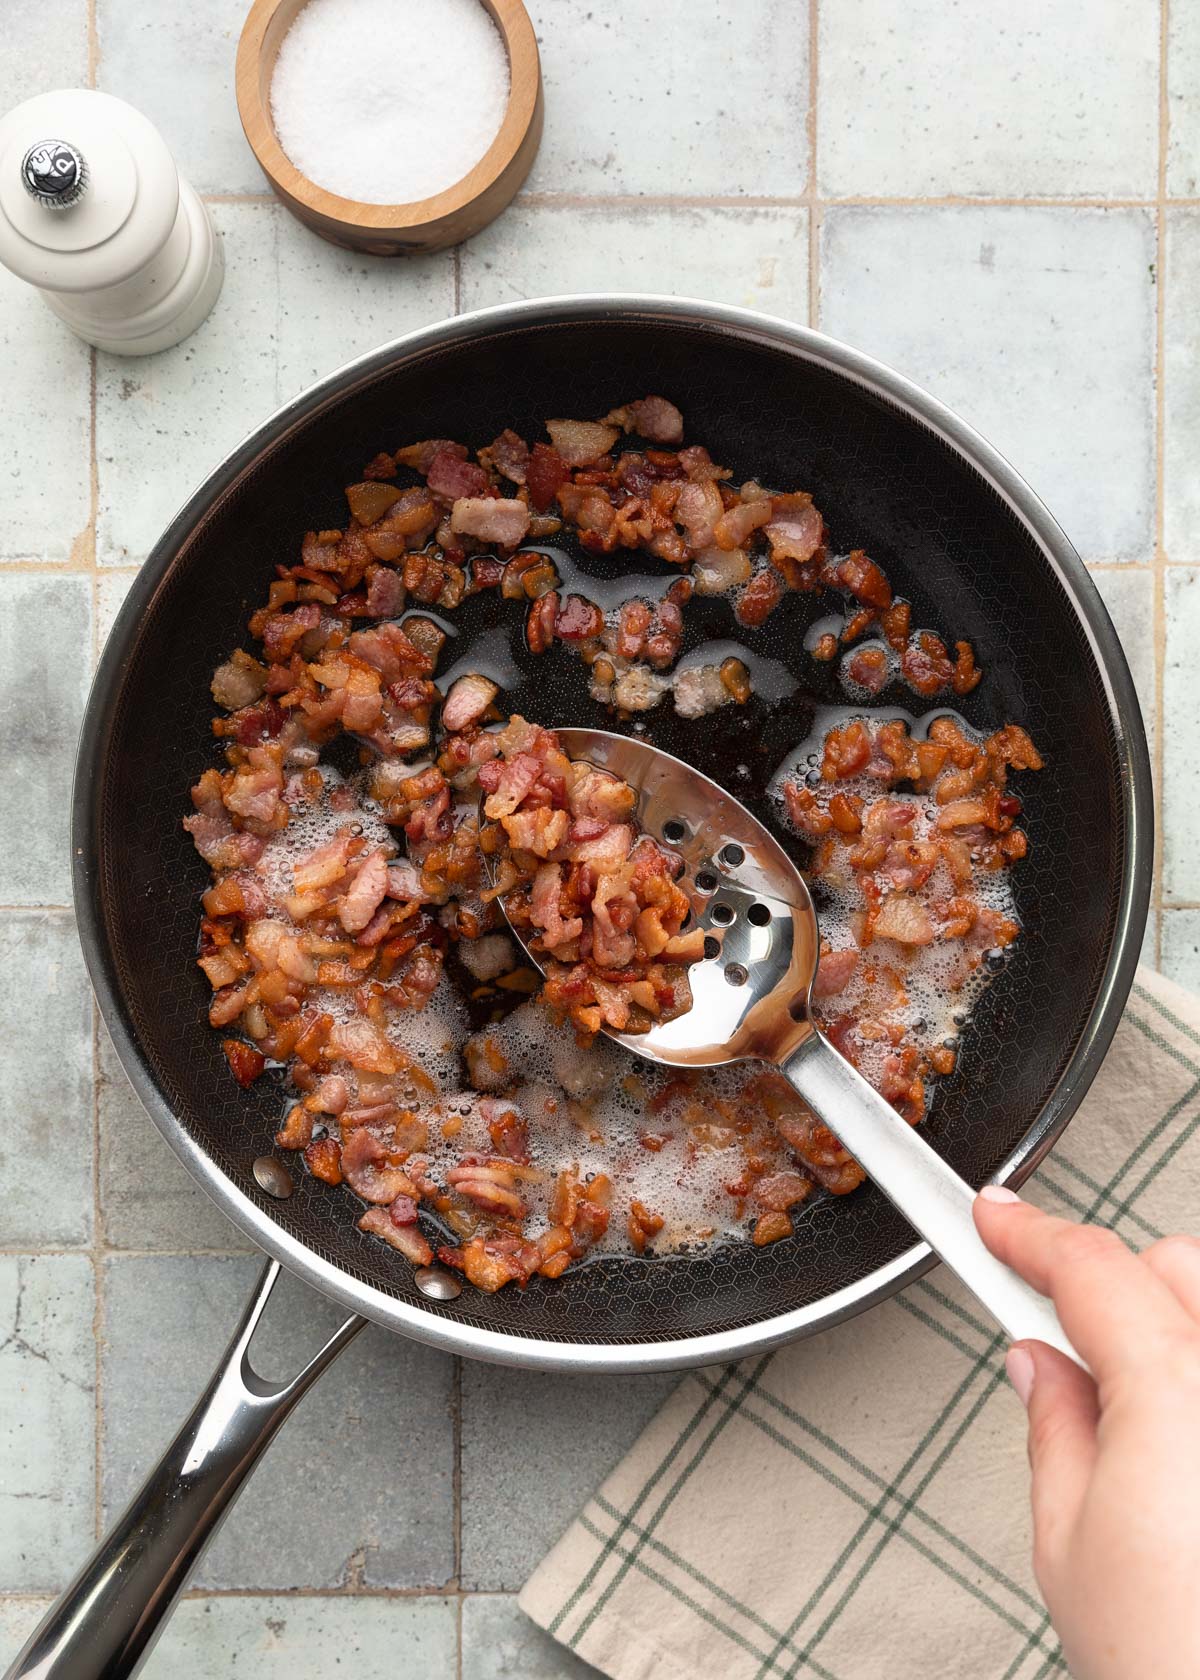
Cook the bacon in a large skillet over medium-high heat until it’s crispy. Then use a slotted spoon to transfer it to a paper towel-lined plate to drain, leaving as much rendered fat as possible in the pan.
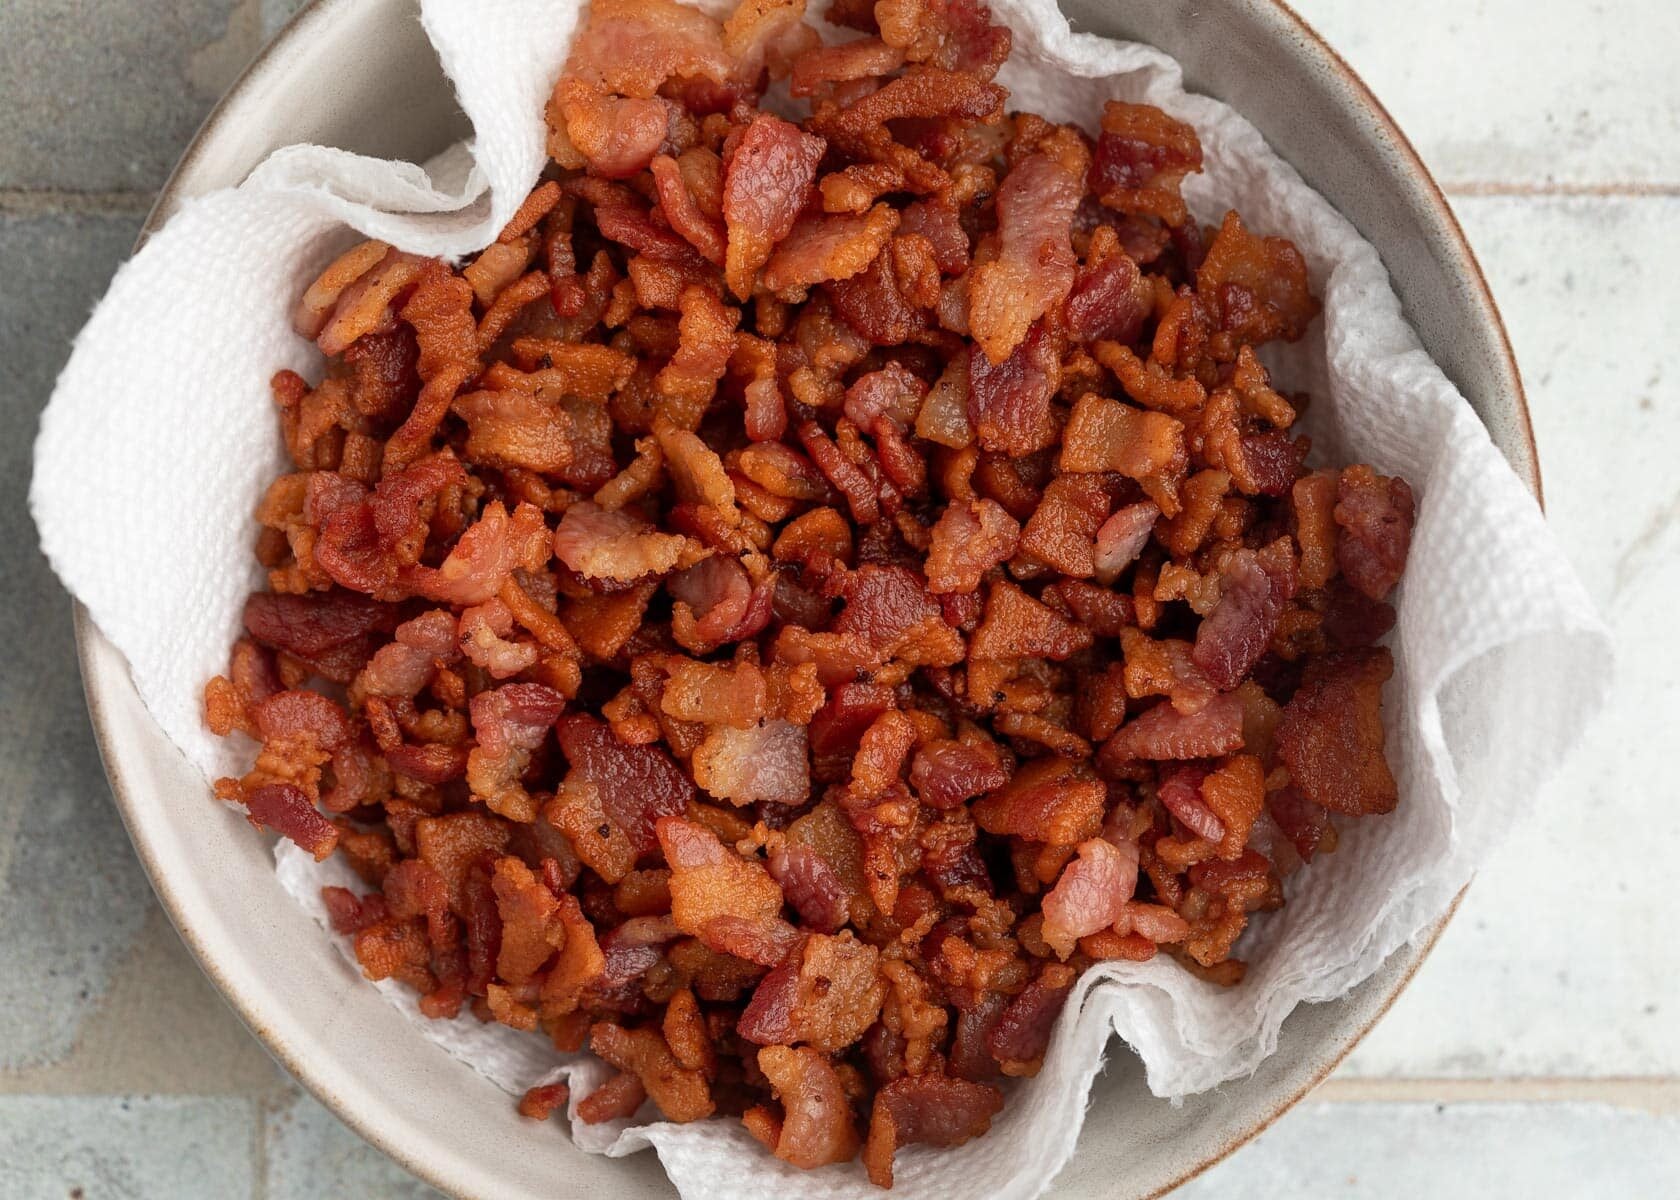
Prefer the oven? You can also use my How to Cook Bacon in the Oven tutorial. Bake the bacon until crisp, then chop or crumble it into small pieces before adding to the salad.
Step 2: Cook the Peas
Frozen peas: Bring a large pot of water to a boil, without adding any salt. Add the peas and cook for 1 to 1½ minutes, just until they’re heated through. Since they were blanched before freezing, be mindful of the time so they don’t overcook and become mushy.
Fresh peas: Add the shelled peas to a pot of lightly salted boiling water and cook for 2 to 5 minutes, until the peas are crisp-tender. The cooking time will depend on the size of the peas.
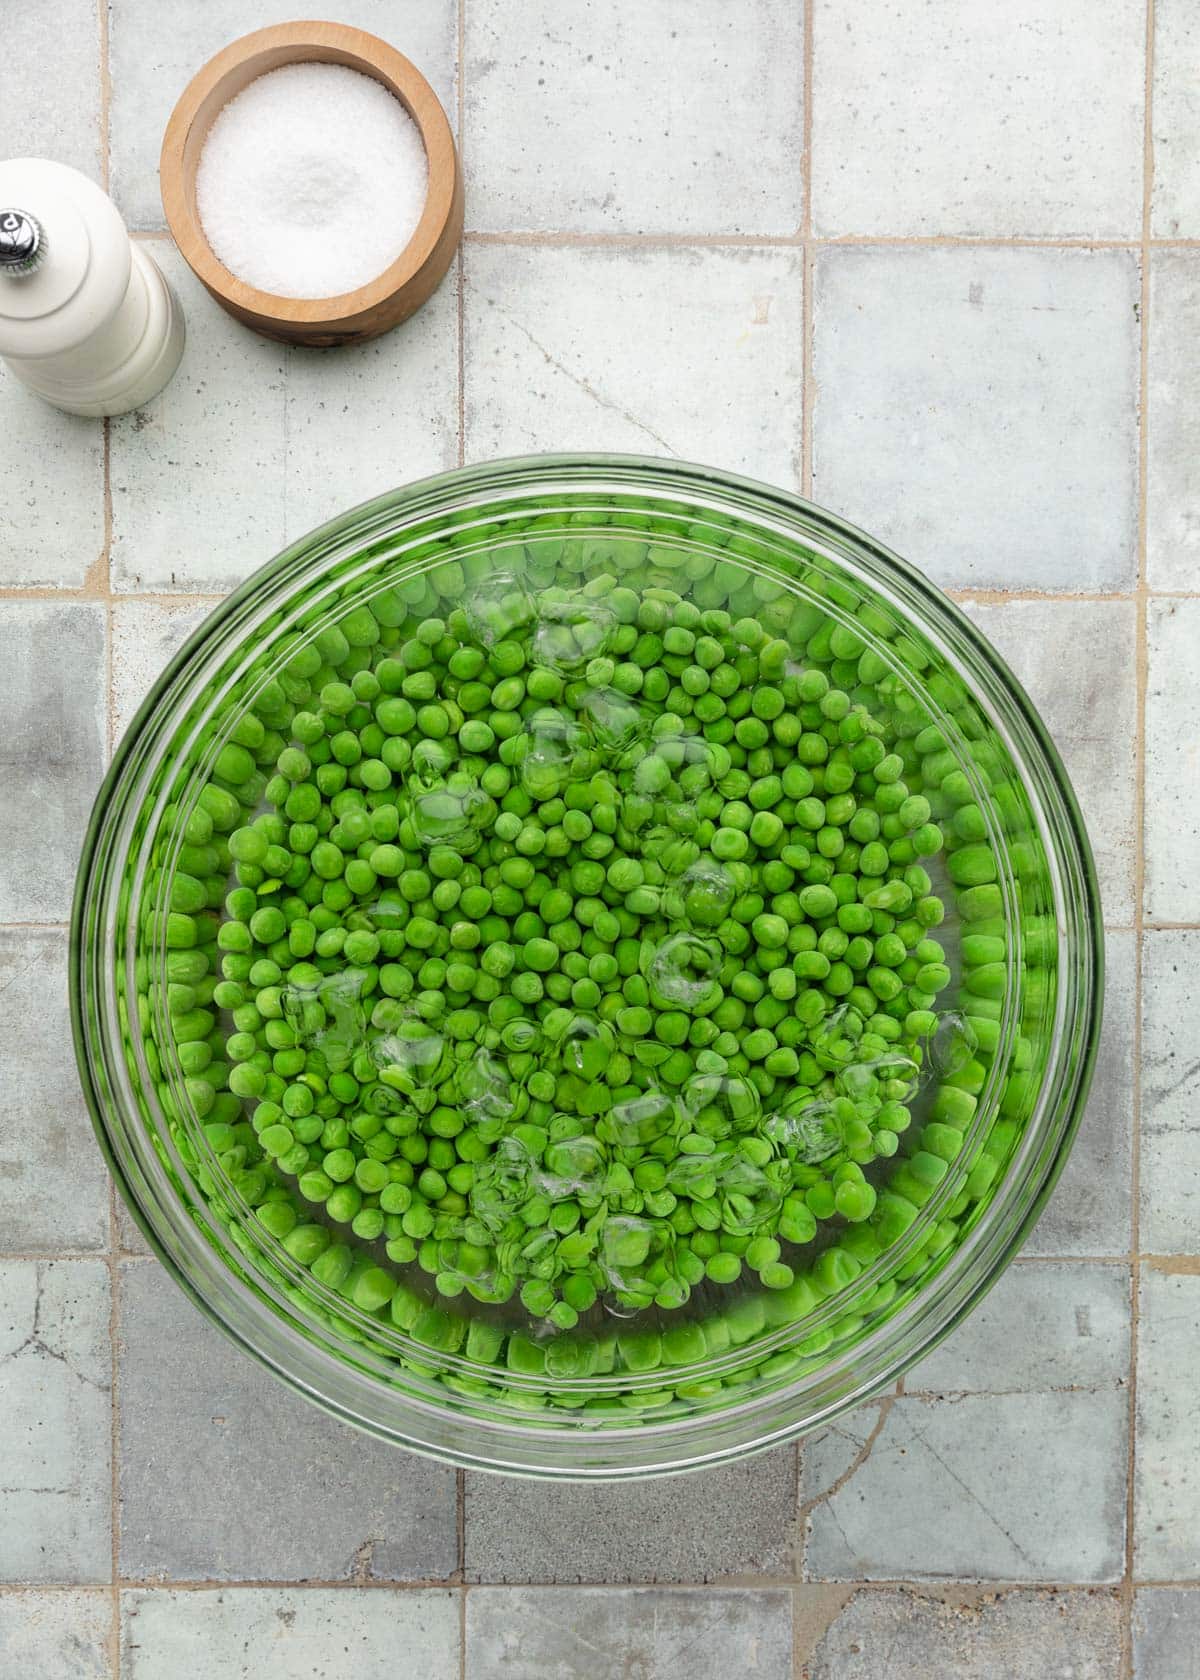
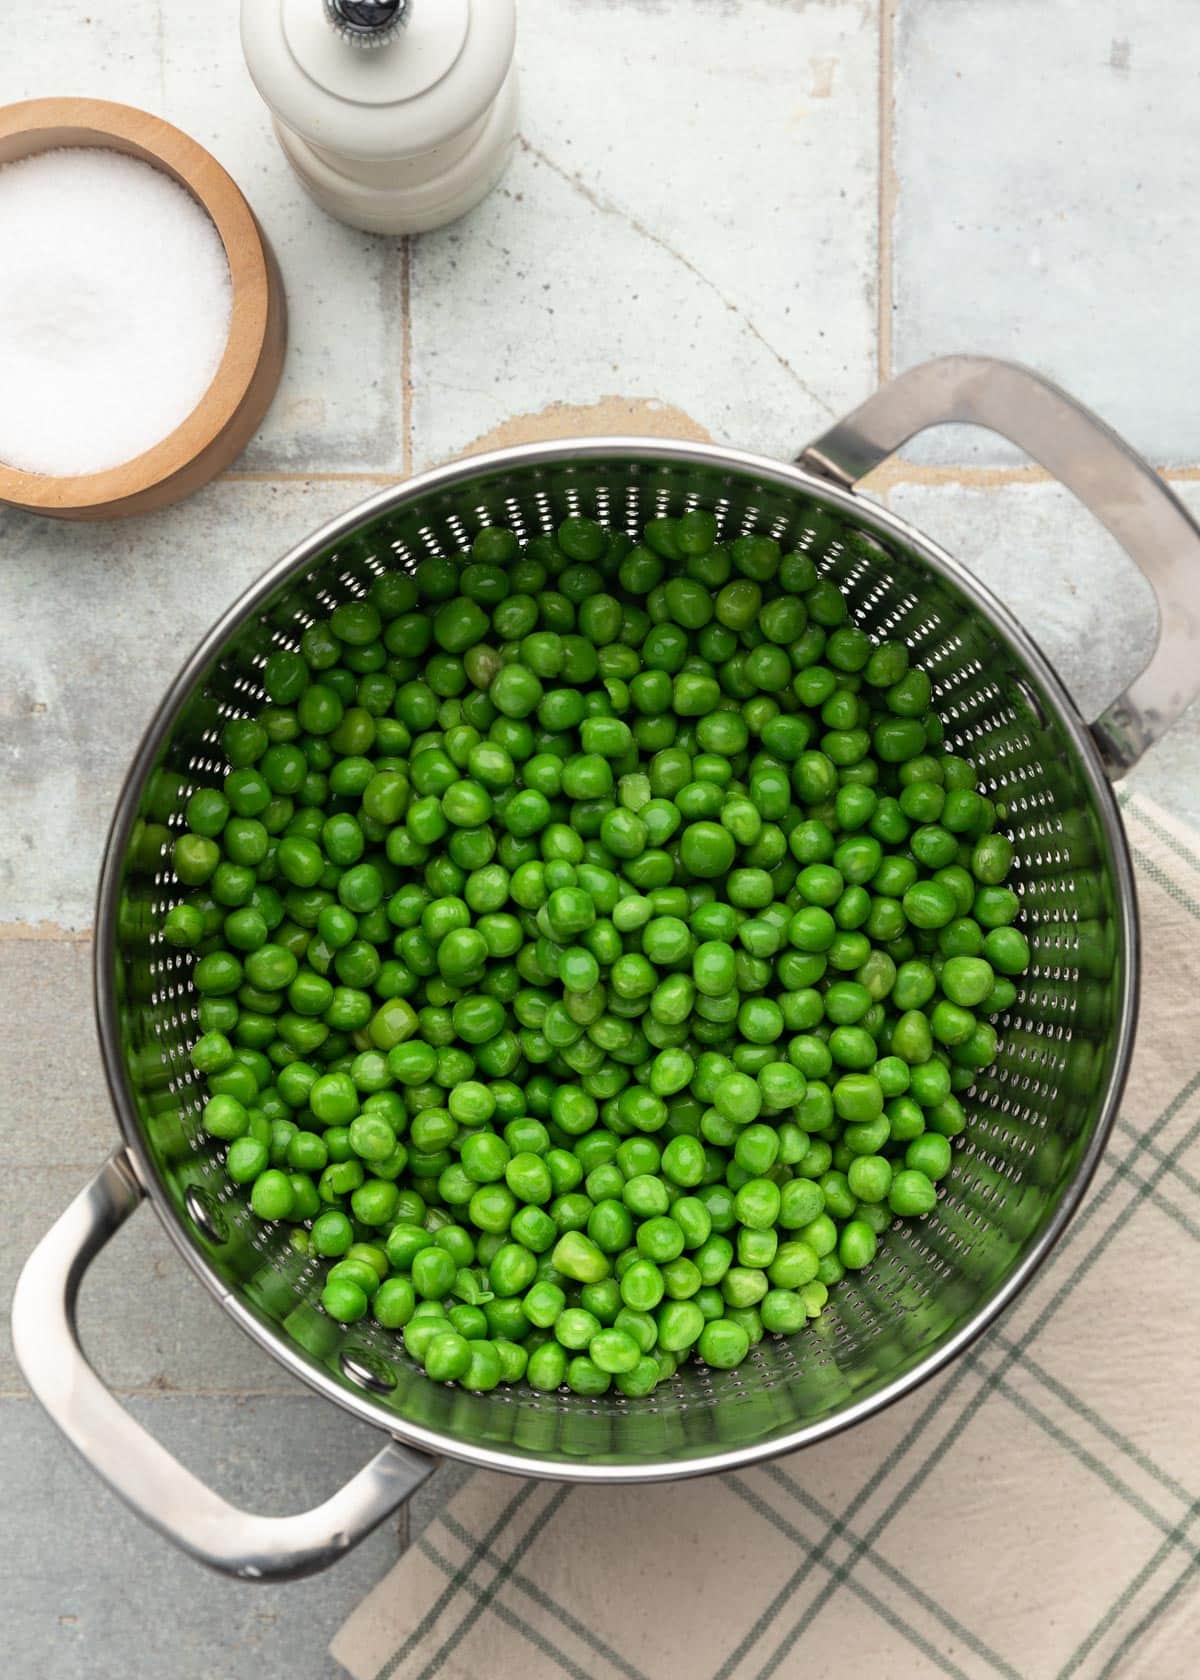
No matter which you’re using, move them into an ice bath right away to stop the cooking and keep that bright green color. Once they’re cool, drain them well in a colander and set them aside.
Frozen Vegetables and Food Safety
You’ve probably noticed my recipes call for cooking frozen vegetables, even in cold dishes like salads. Why not just defrost and toss them in? Here’s why.
Freezing preserves food, but it doesn’t kill most bacteria — it only stops them from growing while frozen.
Check the label before eating frozen vegetables without cooking.
As the University of Maine Cooperative Extension explains, only frozen foods marked “ready to eat” are safe to eat straight from the package — and in my experience, most frozen vegetables at the grocery store are not labeled that way.
Although the risk is relatively low, recalls of frozen vegetables have happened. I always heat mine through and cool them before adding them to recipes that won’t be cooked further, like salads.
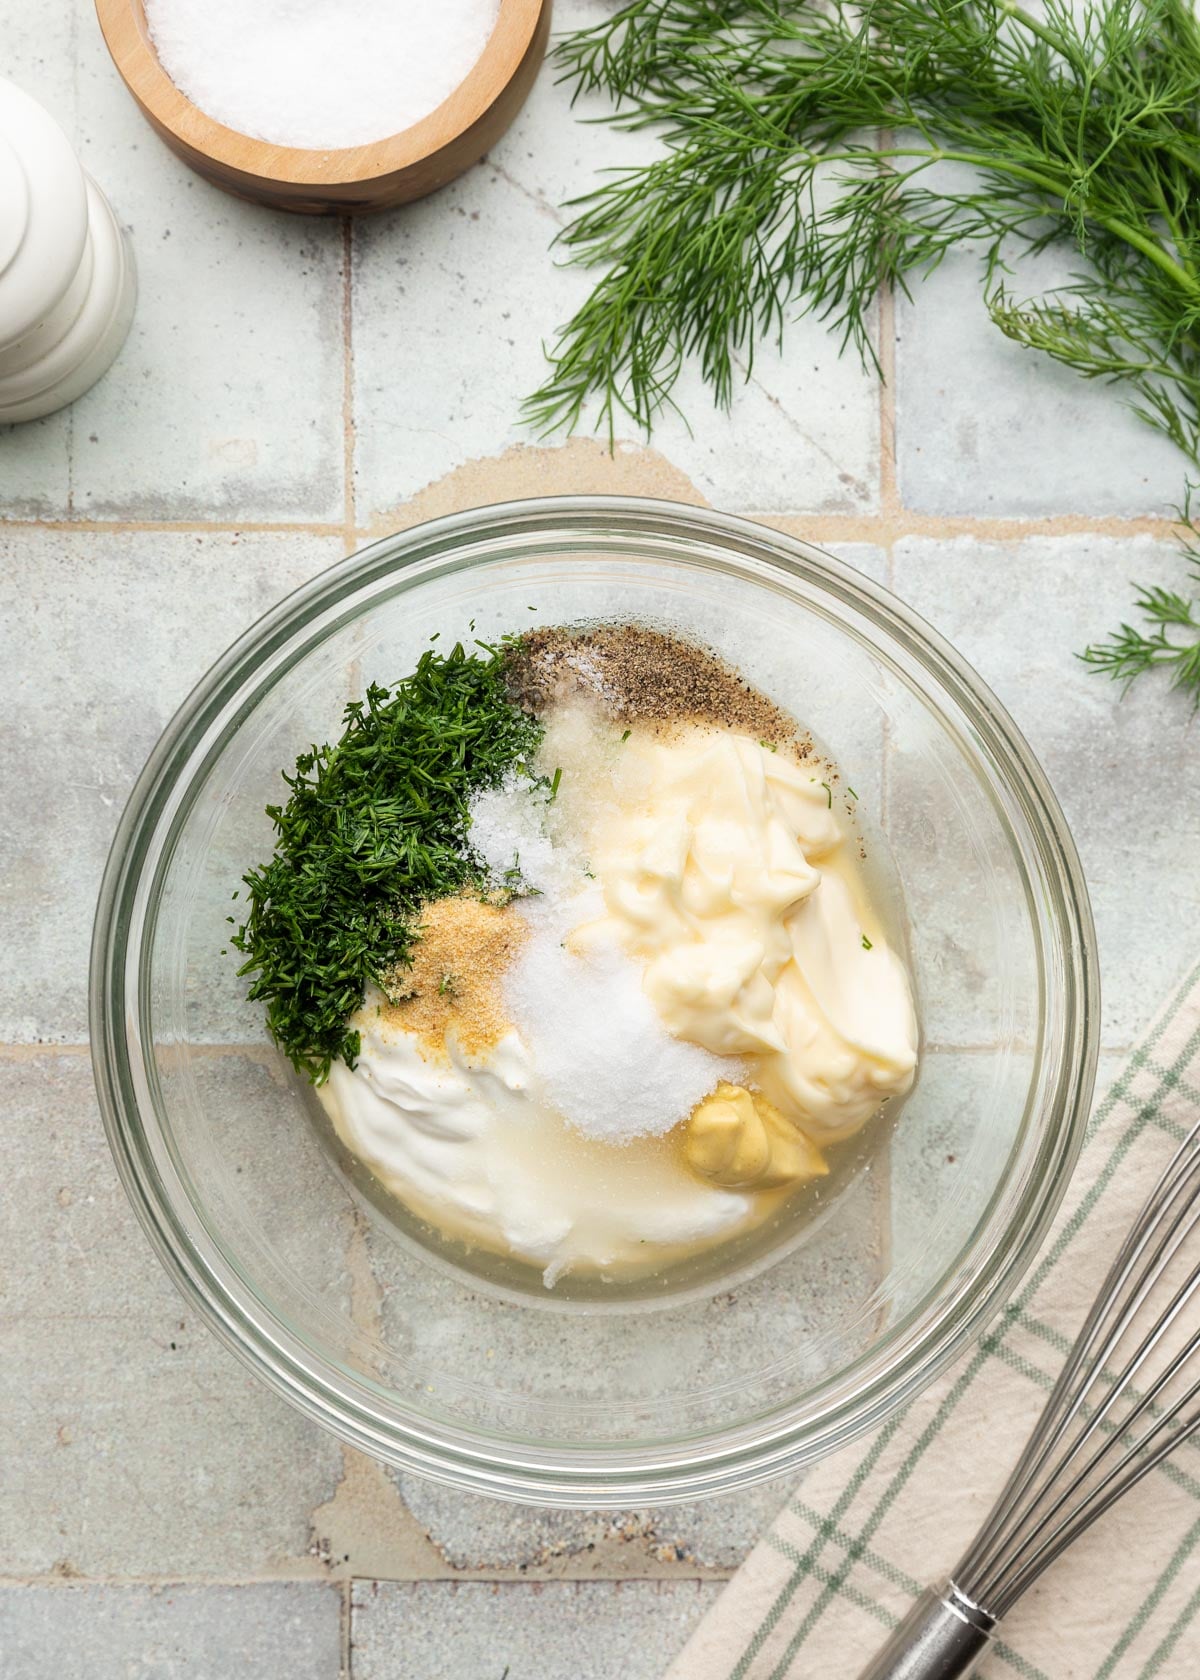
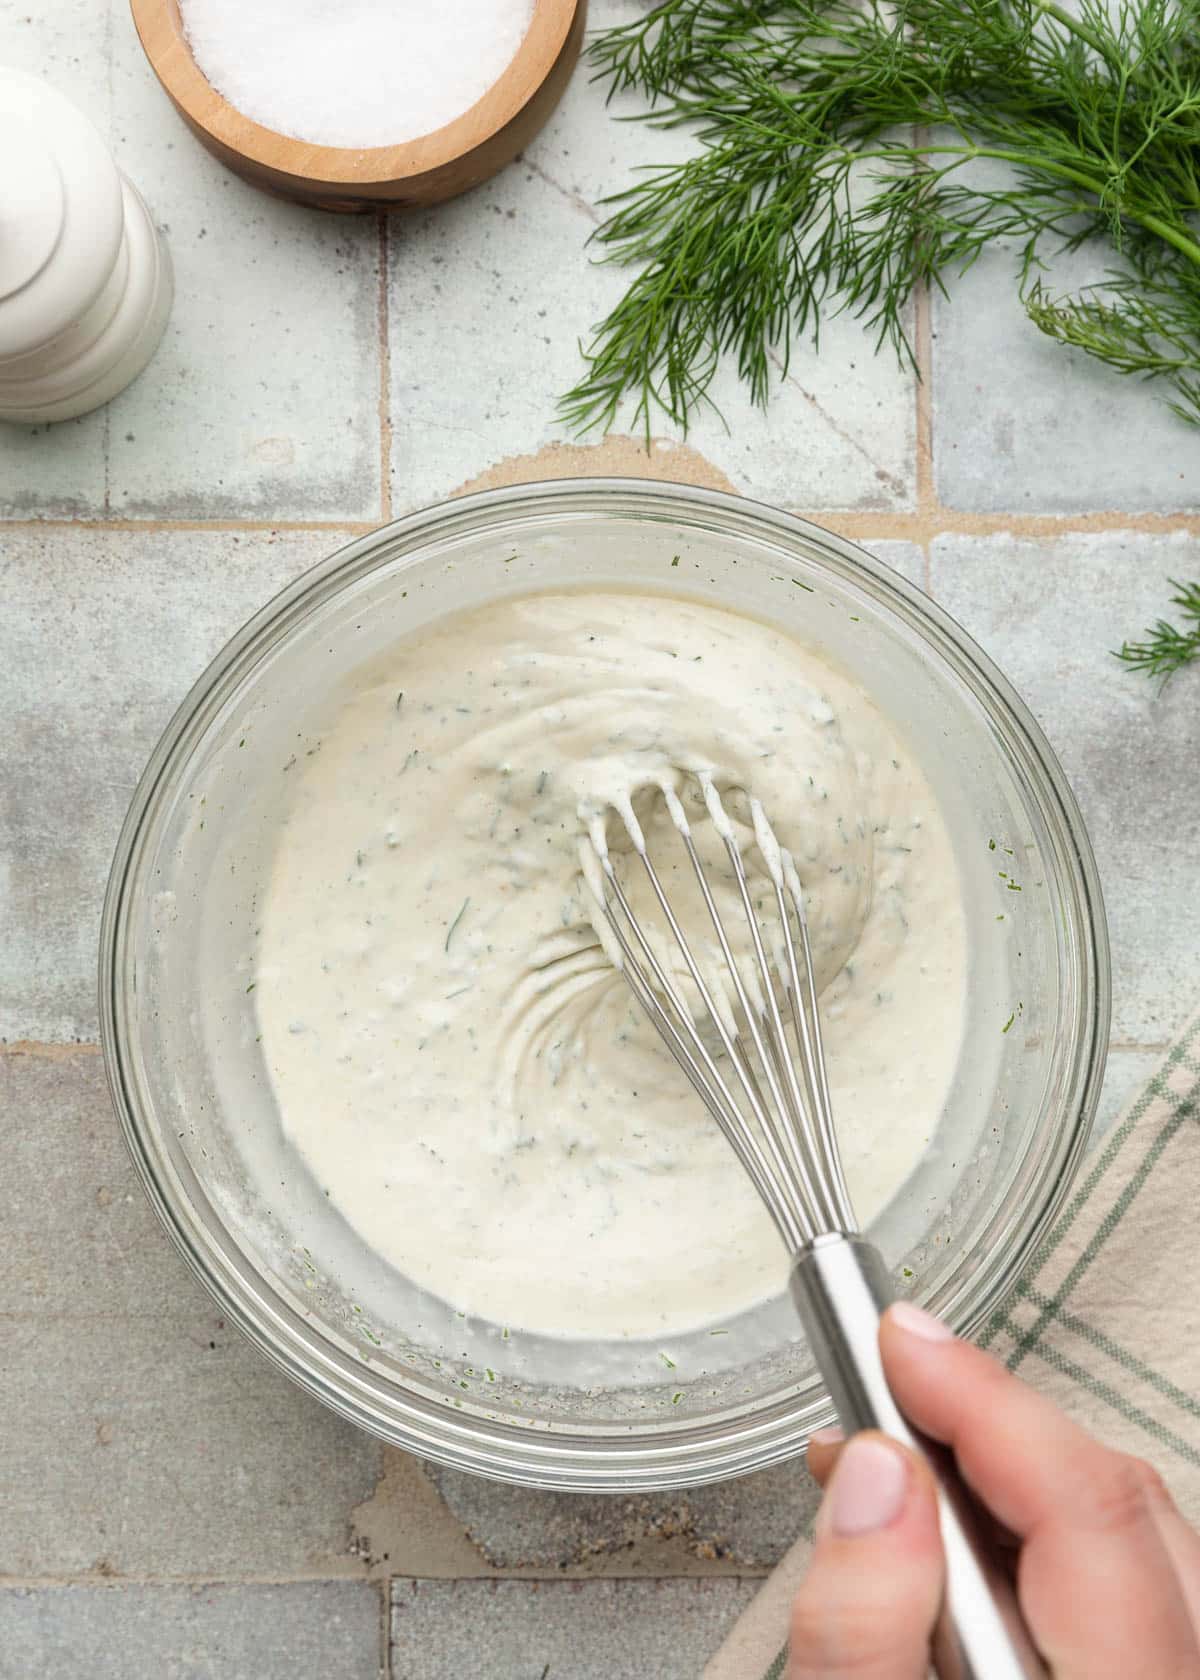
Step 3: Make the Dressing
The dressing is simple: everything goes into a medium bowl and gets whisked together until smooth and creamy.
- Mayonnaise and sour cream. I use full-fat versions for the richest, creamiest dressing. Duke’s mayo and Daisy sour cream are my go-to brands.
- Apple cider vinegar. Brings a bright fruity acidity that brightens the whole salad.
- Dijon mustard. Adds depth and a touch of sharpness that keeps the dressing from tasting flat. I use Maille.
- Granulated sugar. Don’t skip this. It doesn’t make the dressing sweet; it just balances the tangy and savory flavors.
- Fresh dill, finely chopped. In a pinch, you can substitute dried dill weed, but fresh will add the best flavor here.
- Seasonings. Granulated garlic powder, kosher salt, and freshly-ground black pepper.
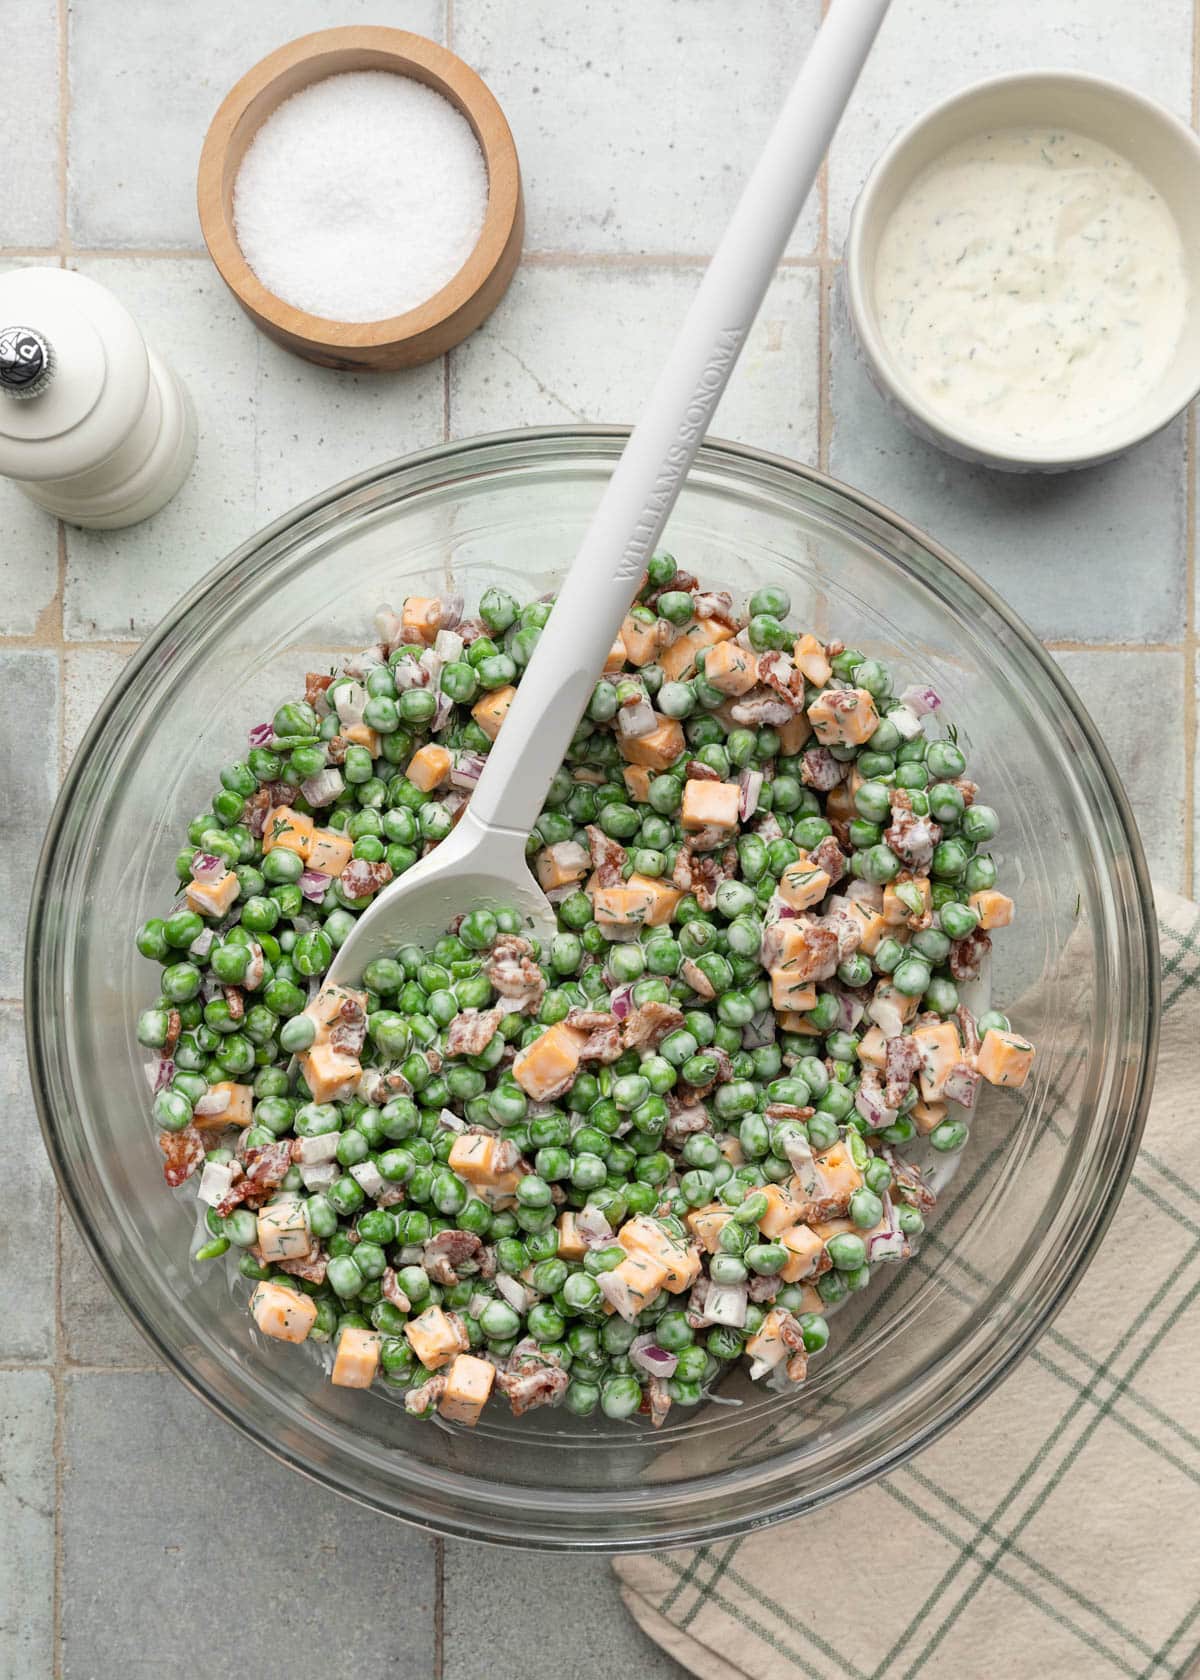
Step 4: Assemble the Pea Salad and Chill
Add the drained peas, bacon, red onion, and cheddar to a large bowl. Fold everything together gently—I like to use a rubber spatula. Peas are delicate and will break apart if you stir this salad too vigorously.
Sharp or extra-sharp cheddar both work here — I most often use Cracker Barrel extra-sharp yellow. Cut it into small cubes, just slightly larger than the peas, so every forkful gets a little taste of everything.
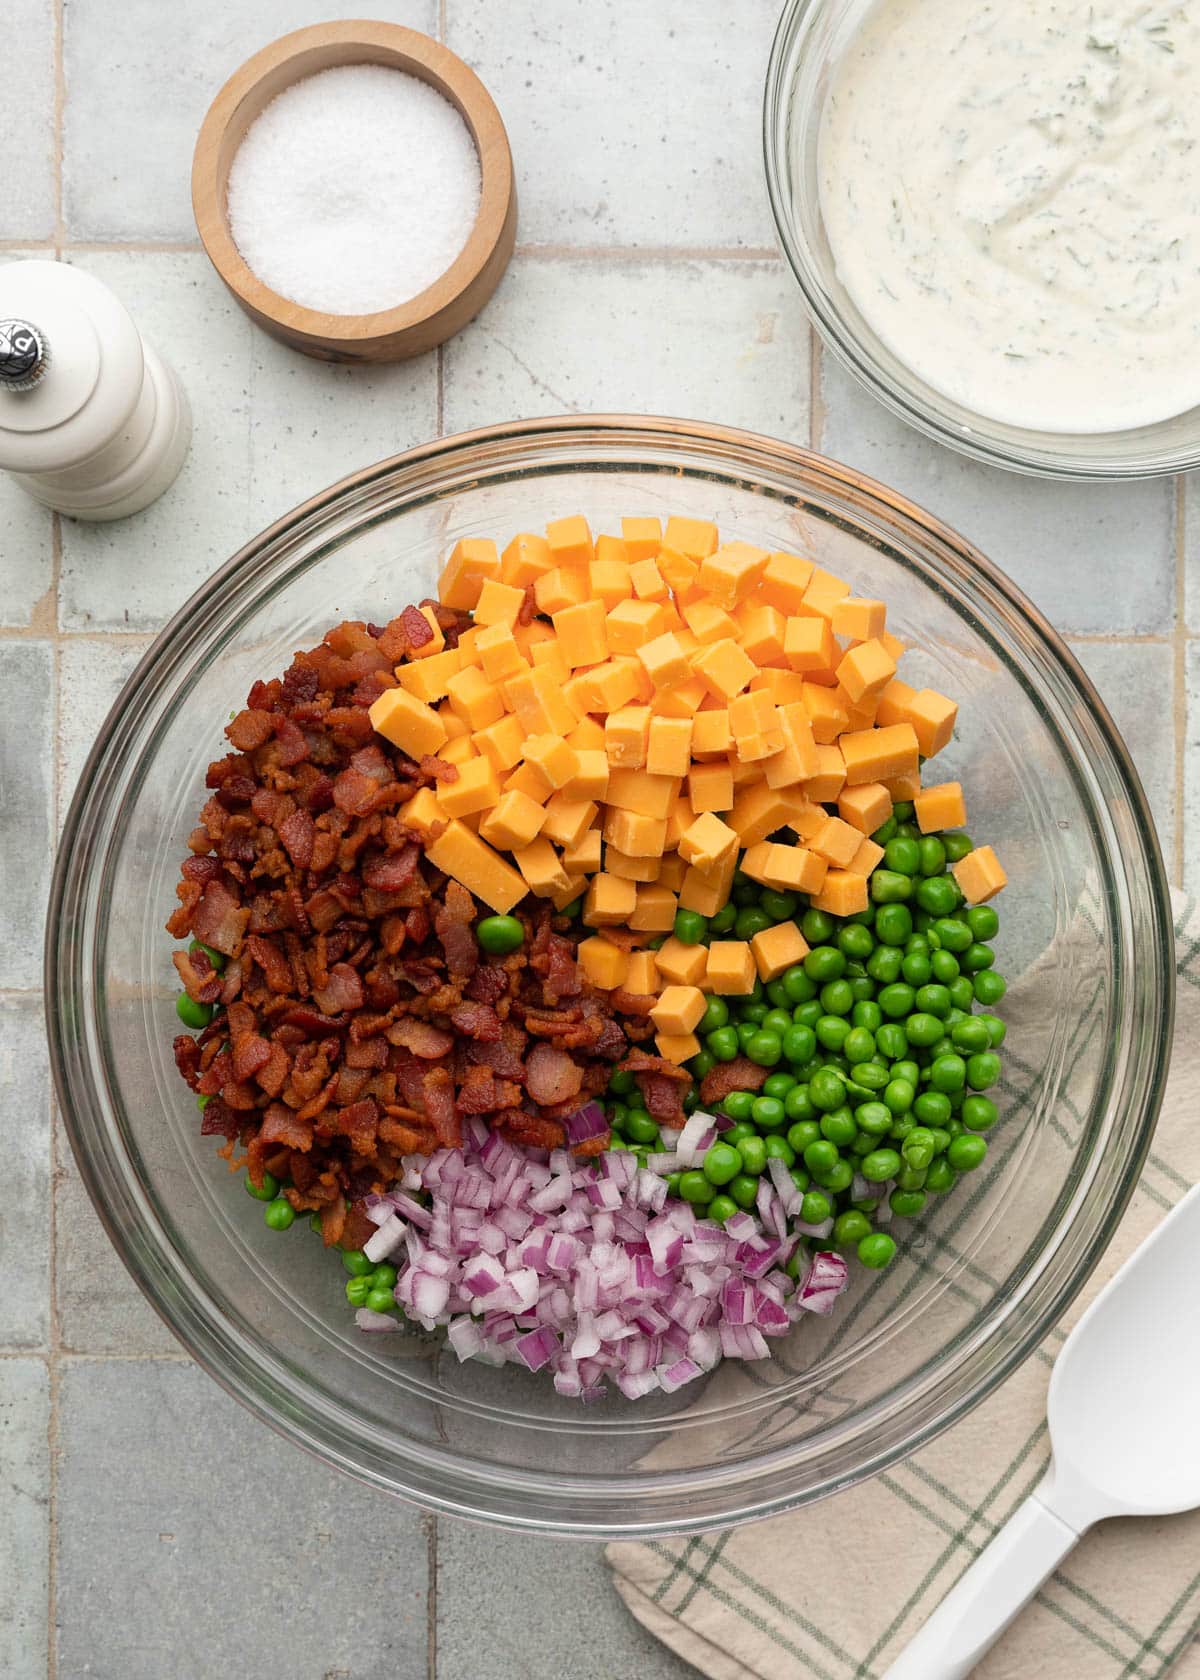
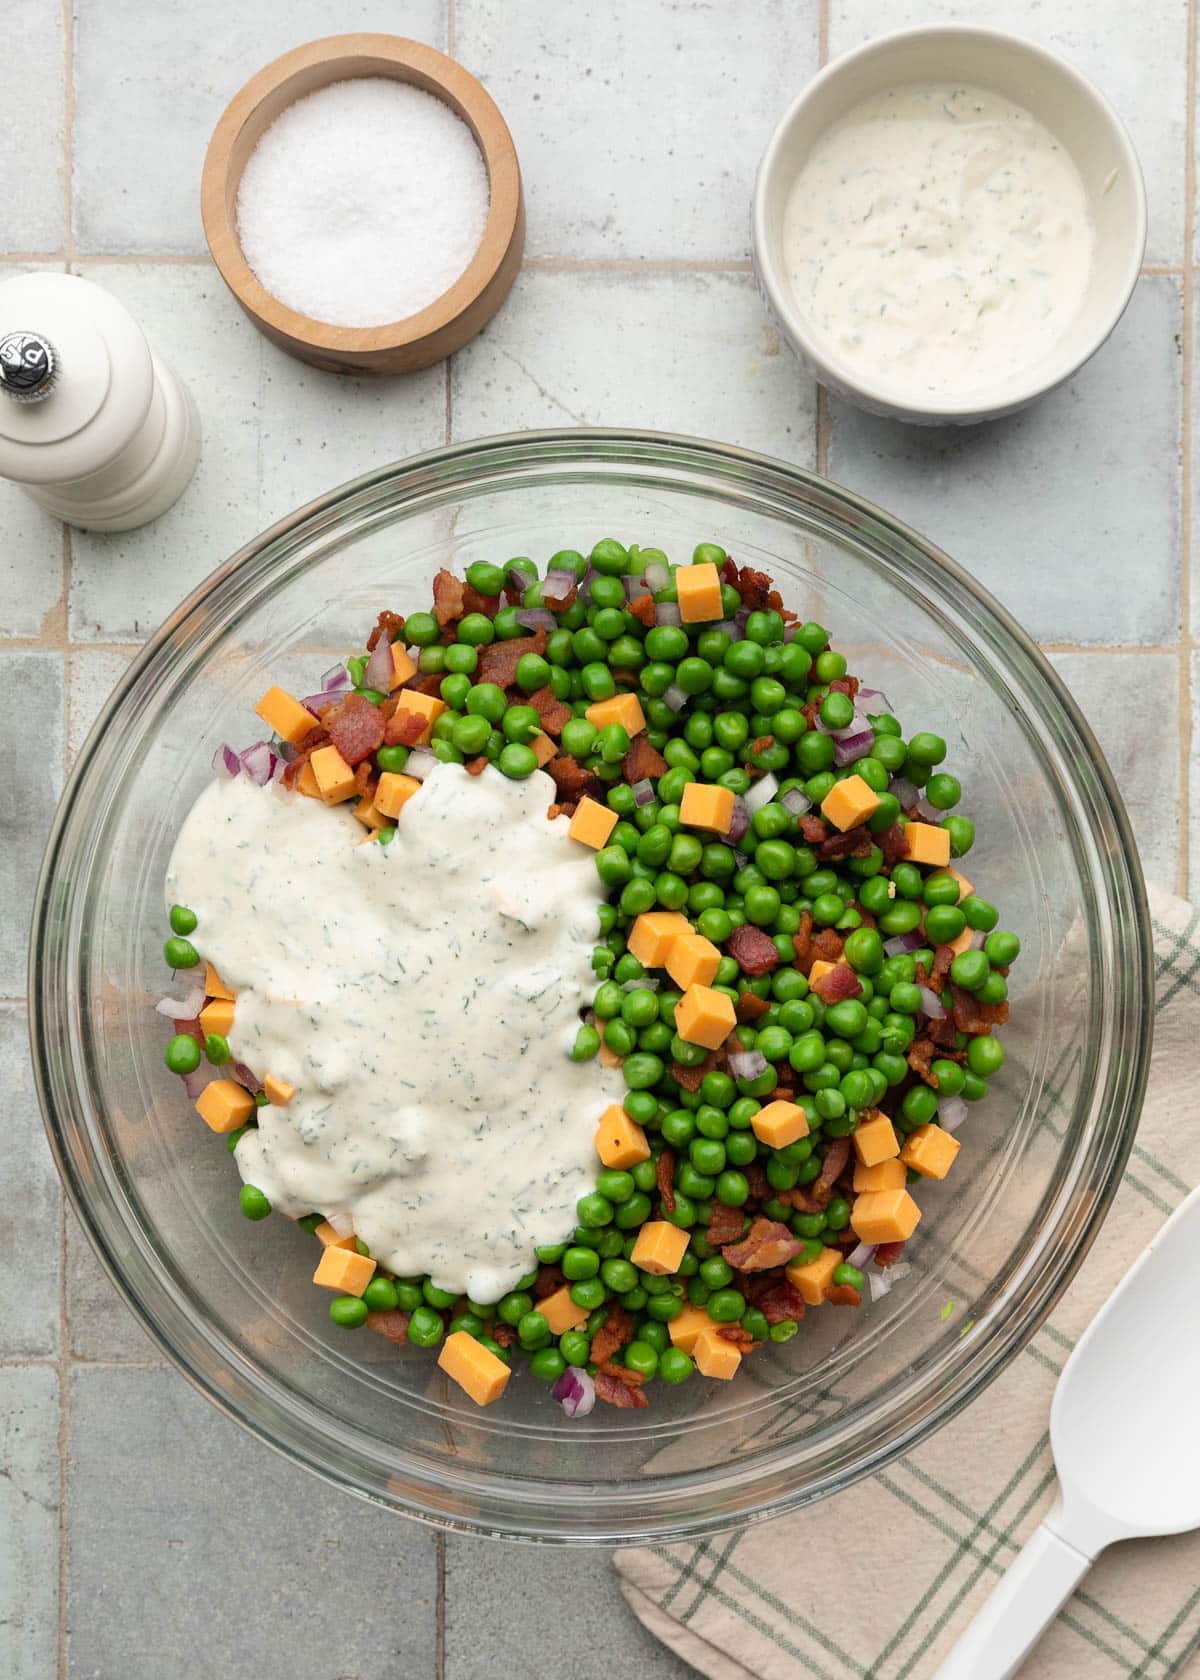
Once the salad is combined, fold in ⅔ of the dressing, reserving the remaining third to stir in just before serving. I find that adding the dressing in two additions makes for the creamiest salad.
Cover the bowl tightly and refrigerate for at least an hour, but preferably 2 to 4 hours, to let the flavors meld. Keep the reserved dressing covered and chilled separately.
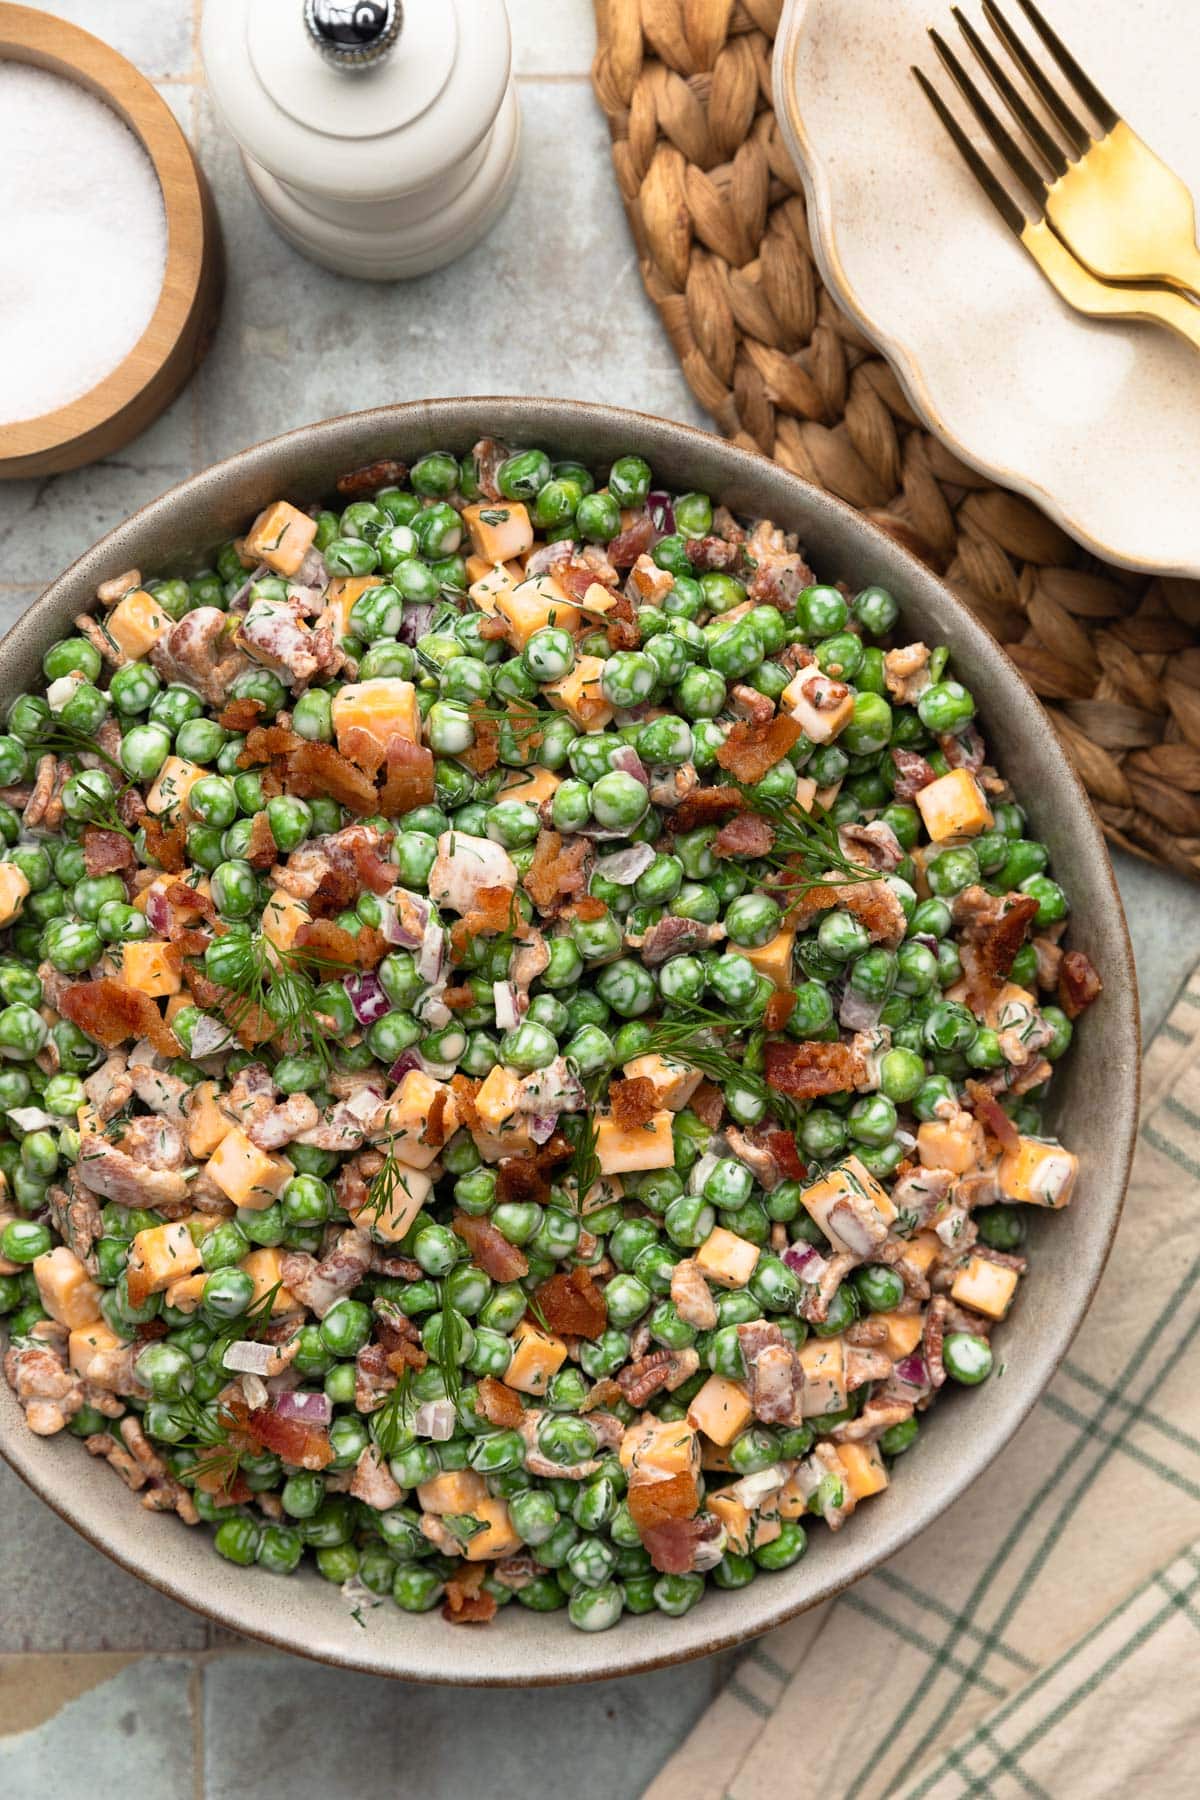
Step 5: Finish the Salad
Remove the salad from the fridge and fold in as much of the reserved dressing as you like — the full amount if you love a creamy pea salad, or a little less if you prefer it lighter. (After a 2+ hour rest, I always use all of it.)
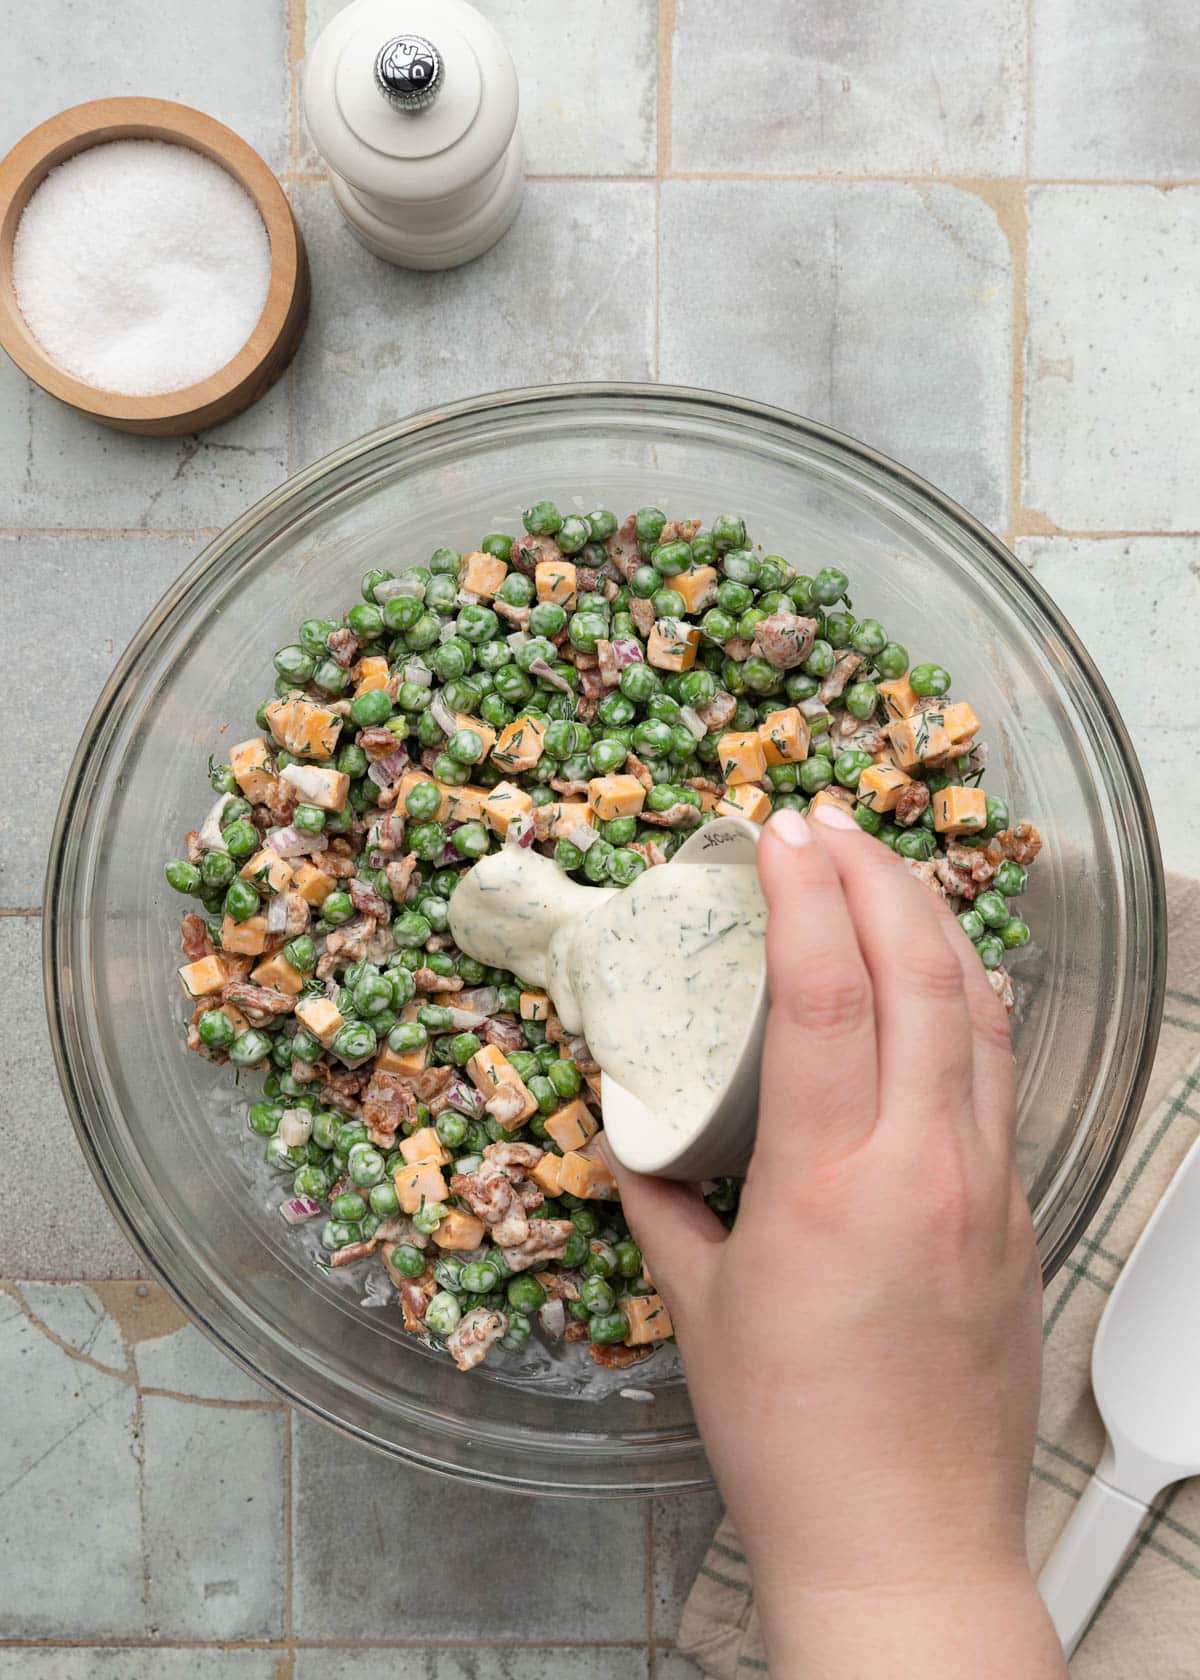
Give the salad a taste and adjust the seasoning with salt and pepper before serving.
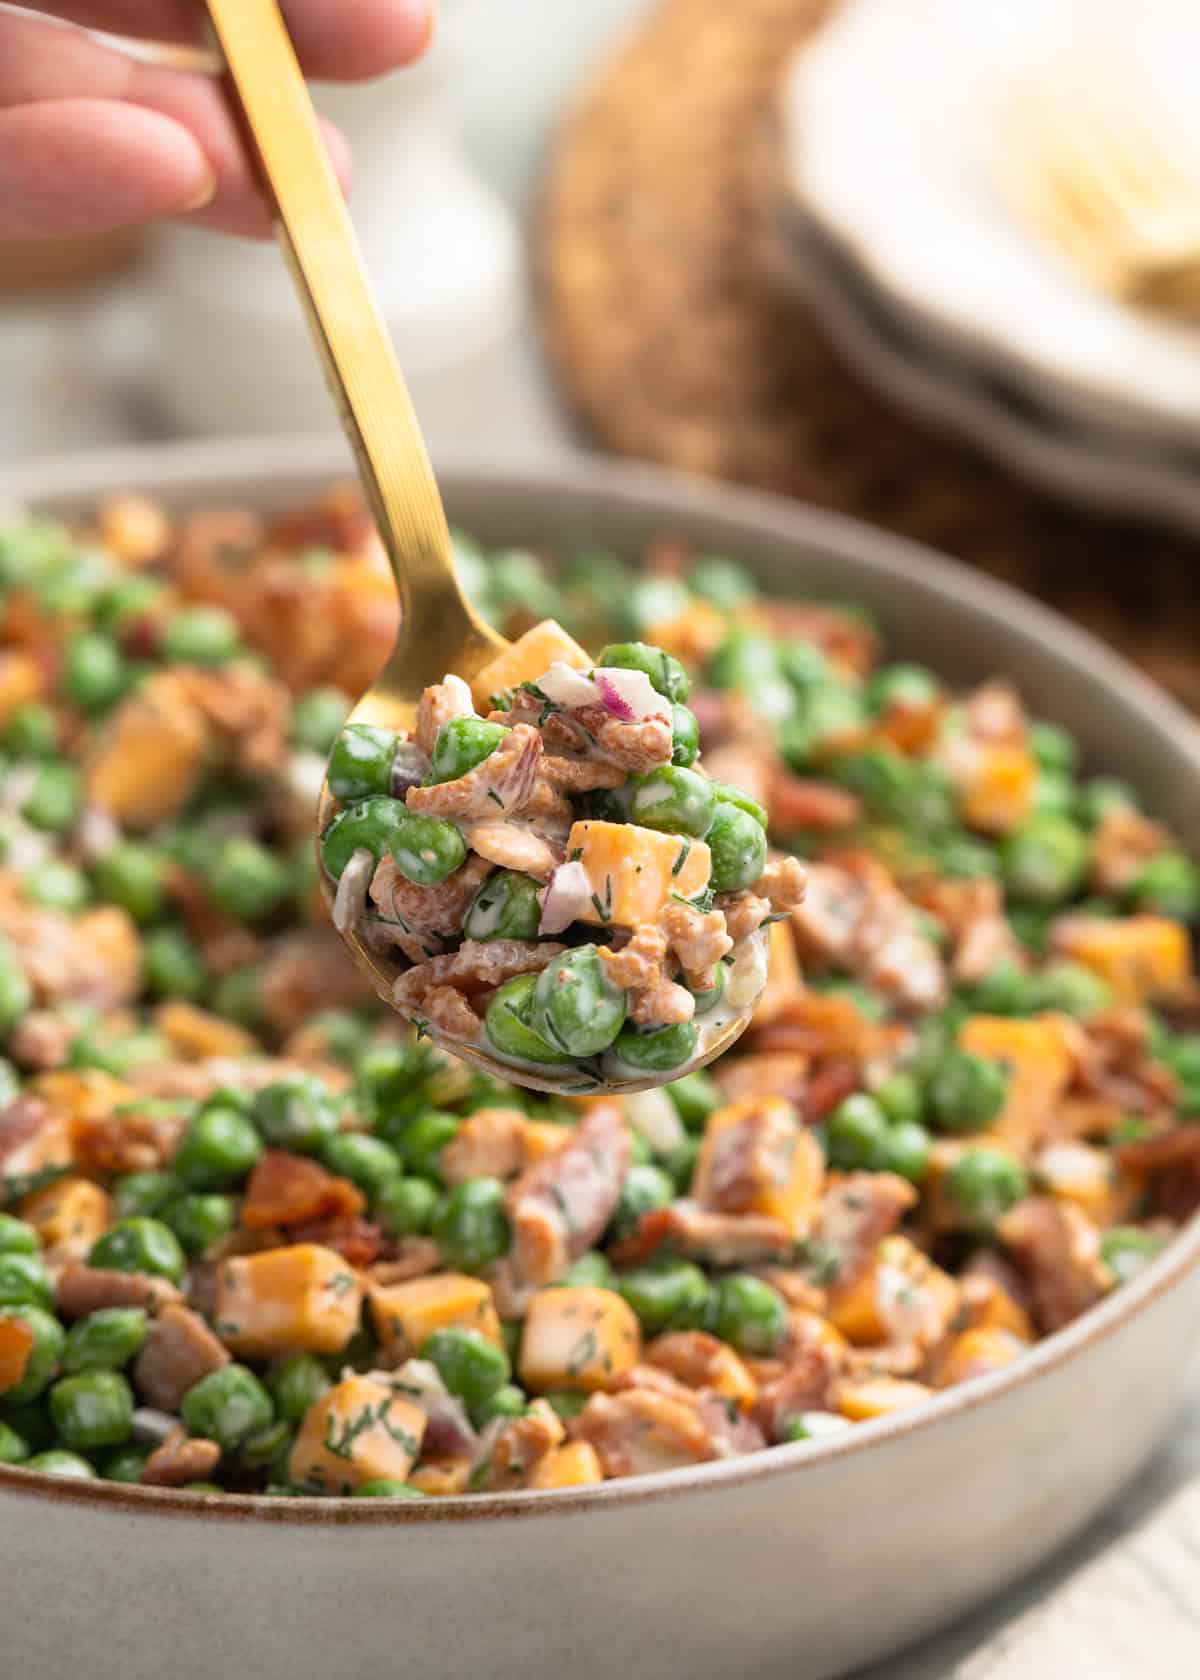
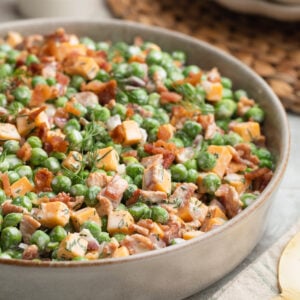
Serving Pea Salad
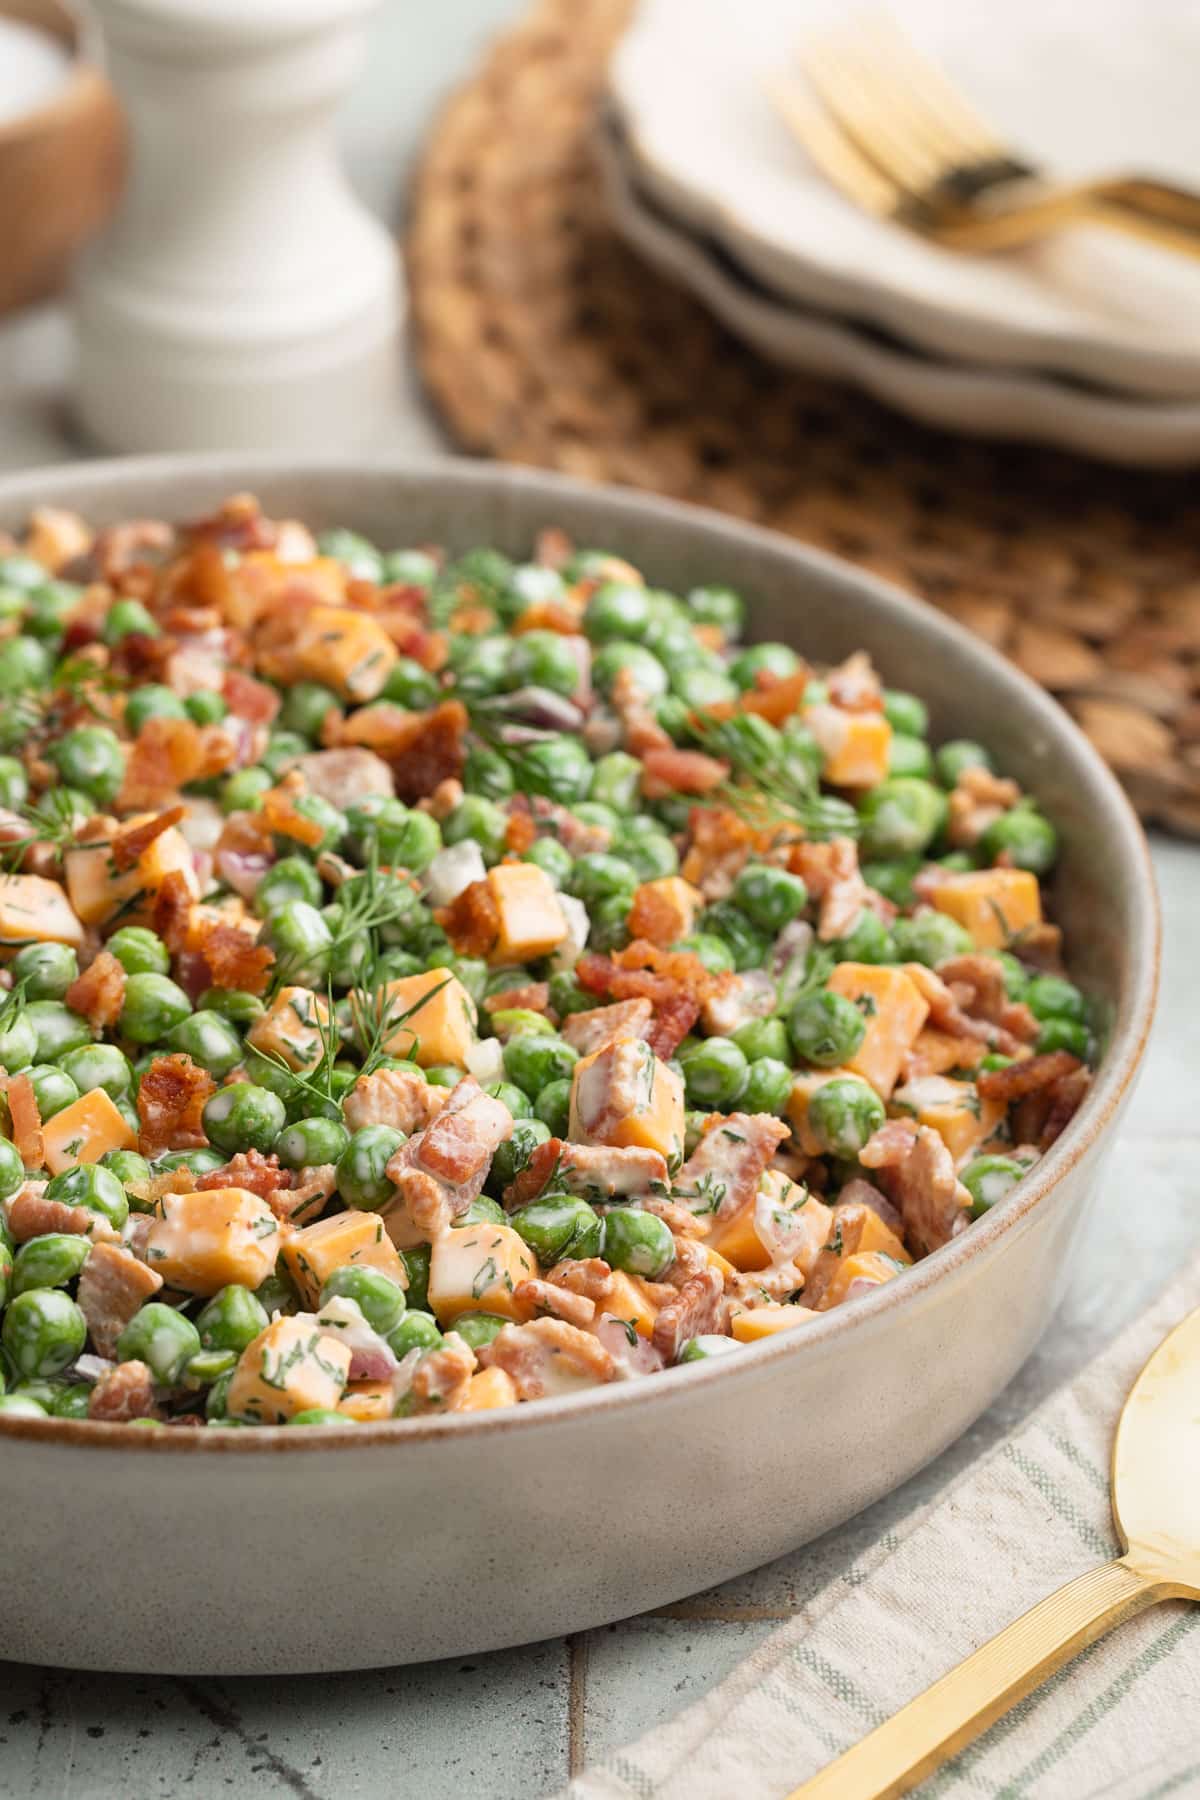
Before bringing the salad to the table, I like to add a few finishing touches: a little extra crumbled bacon on top, a few fresh dill fronds, and a couple of grinds of freshly cracked black pepper.
This salad is best served cold straight from the fridge. When taking it to a backyard BBQ or potluck, I like to use an insulated serving bowl to keep it chilled — especially on a warm day.
Since it contains mayonnaise and sour cream, don’t leave it out for more than 2 hours at room temperature, or 1 hour if the temperature is 90°F or higher.
As the salad sits, the dressing will settle toward the bottom of the bowl, so give it a stir before each serving to keep everything evenly coated.
Pea salad is a classic addition to cookout spreads — think grilled burgers, hot dogs, and brats alongside potato salad and coleslaw. It’s also delicious next to grilled or smoked chicken and ribs.
Storage and Make-Ahead Tips
Leftover pea salad will keep in an airtight container in the refrigerator for up to 3 days. Keep in mind that the longer it sits, the softer the peas and bacon will get — it’s at its best within the first day or two.
This salad should not be frozen. The mayonnaise-and-sour-cream dressing will separate when thawed, and the peas will lose their texture. This one is fridge-only.
Make-ahead: Pea Salad is a great option for prepping a day in advance for entertaining — with one caveat. I’d recommend holding off on combining everything and tossing with the dressing until the day you plan to serve it.
Store the cooked peas, bacon, chopped onion, cheddar, and dressing separately in the fridge overnight, then assemble and chill for a few hours before serving.
I also like to quickly re-crisp the bacon in a pan over medium heat when cooking it a day in advance.
More Salads for Picnics and Cookouts
- Loaded Potato Salad
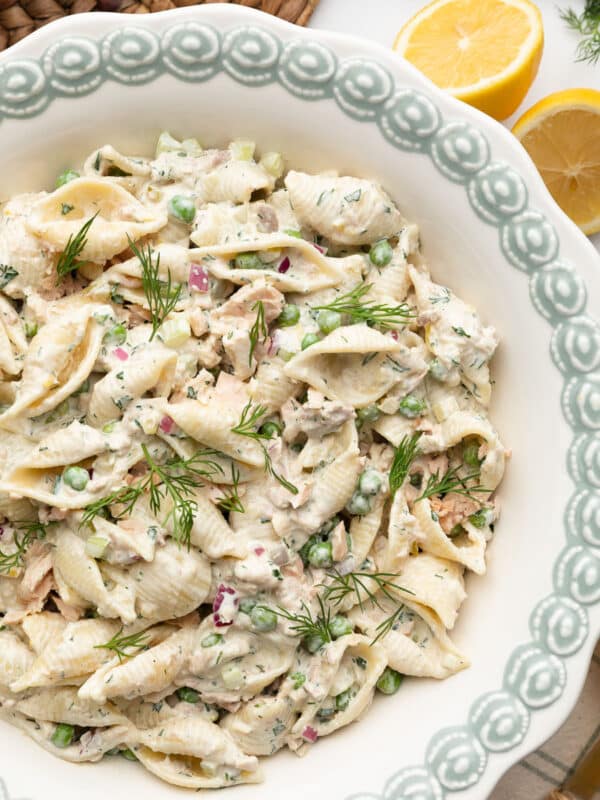
- Tuna Pasta Salad
- Orzo Salad with Feta
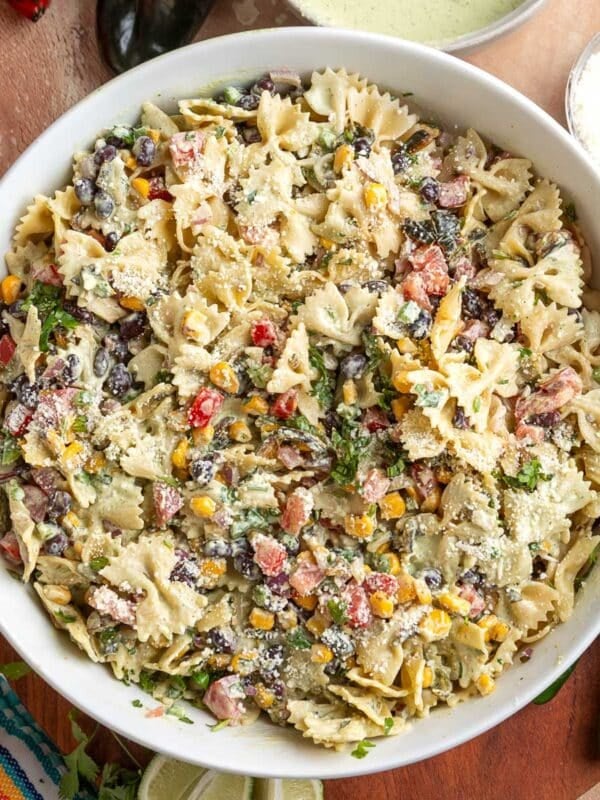
- Southwest Pasta Salad
- Spinach Pea Salad with Bacon and Summer Sausage
- Macaroni Salad
Pea Salad with Bacon
Ingredients
- 8 slices bacon (10-11 ounces), chopped into bite-sized pieces (see Note 1)
- 4 cups frozen peas (see Note 2)
- ⅓ cup small diced red onion (see Note 3)
- 6 ounces cheddar cheese , diced into small cubes a little larger than the peas (see Note 4)
- 6 tablespoons mayonnaise (I use Duke's)
- 6 tablespoons sour cream (I use Daisy)
- 2 tablespoons chopped fresh dill , plus extra for garnish
- 1 tablespoon apple cider vinegar
- 1 tablespoon granulated sugar
- 1 teaspoon Dijon mustard (I use Maille)
- ½ teaspoon granulated garlic powder
- ½ teaspoon Diamond Crystal kosher salt , plus additional to taste
- ¼ teaspoon freshly-ground black pepper , plus additional to taste
Instructions
- Cook the chopped bacon in a large skillet over medium-high heat until the fat is rendered and the pieces are crispy, about 8 minutes. Use a slotted spoon to transfer to a paper towel-lined plate to drain.
- Bring a large pot of unsalted water to a boil. Add the frozen peas and cook for 1 to 1½ minutes, just until heated through. Immediately transfer to an ice bath to stop the cooking. Once cooled (about 2 to 3 minutes), drain well in a colander.
- Add the drained peas, bacon, red onion, and cheddar to a large bowl. Fold together gently — peas are delicate and will break apart if you're too aggressive with the spoon.
- In a separate bowl, whisk together the mayonnaise, sour cream, dill, apple cider vinegar, sugar, Dijon mustard, granulated garlic powder, salt, and pepper until smooth.
- Fold ⅔ of the dressing into the salad until everything is well coated. Reserve the remaining dressing, covered, in the refrigerator. Cover the salad tightly and refrigerate for at least 1 hour, but preferably 2 to 4 hours.
- Remove the salad from the fridge and fold in as much of the reserved dressing as you like. Taste and adjust seasoning with salt and pepper. Garnish with extra crumbled bacon, fresh dill fronds, and freshly cracked black pepper.
Notes
Nutrition Estimate
Nutrition information is automatically calculated, so should only be used as an approximation.
Please note that our recipes have been developed using the US Customary measurement system and have not been tested for high altitude/elevation cooking and baking.